Last Updated: April 23, 2025
Applies to:
Shippers, Brokers, Carriers, and Partners
Solution Overview:
Compliance Agreements are designed to streamline the management of compliance violations for individual clients or as a comprehensive solution for a group of clients. These agreements facilitate the tracking of issues such as Broken Pallets and other violations, providing the Accounting team with the necessary data to make invoice deductions when required. Additionally, our system allows for the application of an Admin Fee to specific violations. You can use the provided editable default Compliance Agreement or create a custom agreement tailored to your needs.
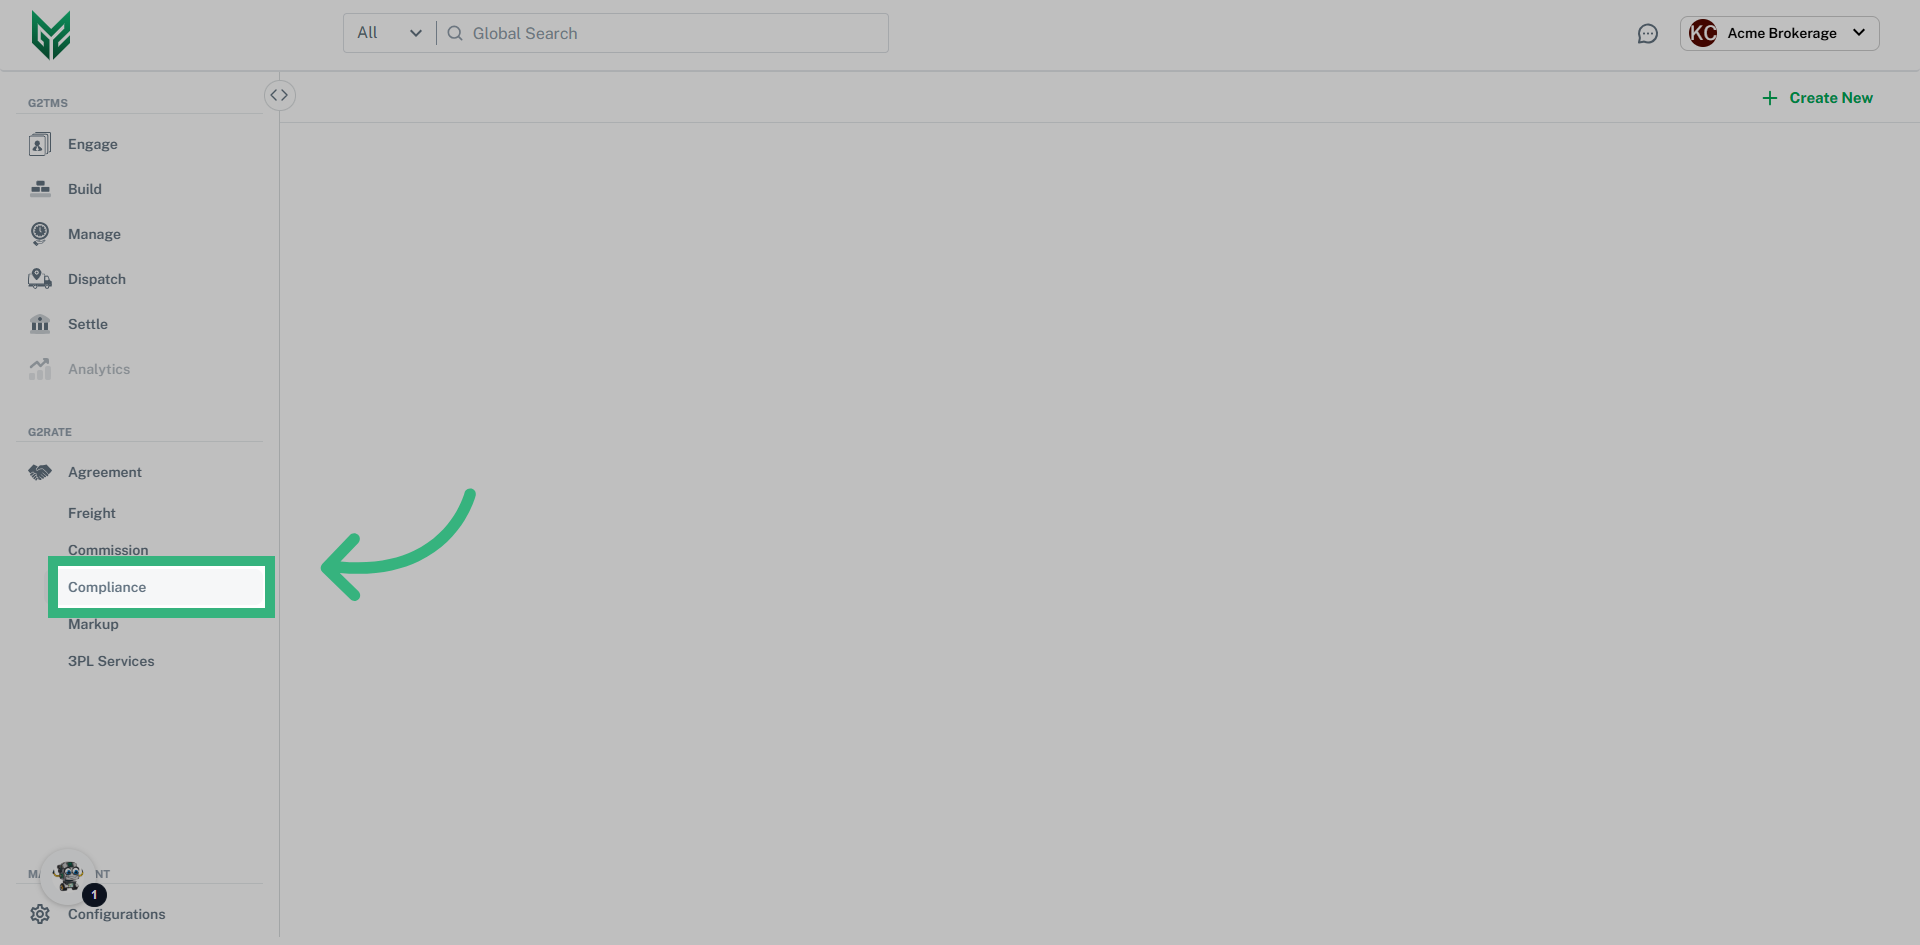
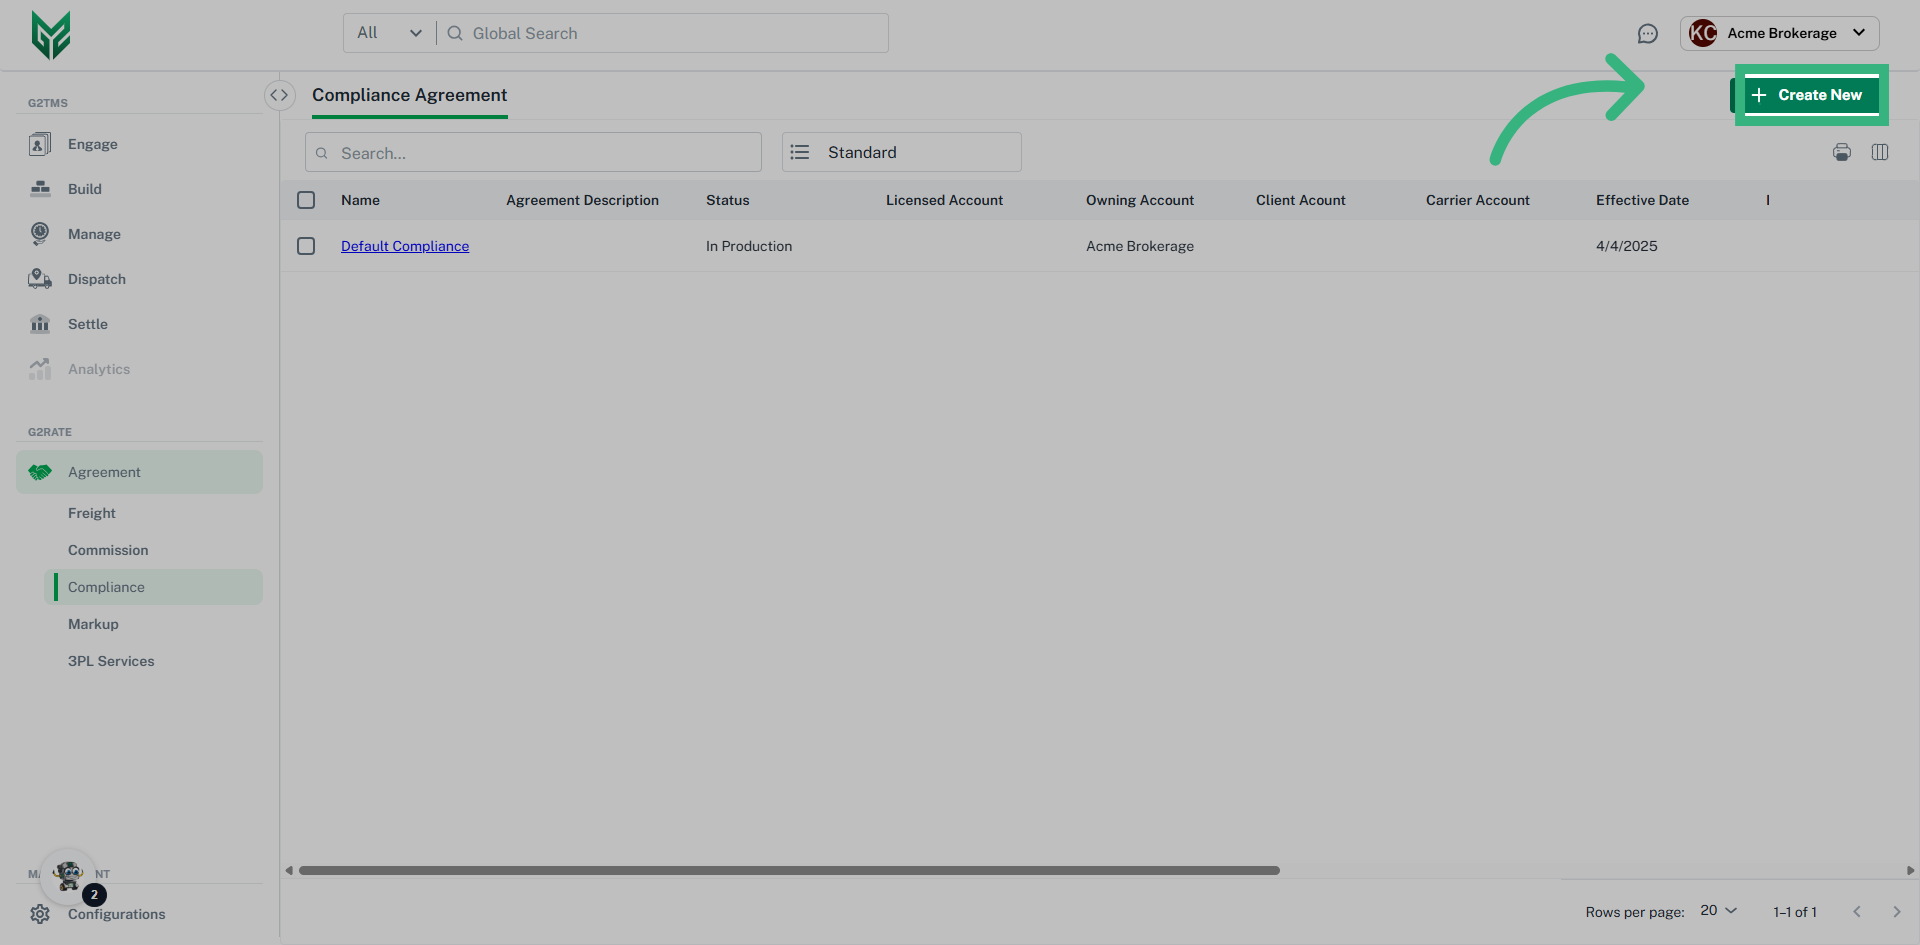
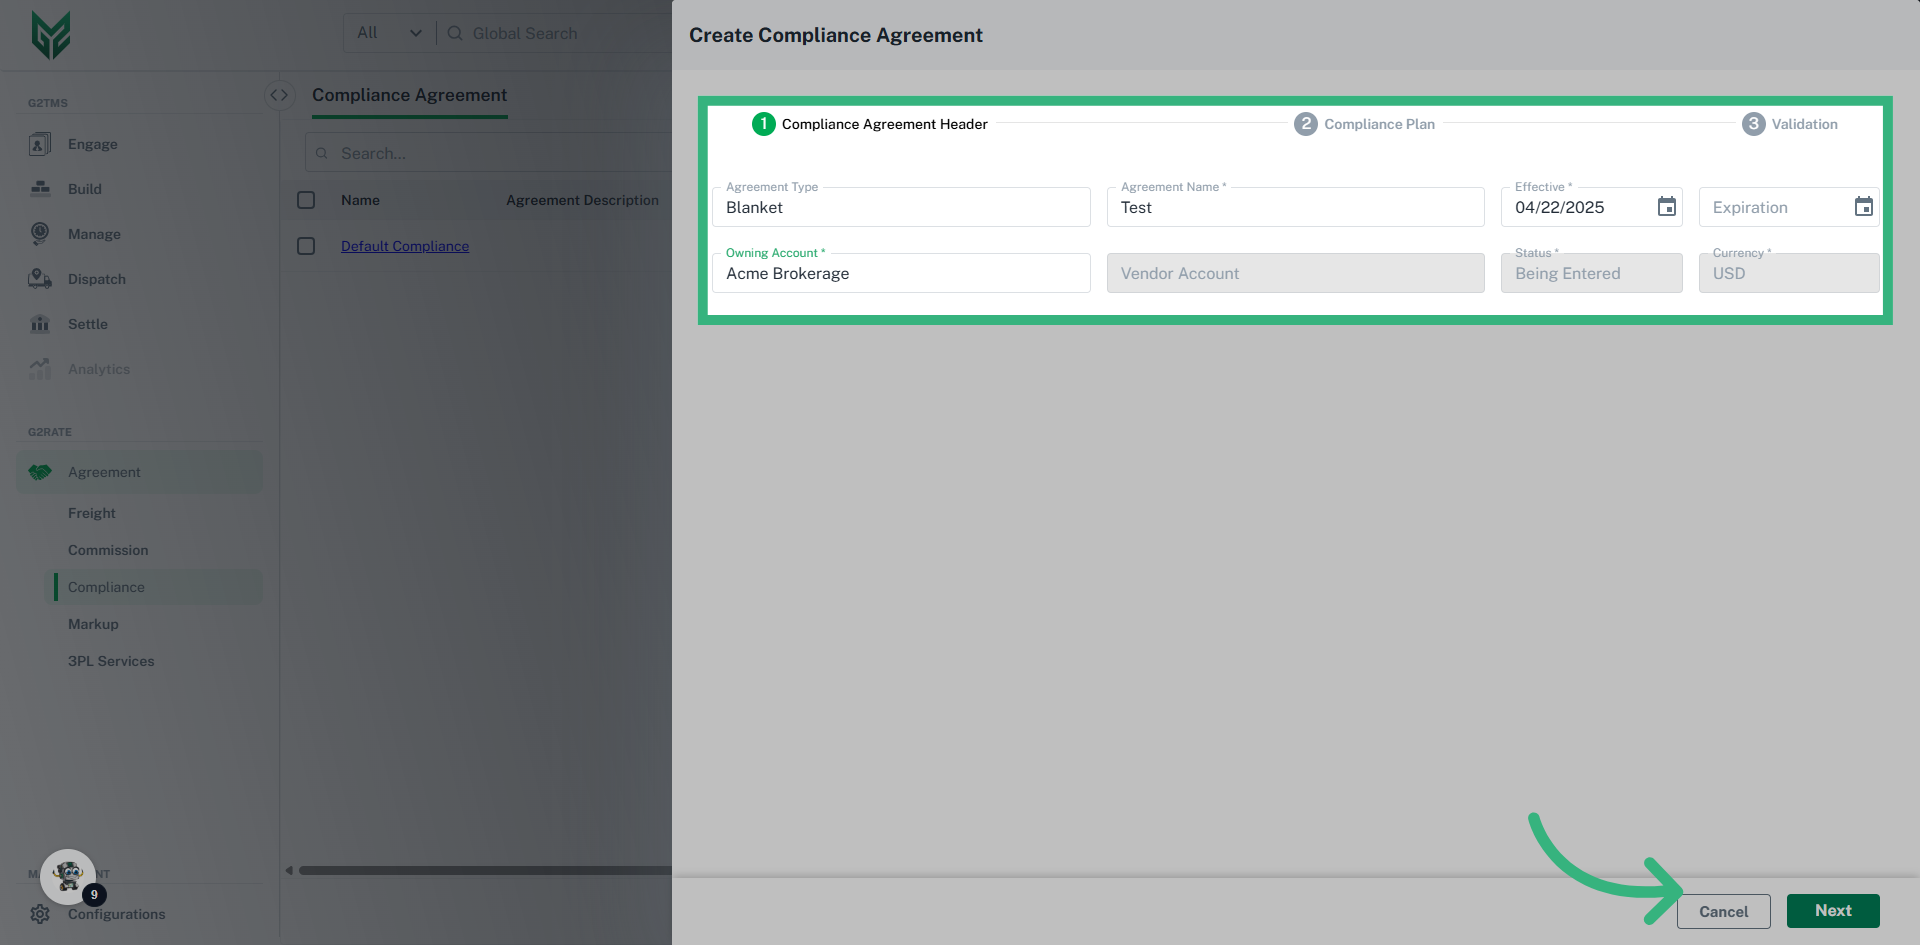
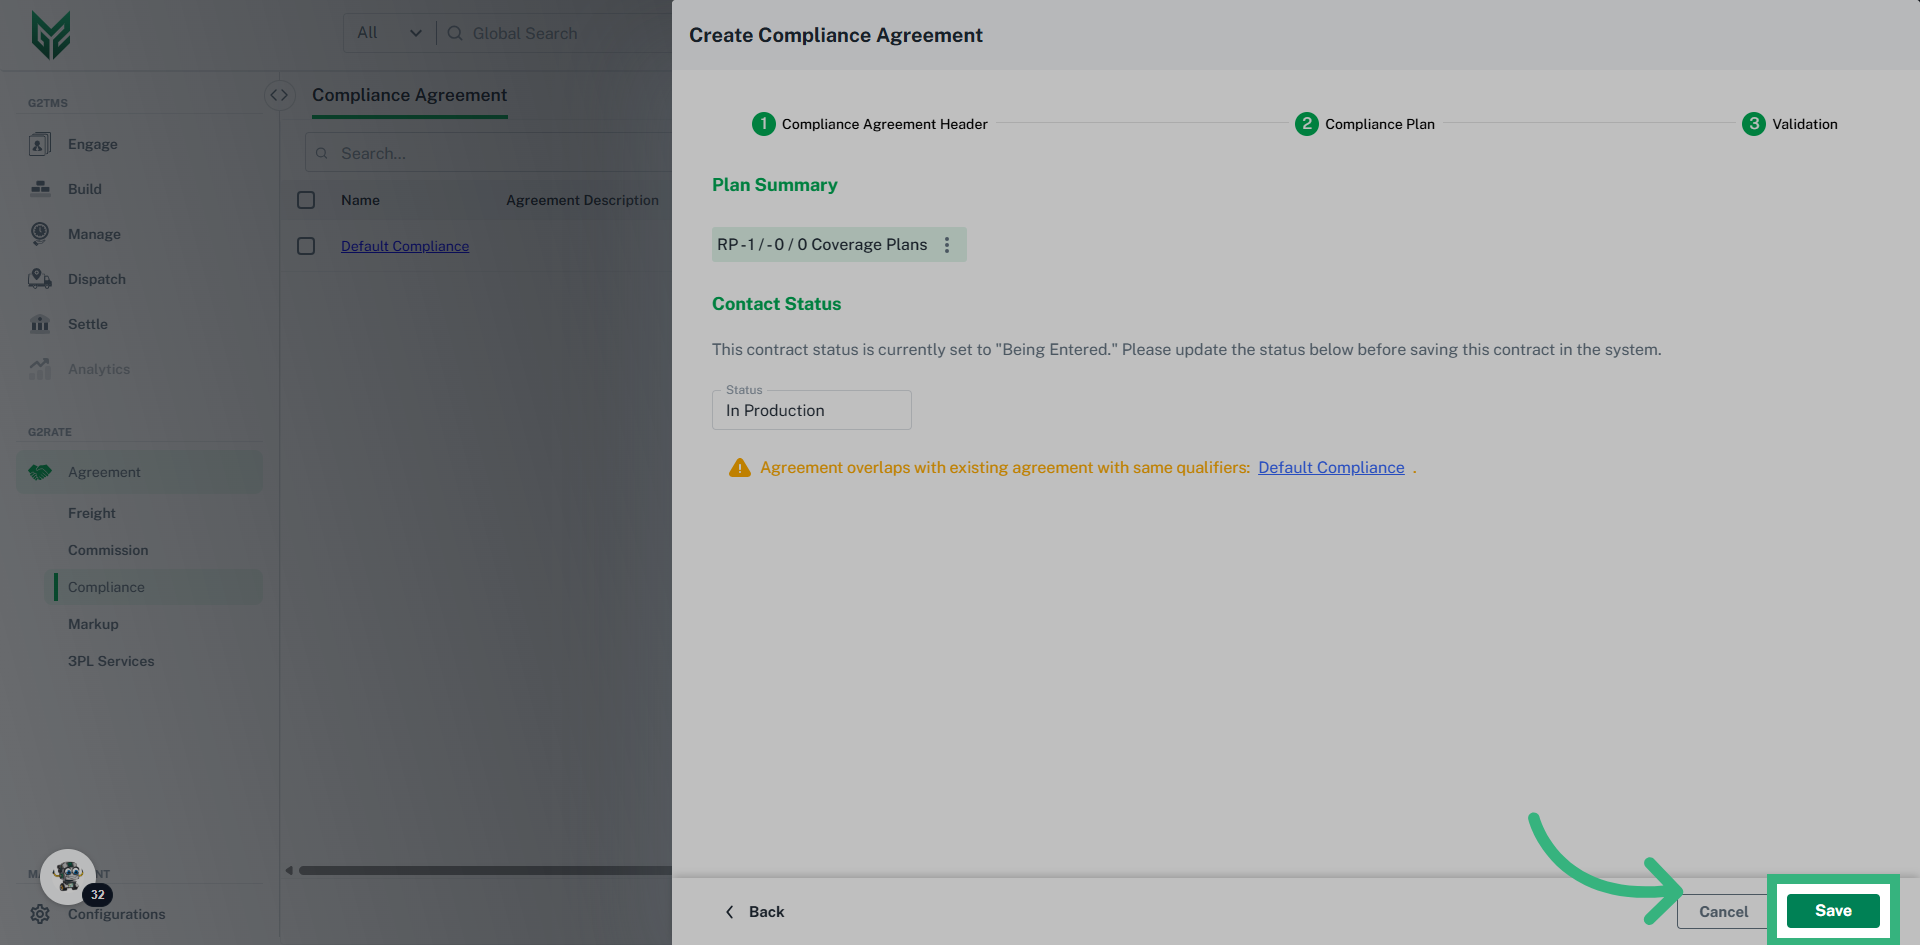
How to create a Compliance Agreement
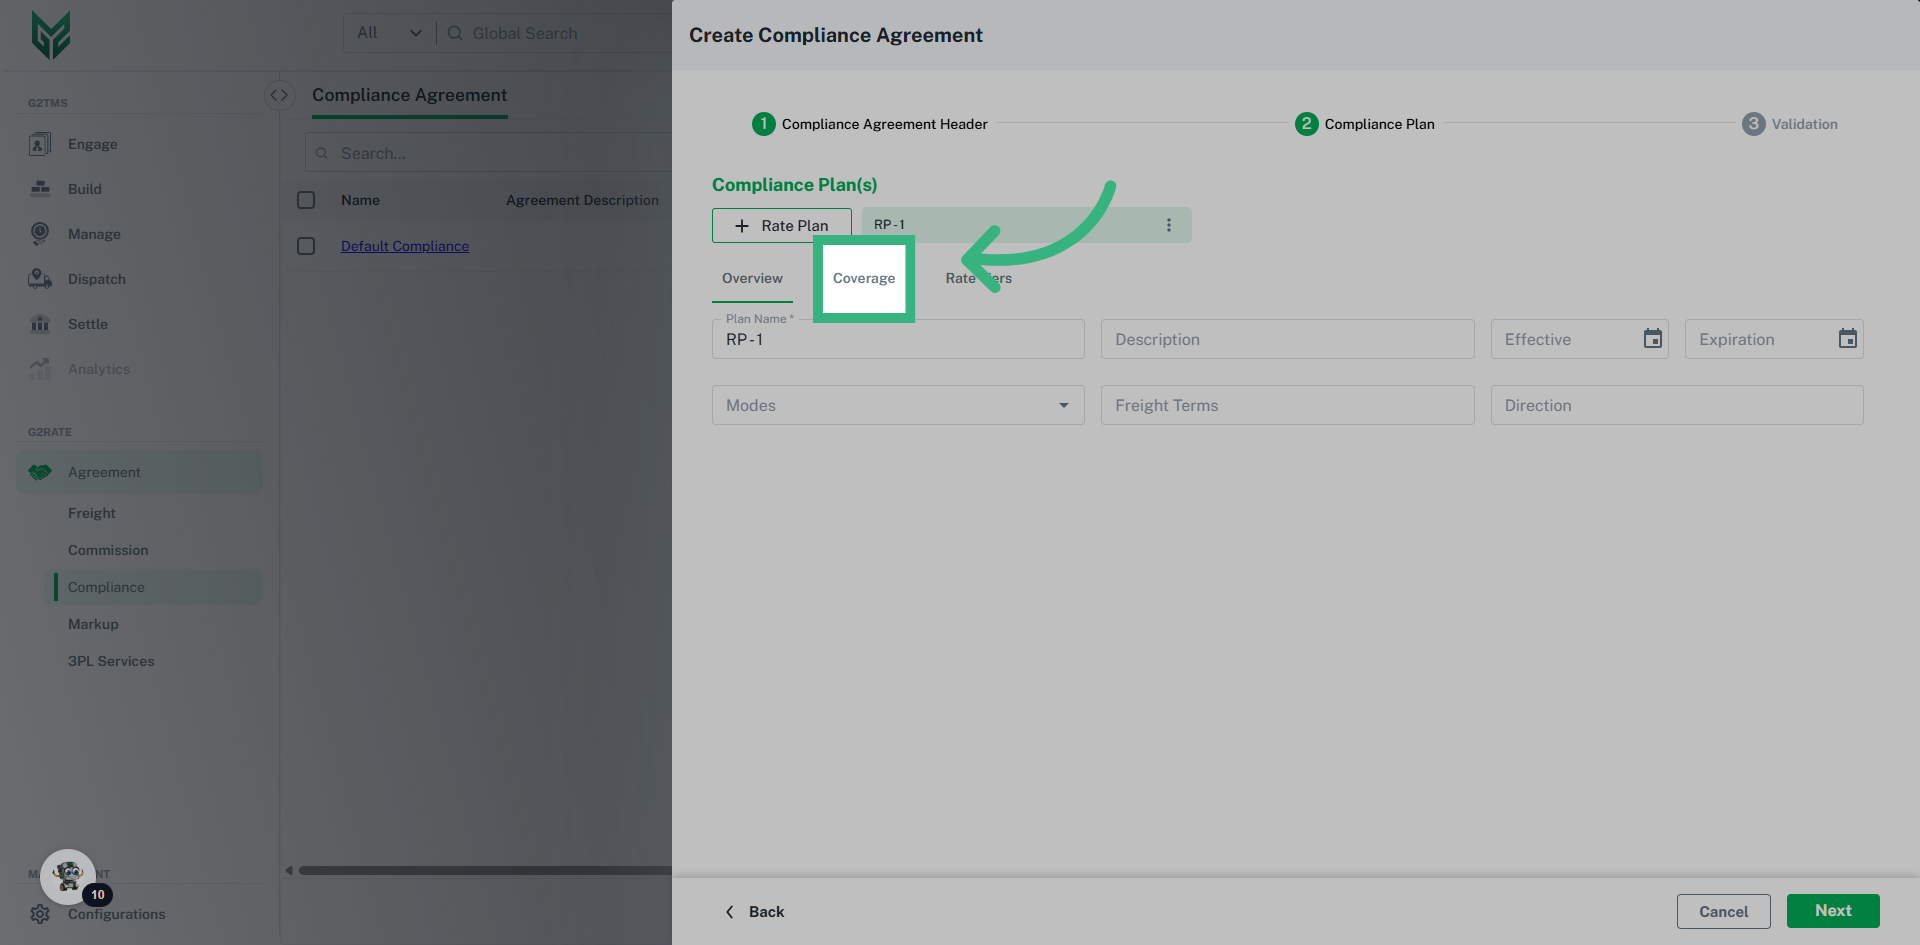
Compliance Agreement Plan terms:
Overview
- Plan Name: A Compliance Agreement can be made up of multiple plans. This Plan Name allows for unique plan names within an Agreement.
- Description: Optional field to add additional detail
- Effective/Expiration: Effective date is a required field, while Expiration date is optional.
- Modes: Leave blank if applies to all modes. Multiple modes can be selected.
- Freight Terms: Determine if the agreement applies to specific terms, such as Collect, Prepaid or Third Party. Leave blank if the agreement applies to all terms.
- Direction: If this plan is specific to Direction, select from dropdown here.
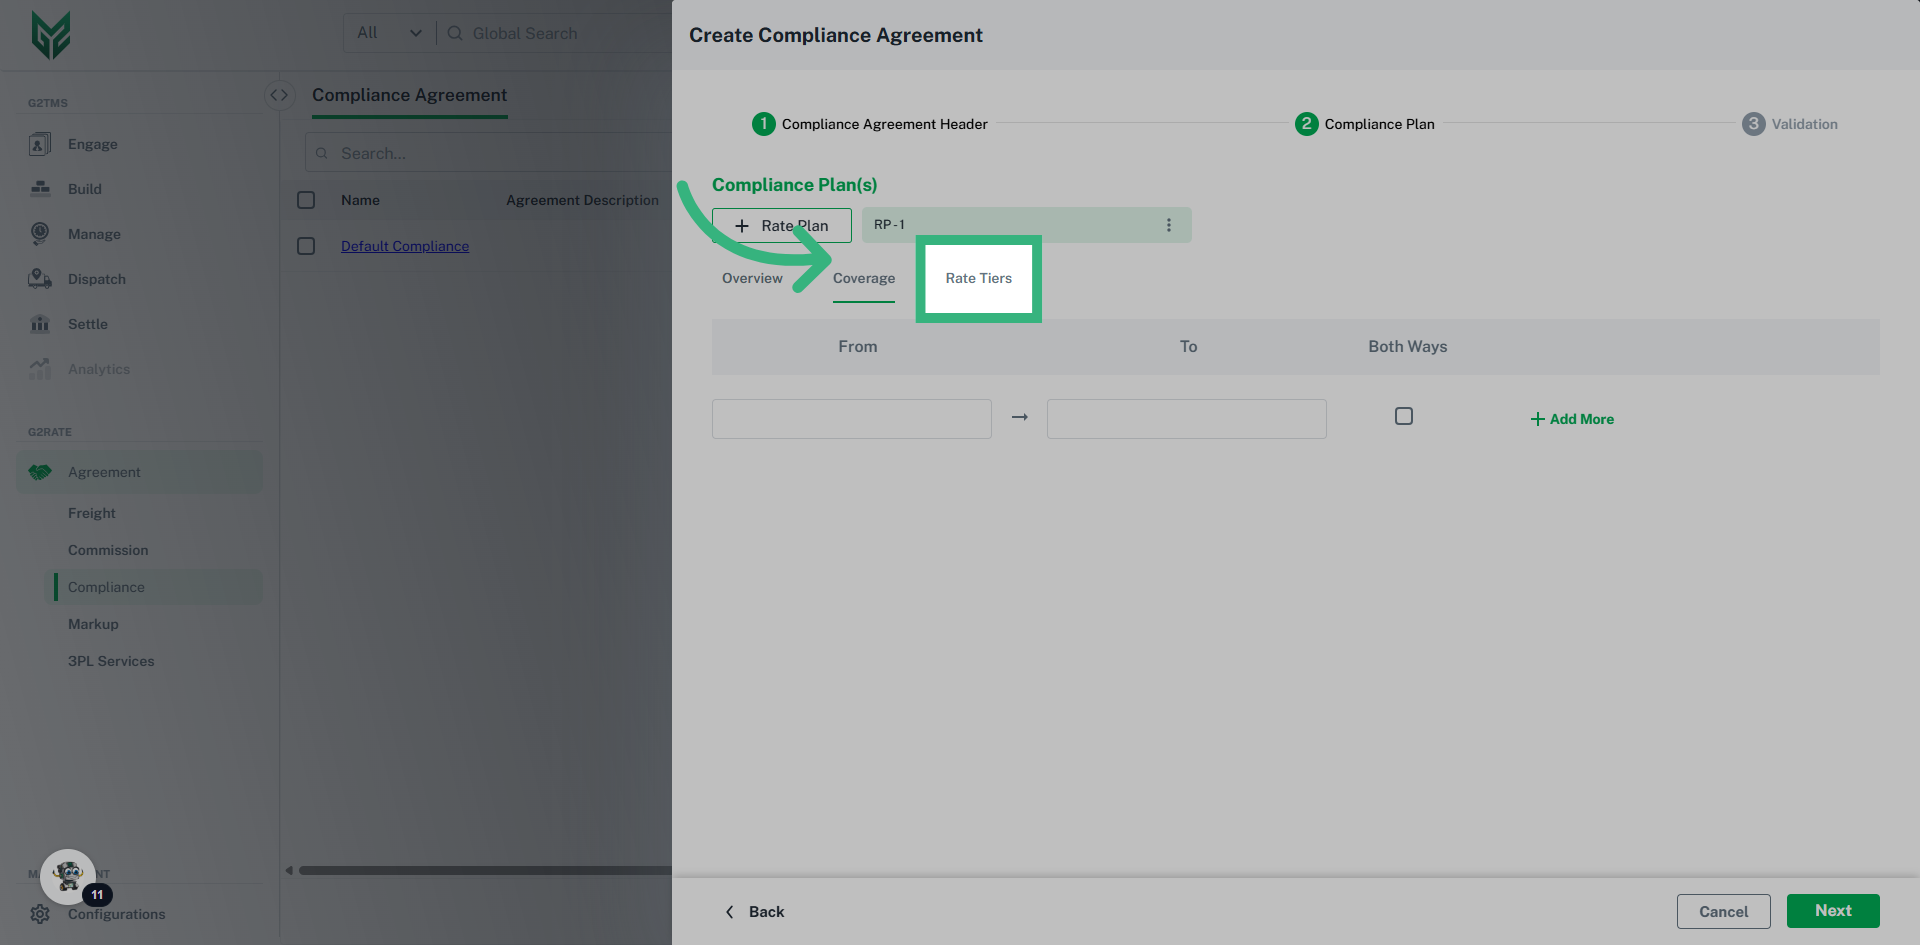
Coverage
- From/To: A Compliance Agreement can be defined by specific Coverage Areas. If that is the case, assign Areas here. Note: Coverage areas are created in the Configurations section in "Areas."
- Both Ways: Select checkbox if agreement is applied to coverage area going both ways. Leave blank if it is only one direction.
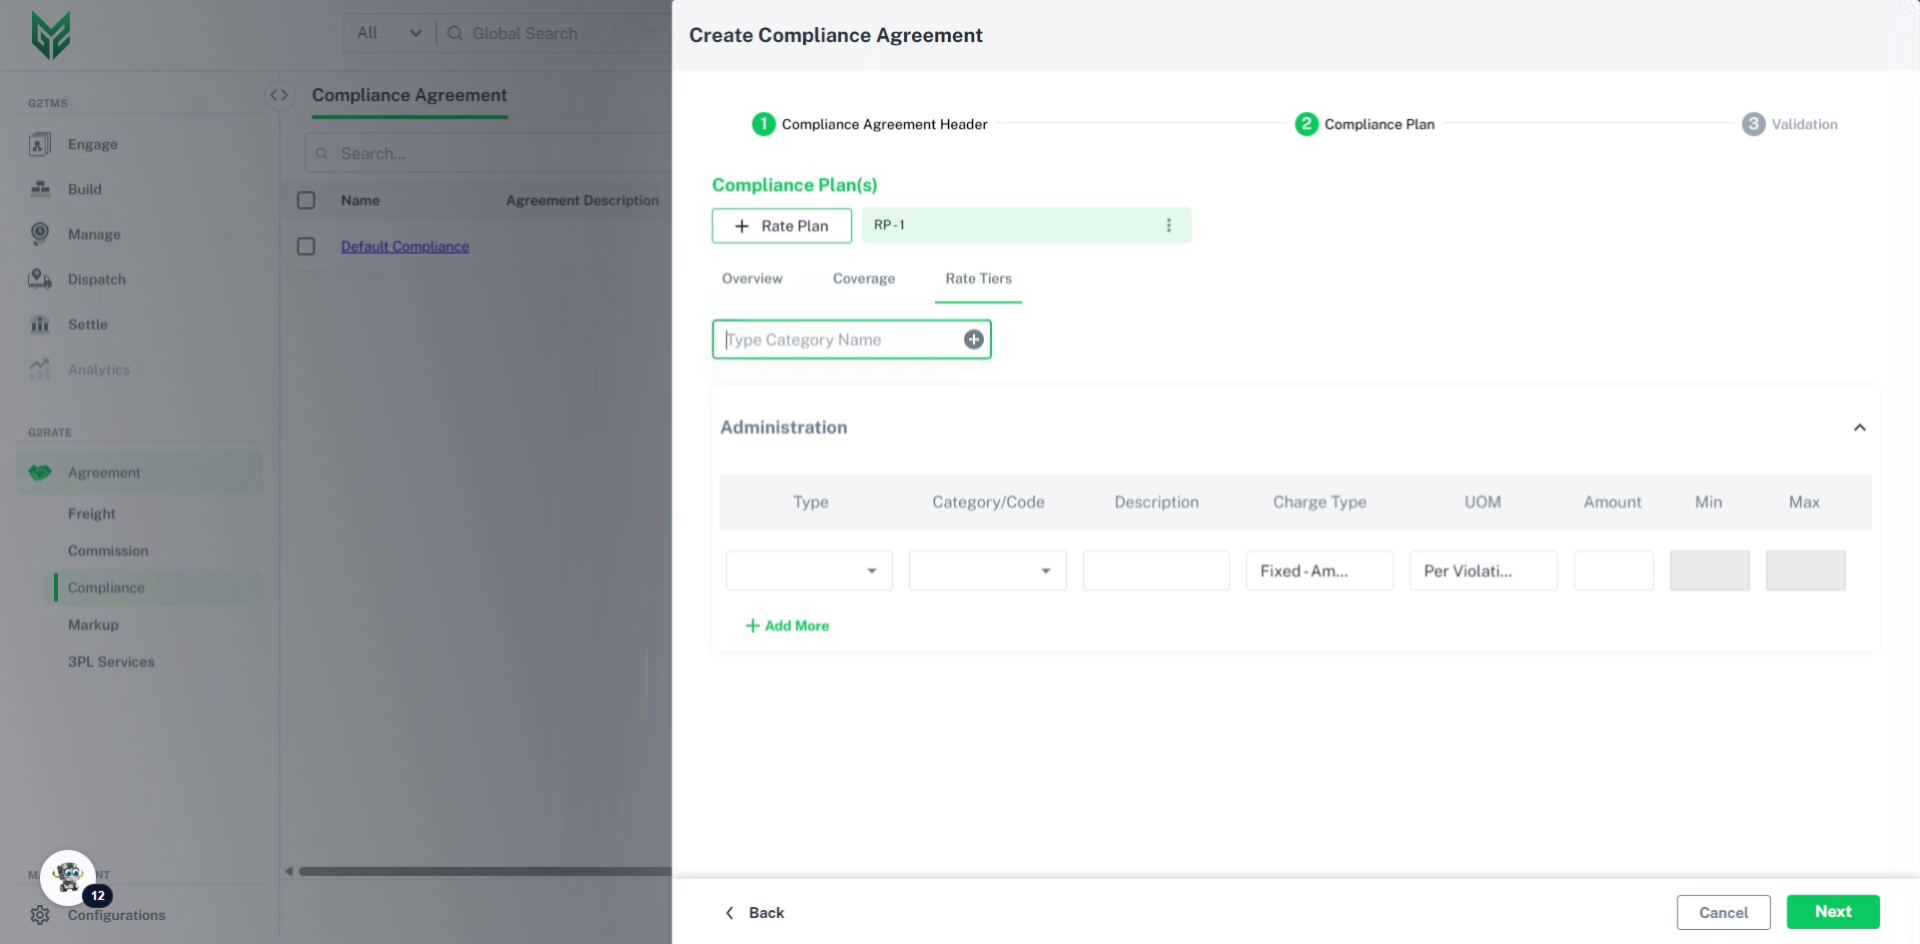
Rate Tiers
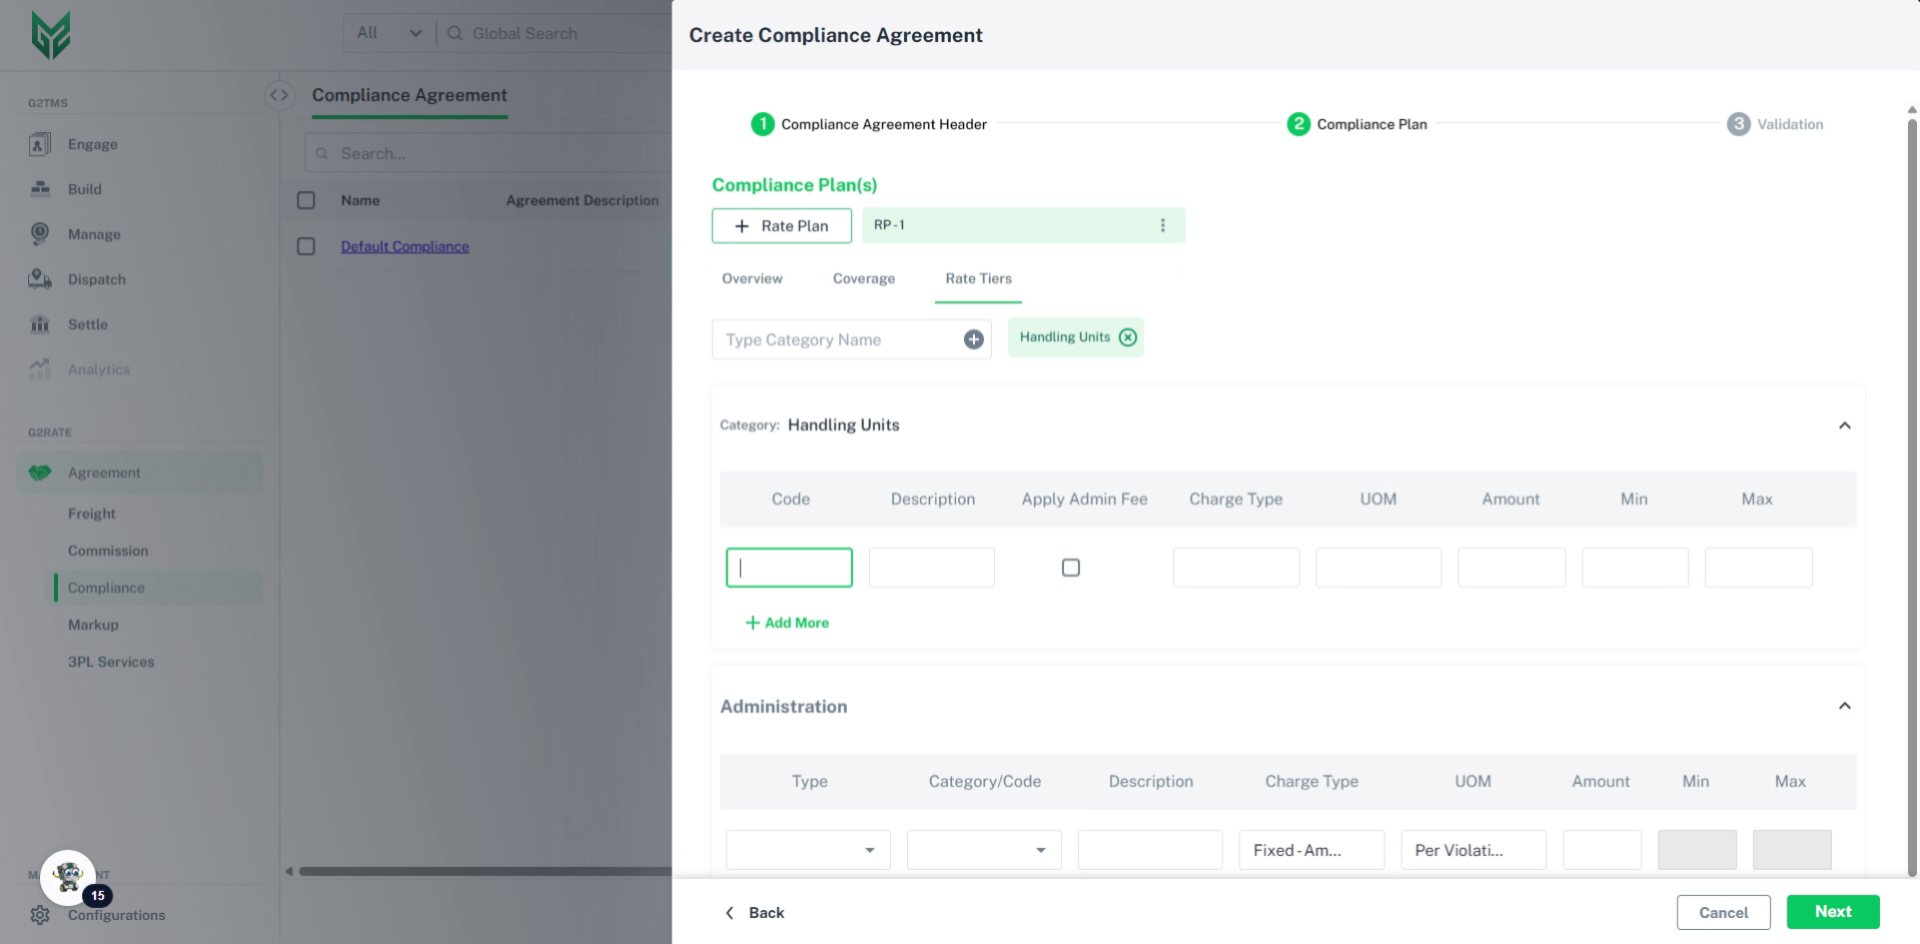
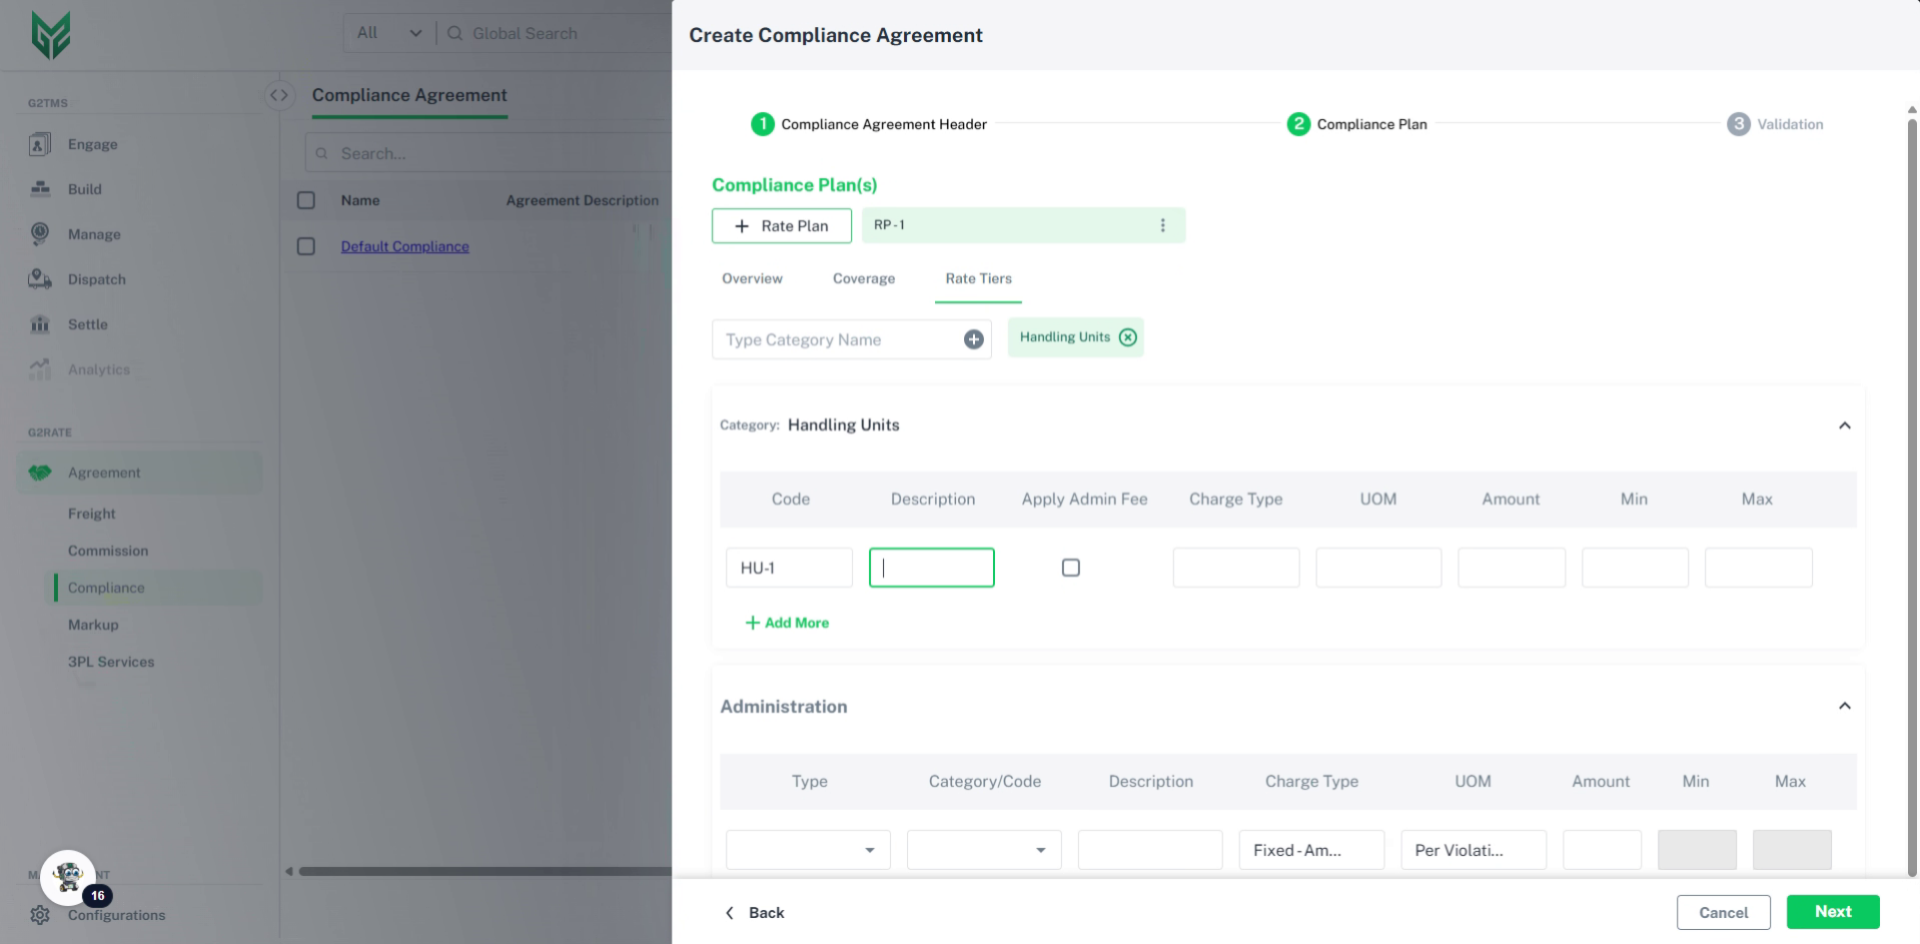
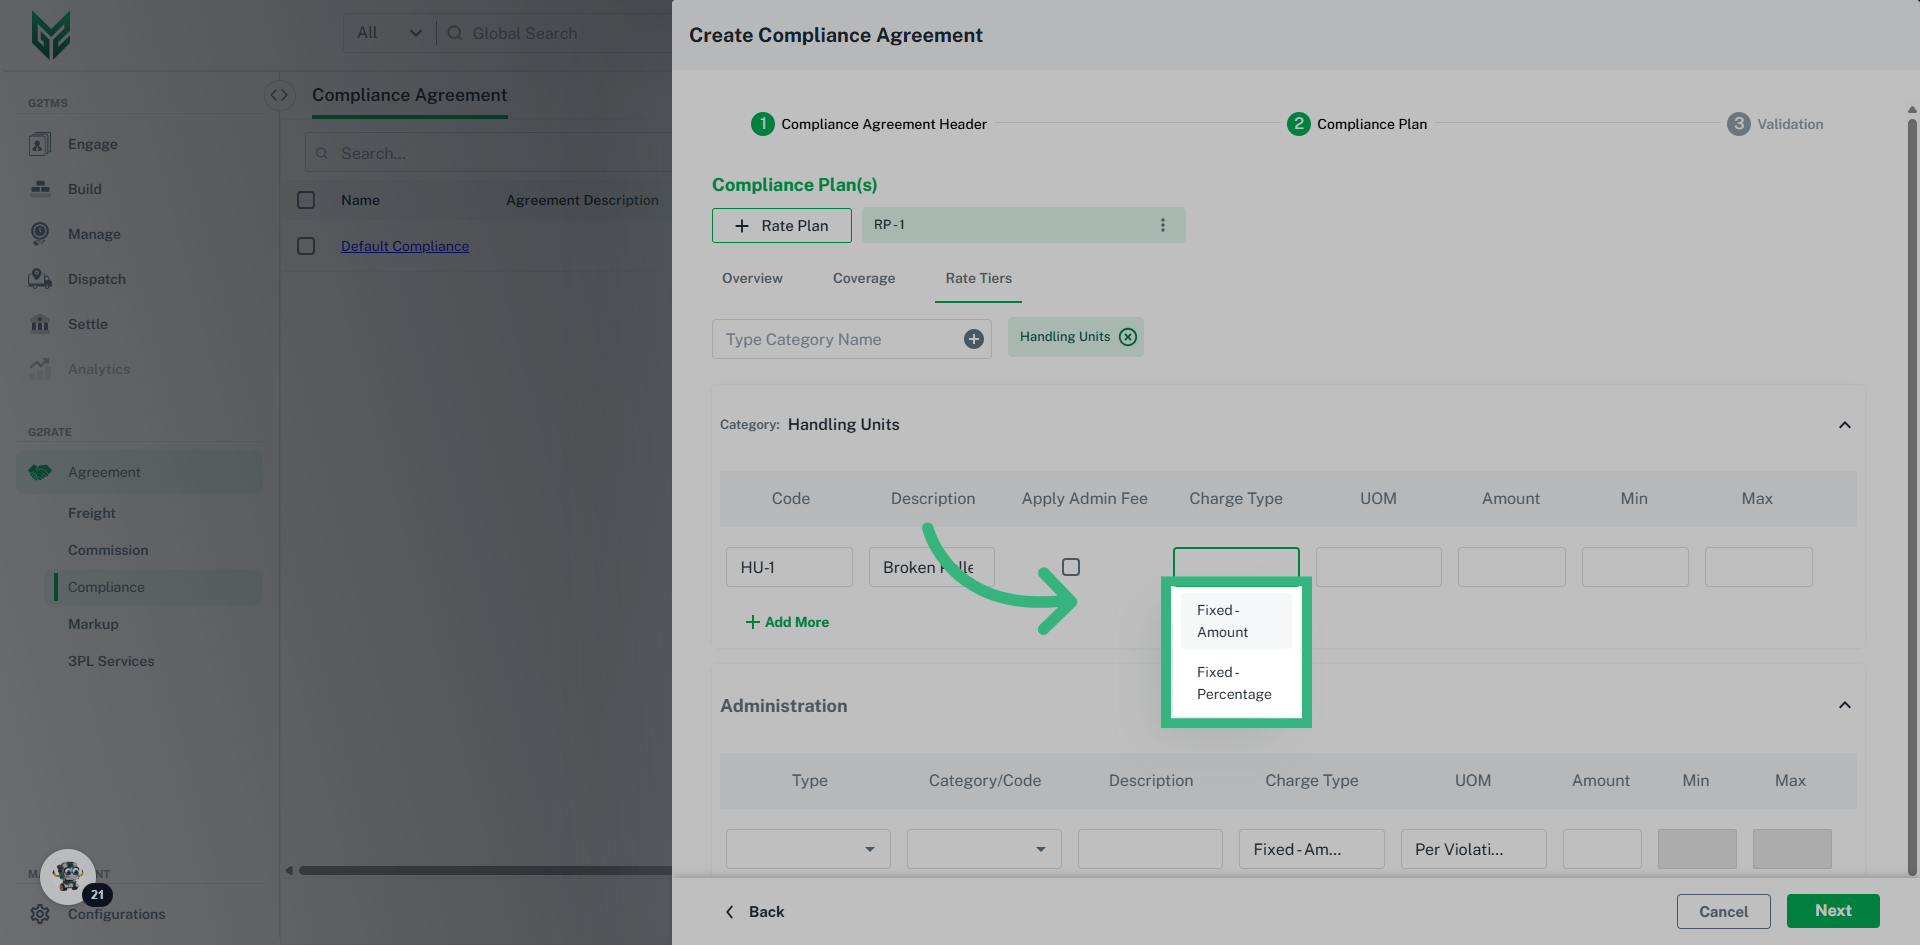
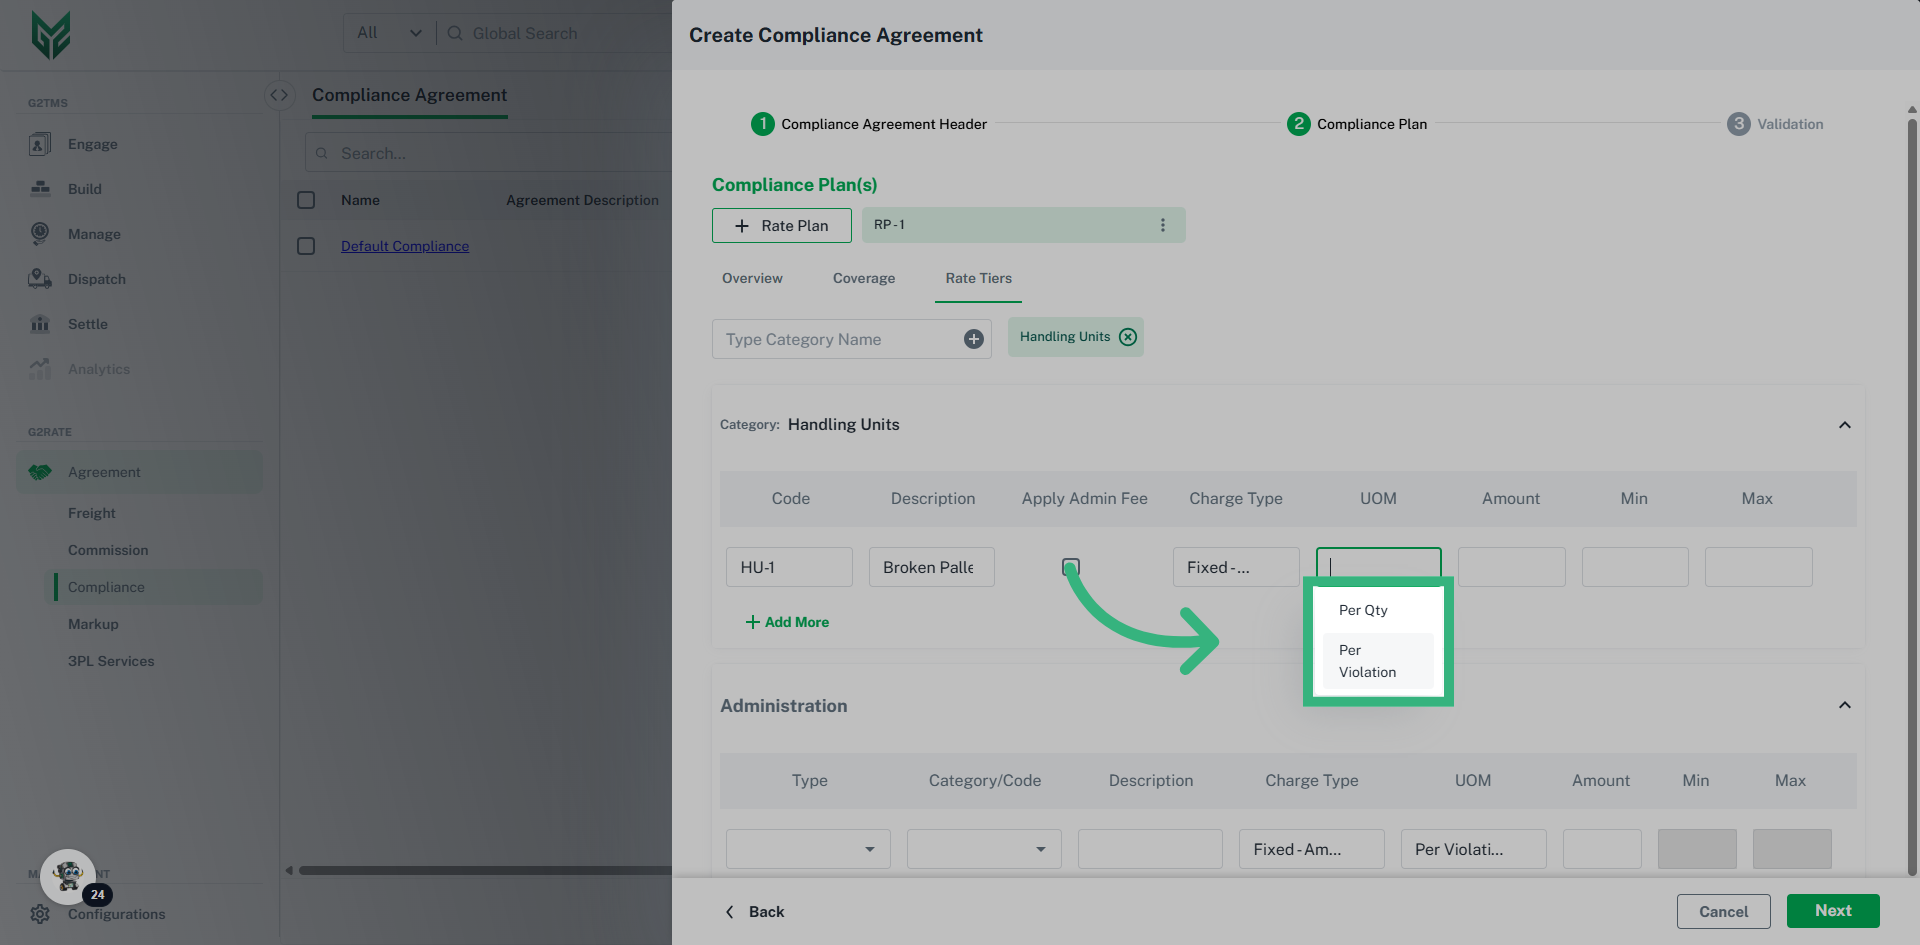
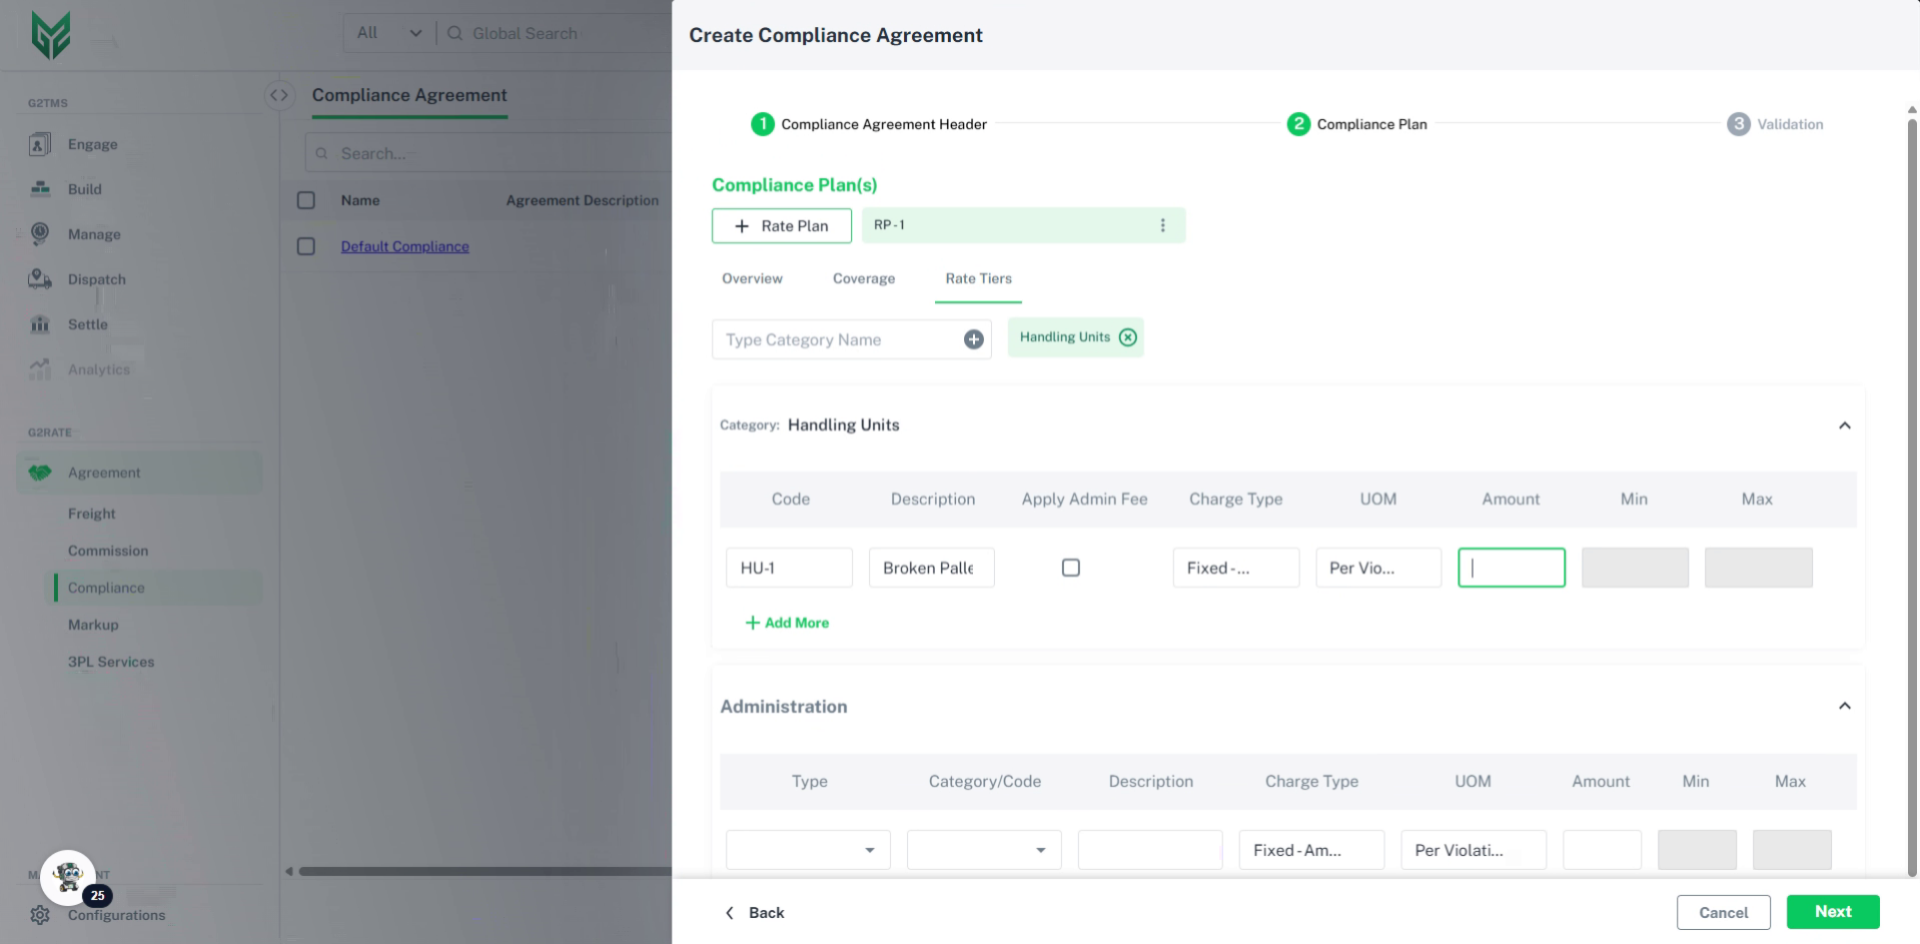
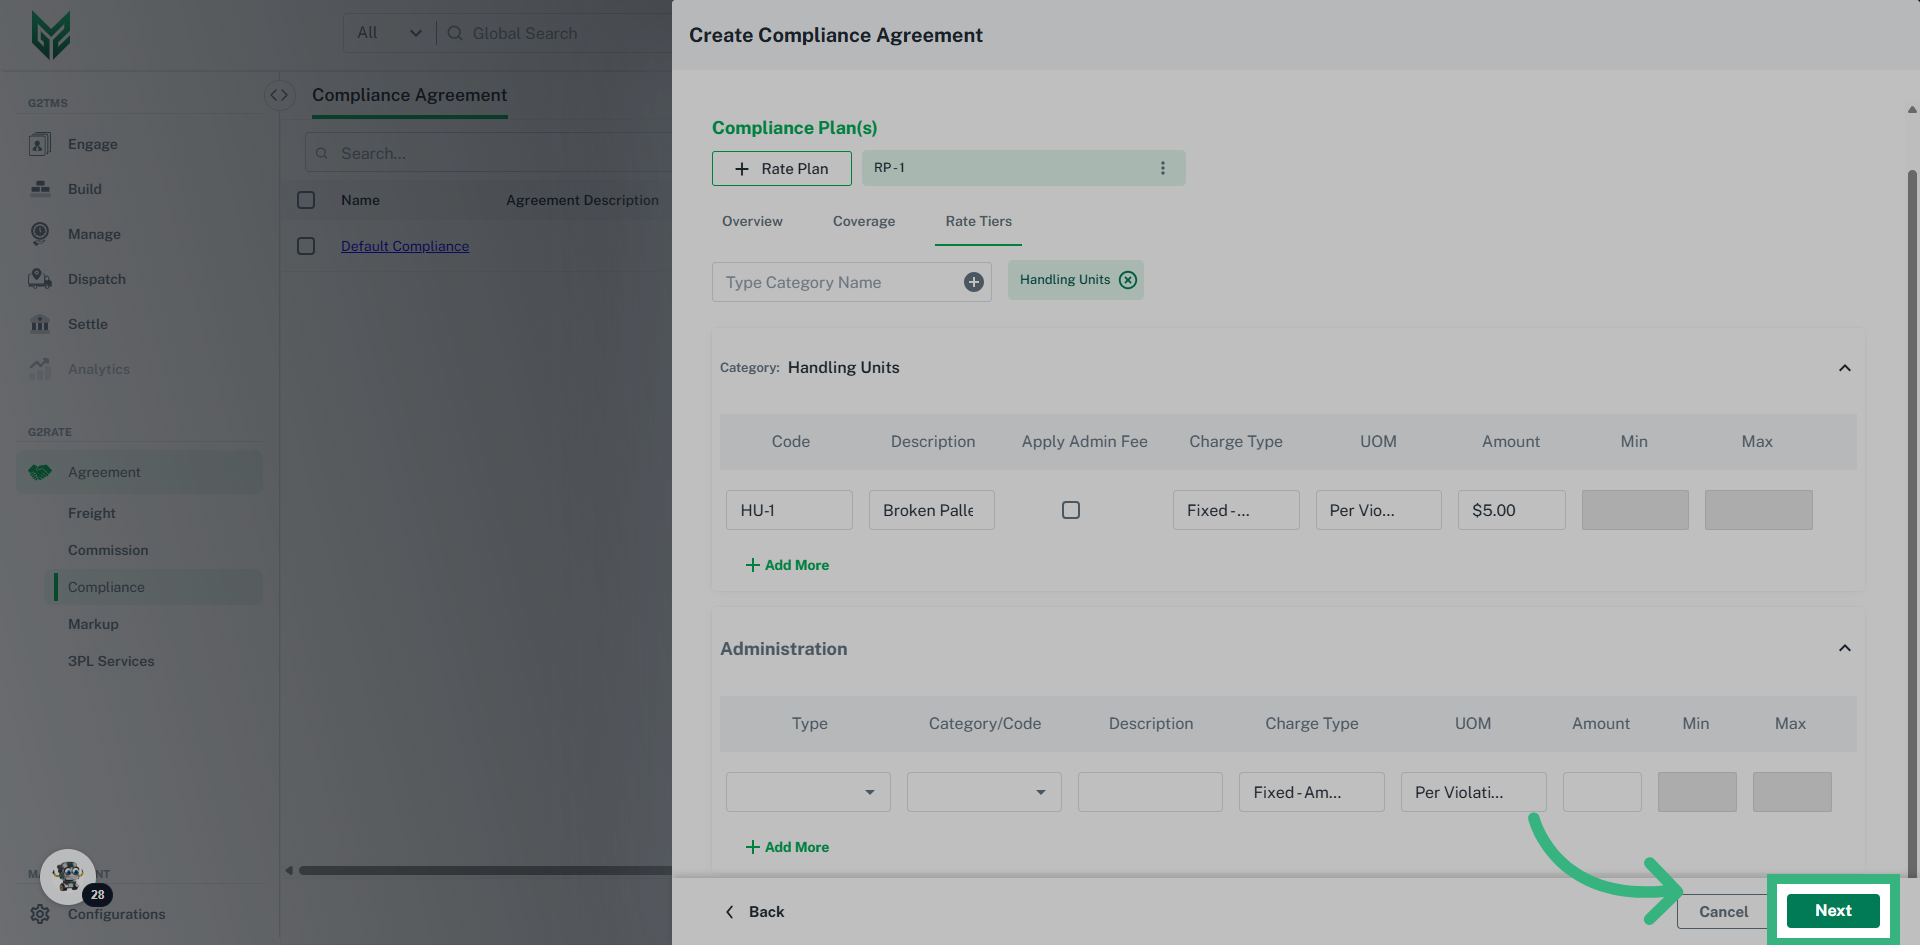
- Type Category Name: Category Name is a "freeform text" that can specify the individual Category Name. Multiple names can be created by selecting the "Plus" symbol. After Category is created, entered required information including Code, Description, Apply Admin Fee checkbox, Charge Type, UOM, Amount and Min/Max.
- Administration Type: Add an Admin Fee to the agreement
- Category: Apply Admin Fee based upon the Category(s) created above. If Category is selected, only the created Categories will appear as an option.
- Code: Apply Admin Fee based upon the Code(s) created above. If Code is selected, only the created Codes will appear as an option.
- Global: Select Global if you want Admin Fees determined by the checkbox Apply Admin Fee.
- Apply Admin Fee: Select this checkbox if this compliance plan has an admin fee associated with it. If yes, set Admin Type to Global.