Last Updated: April 26, 2025
Applies to:
Shippers, Carriers
Common Scenarios/Challenges:
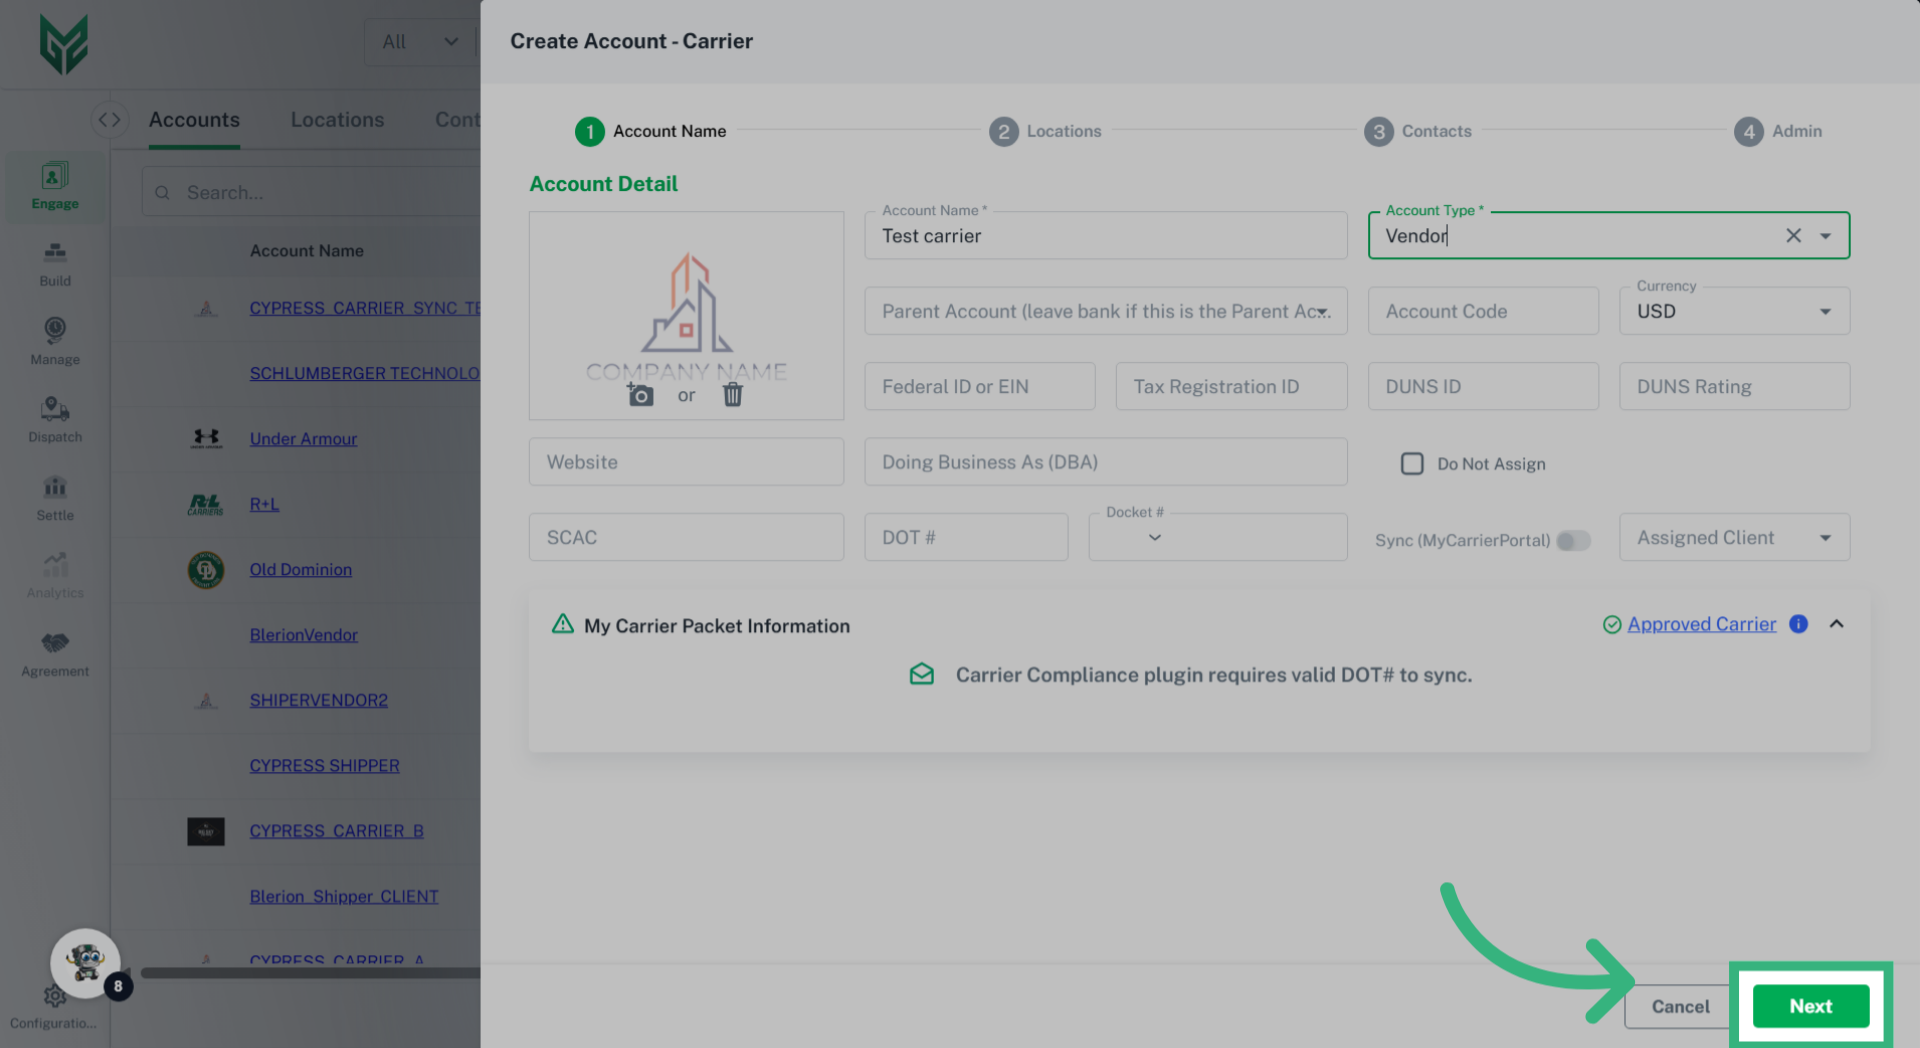
The Engage Account feature enables users to establish an entity within the Licensed Account of the TMS, representing an organization or company that will engage in various transactions within the system, such as shipments and settlements.
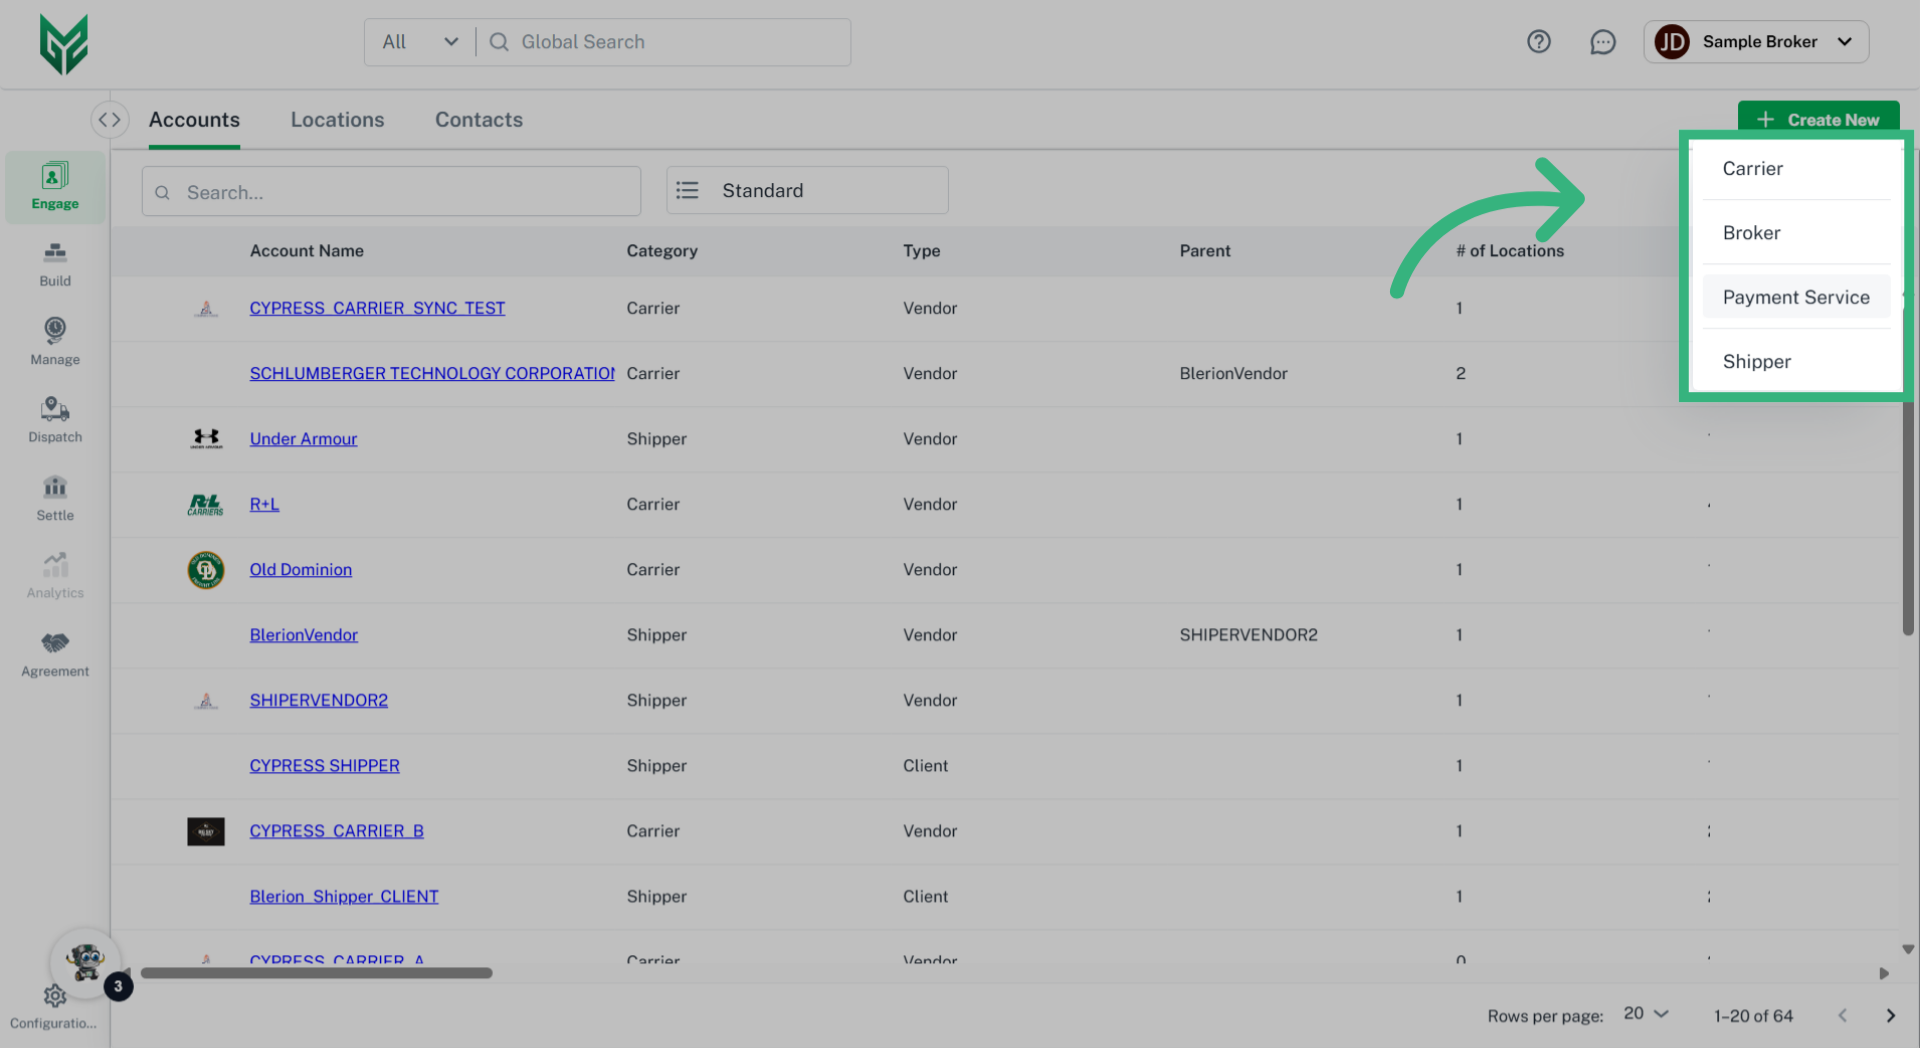
Engage Accounts can take on several personas, including:
- Broker
- Shipper
- Carrier
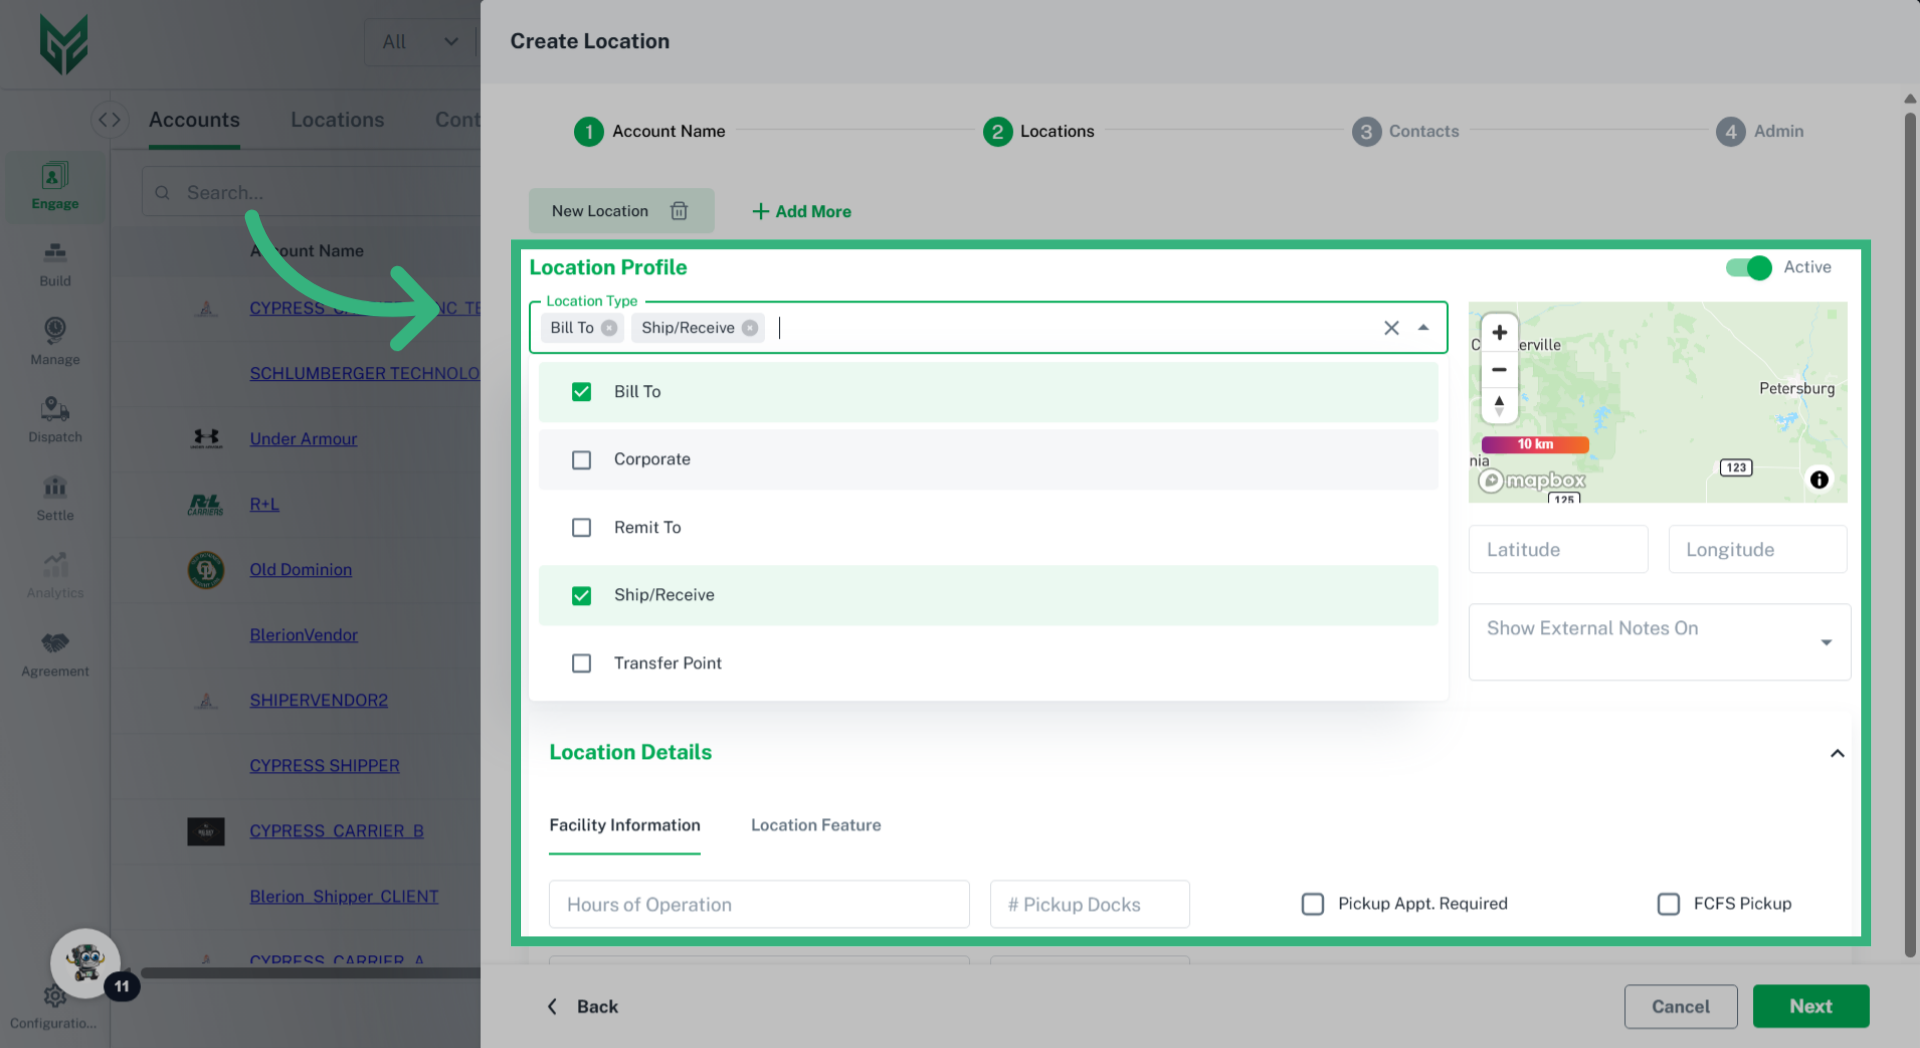
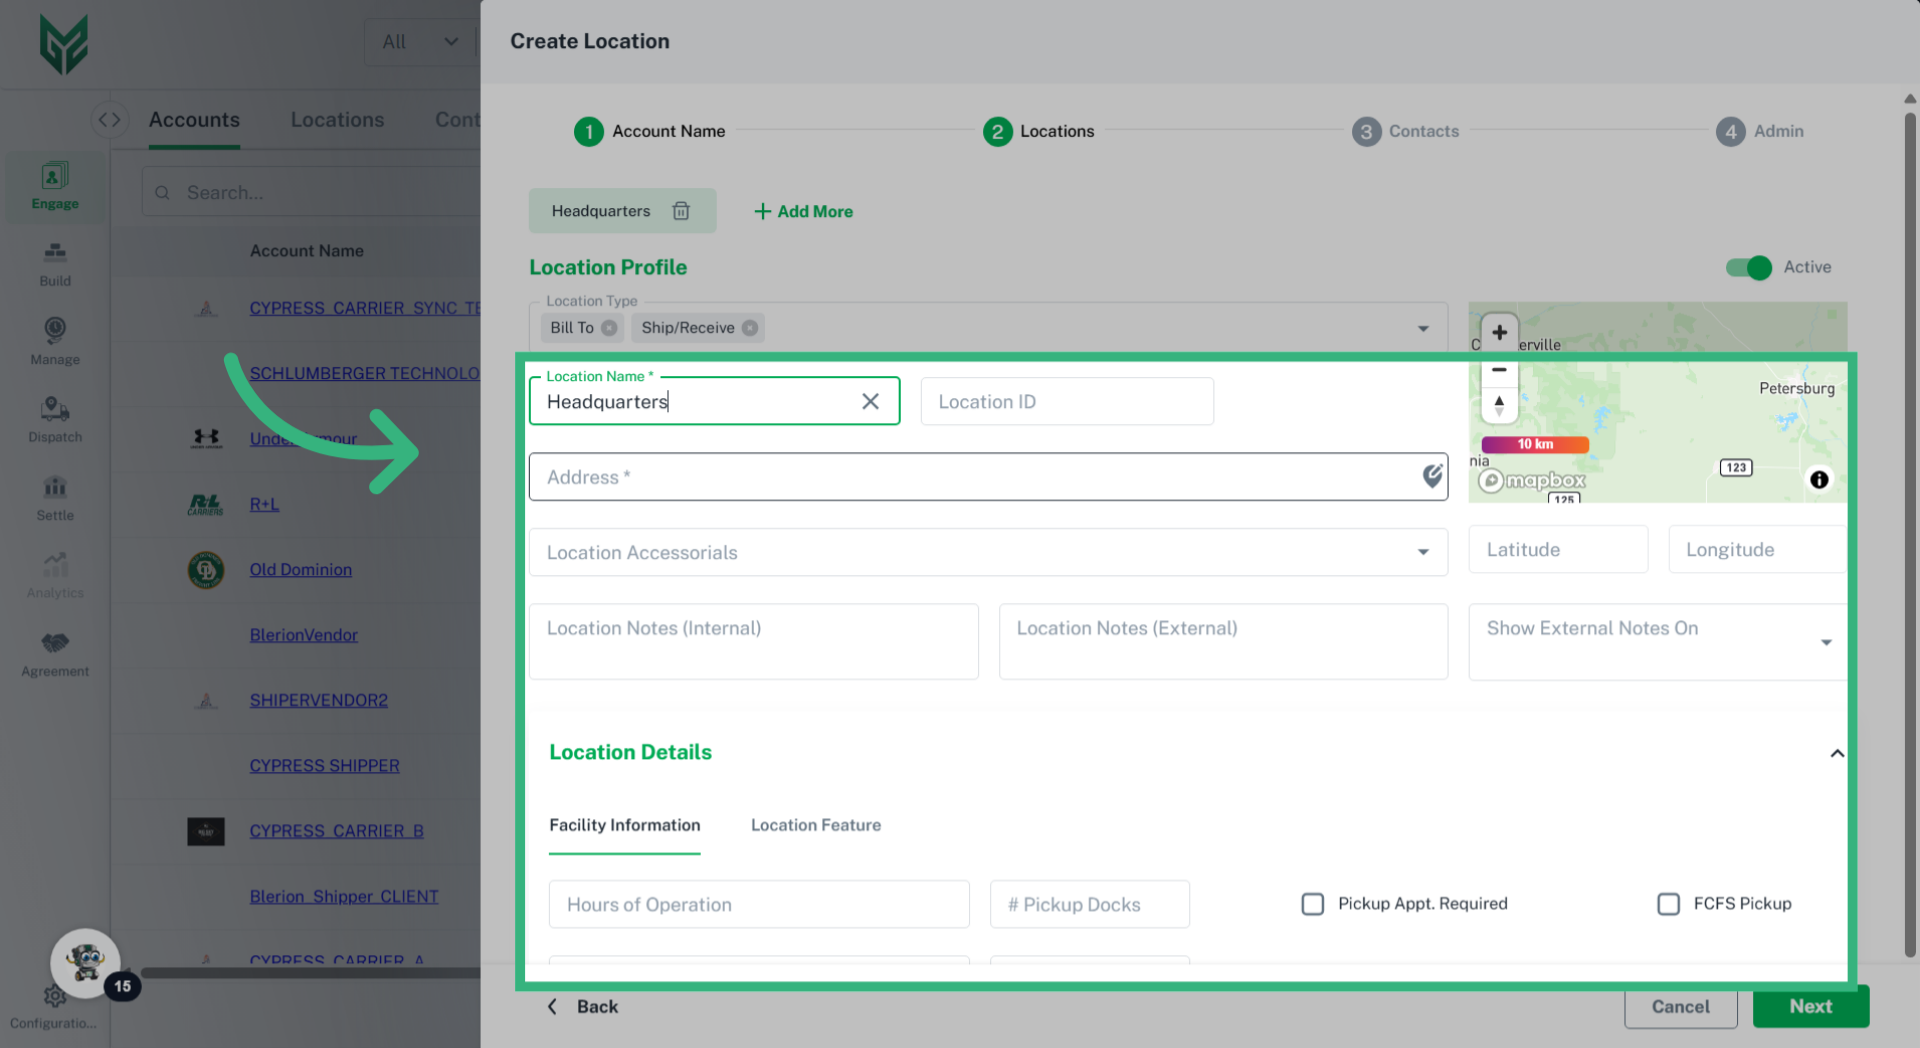
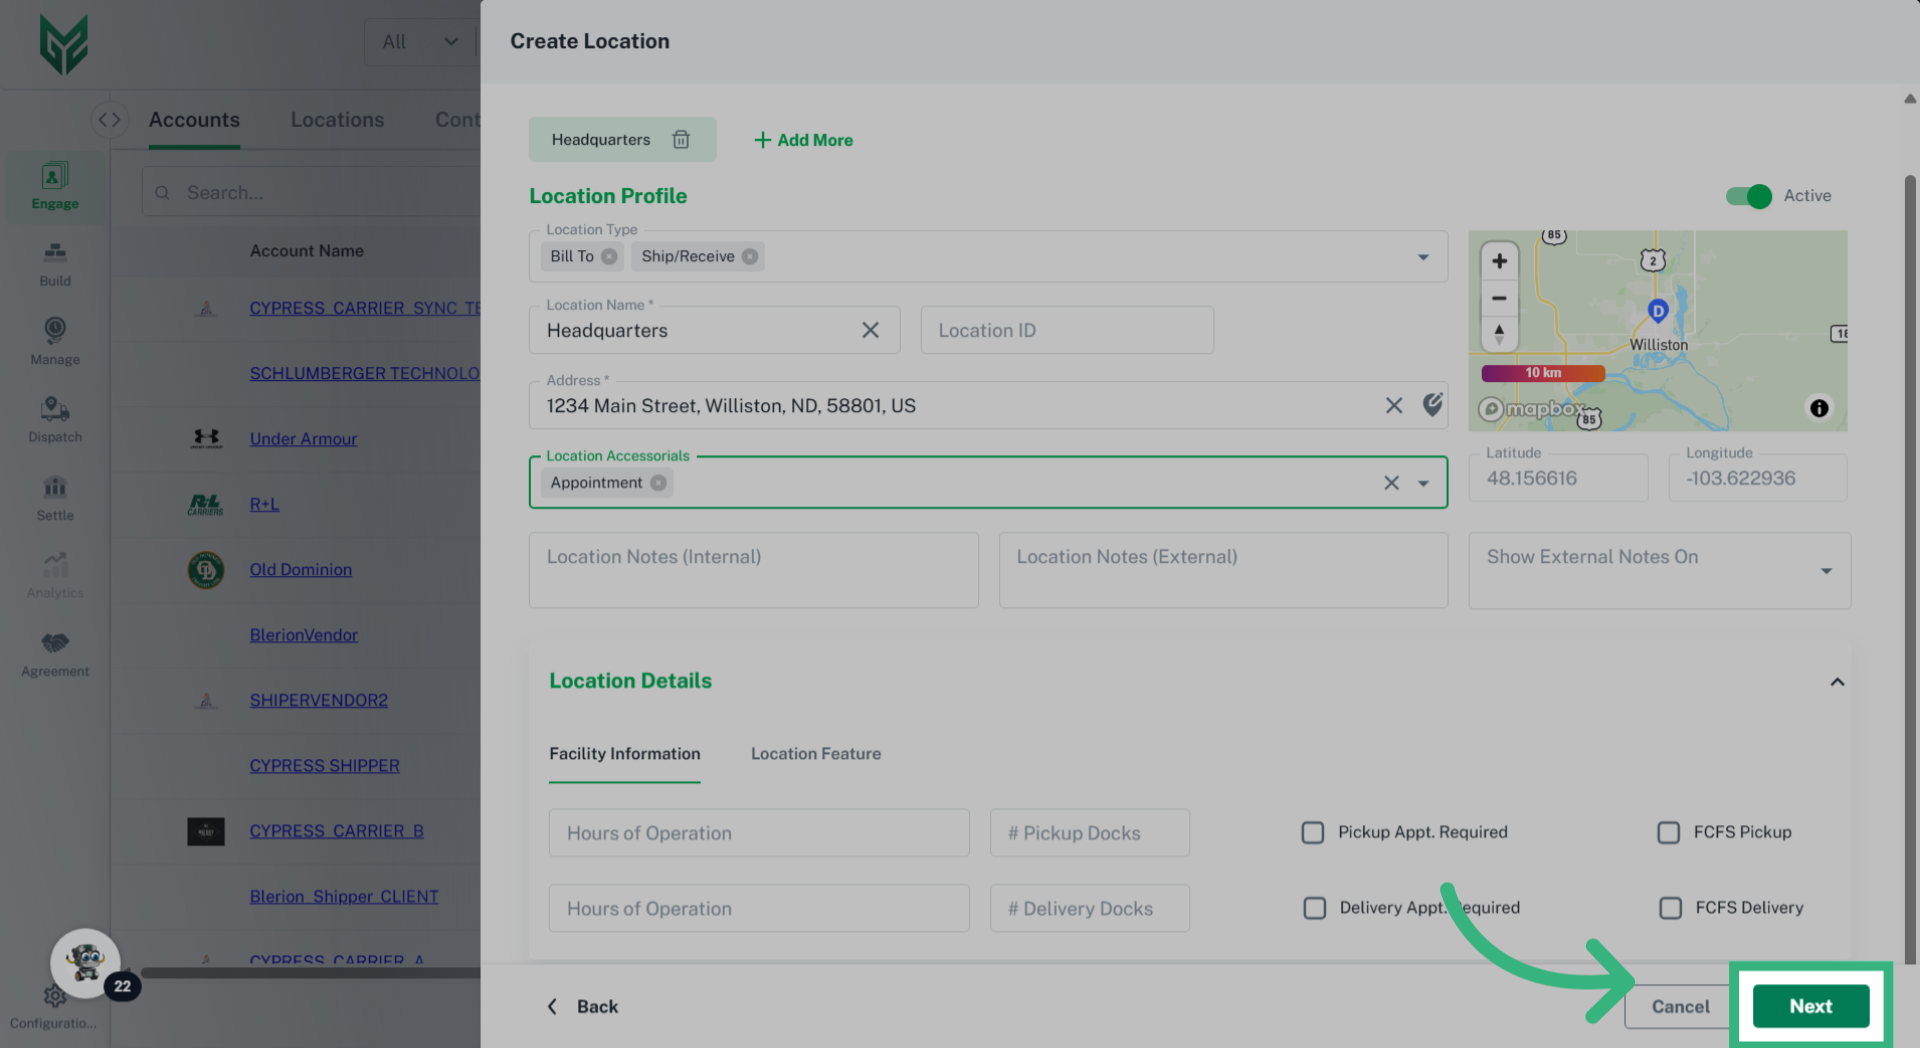
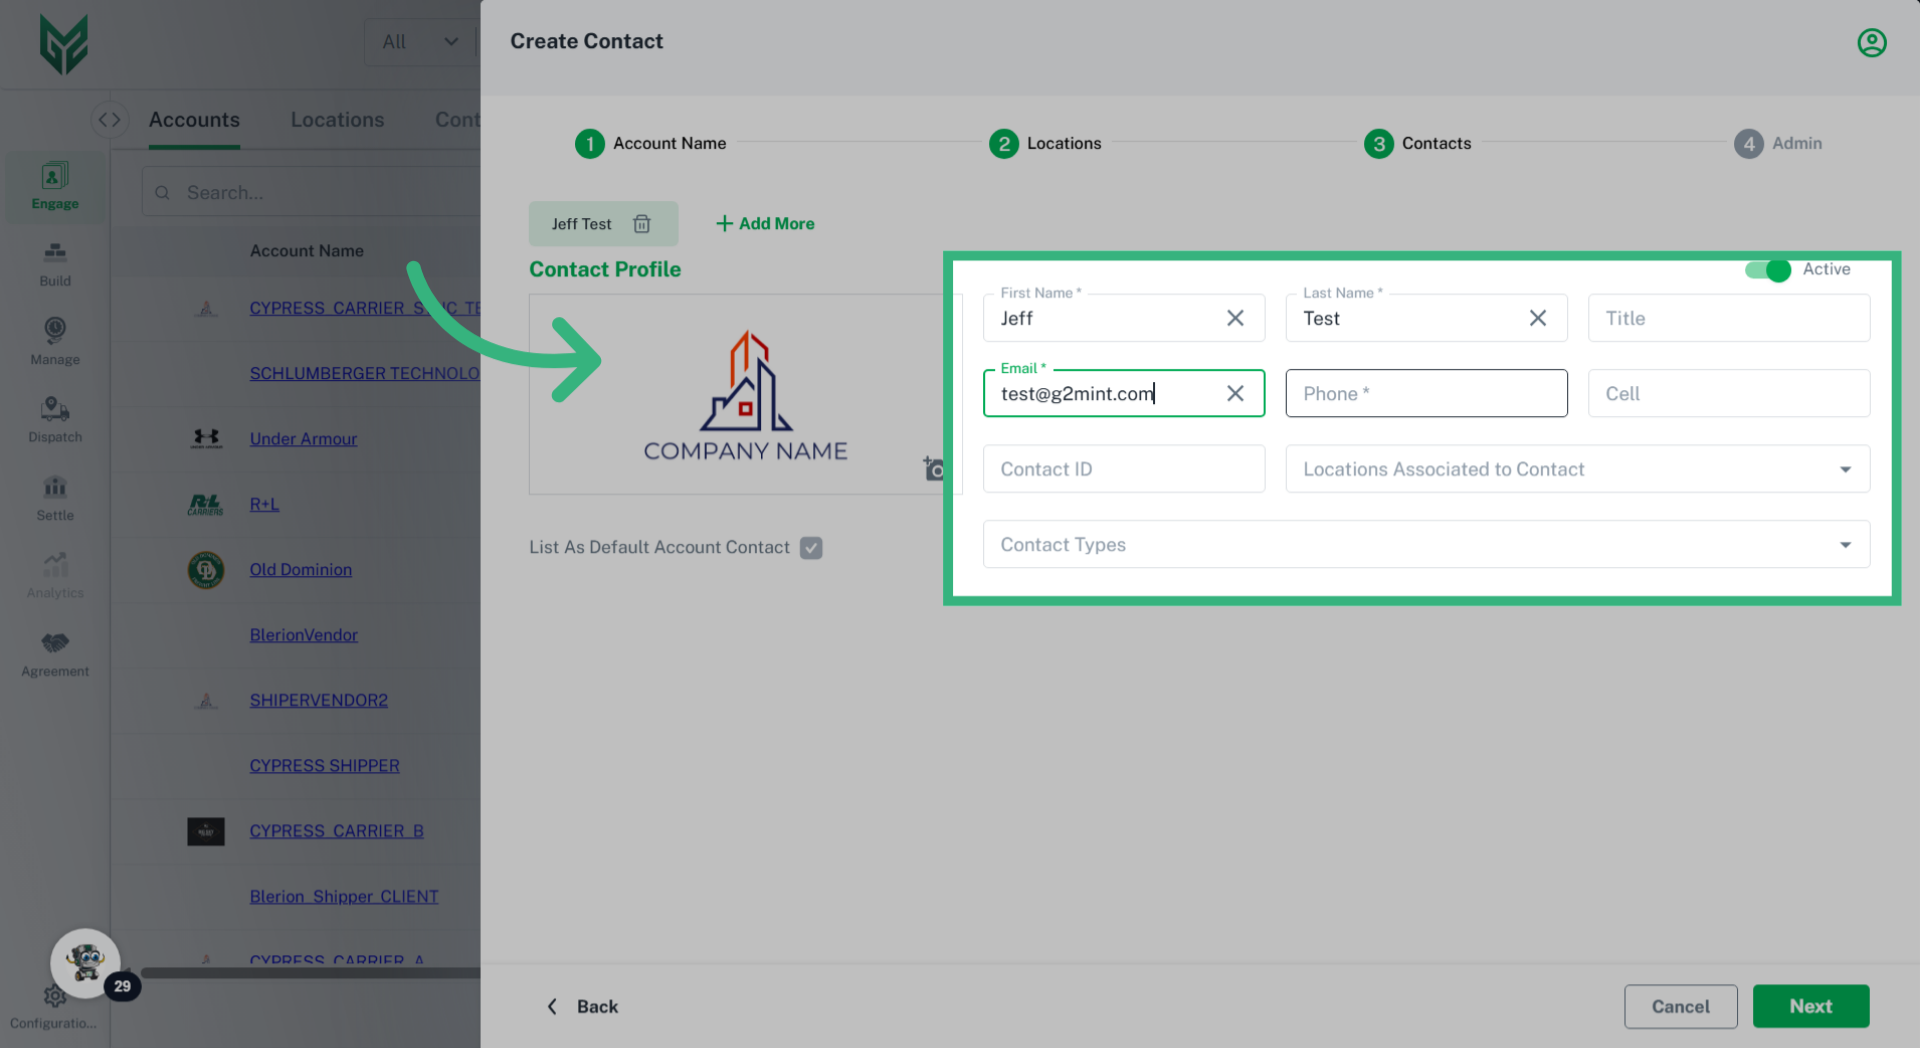
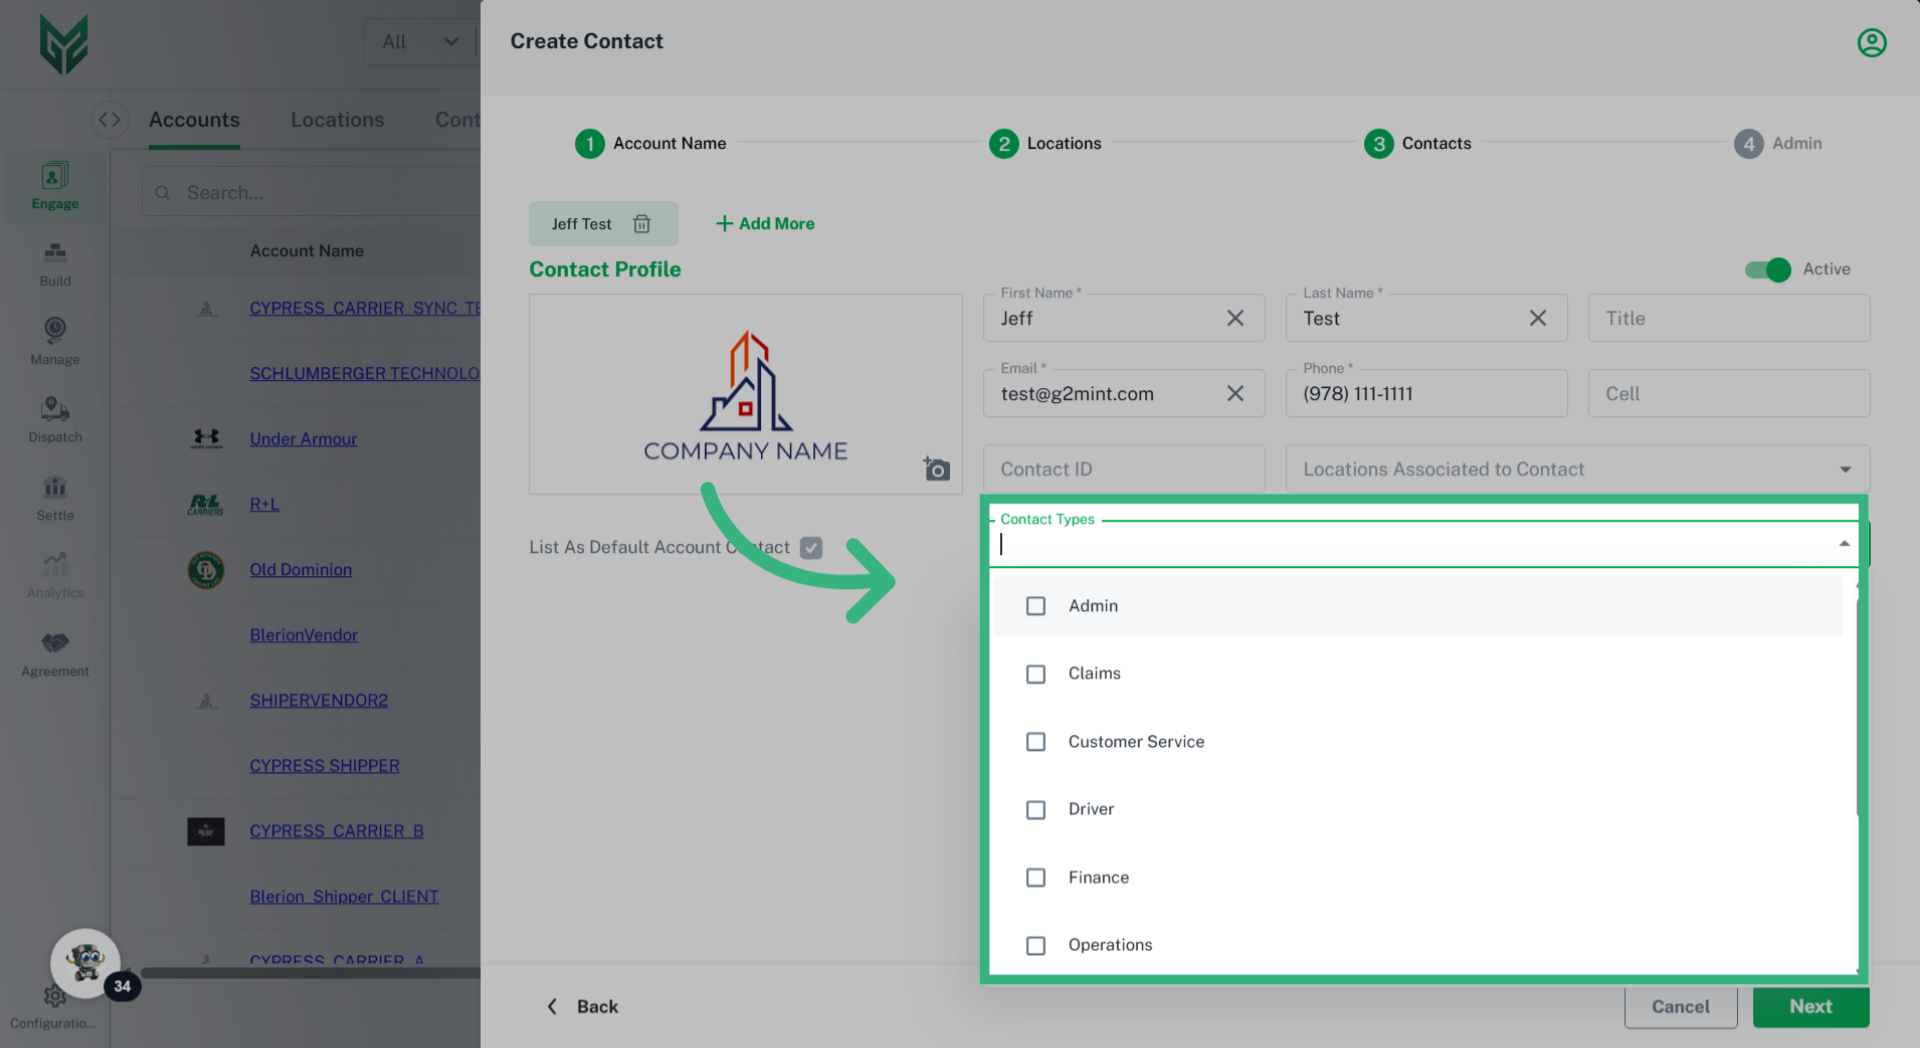
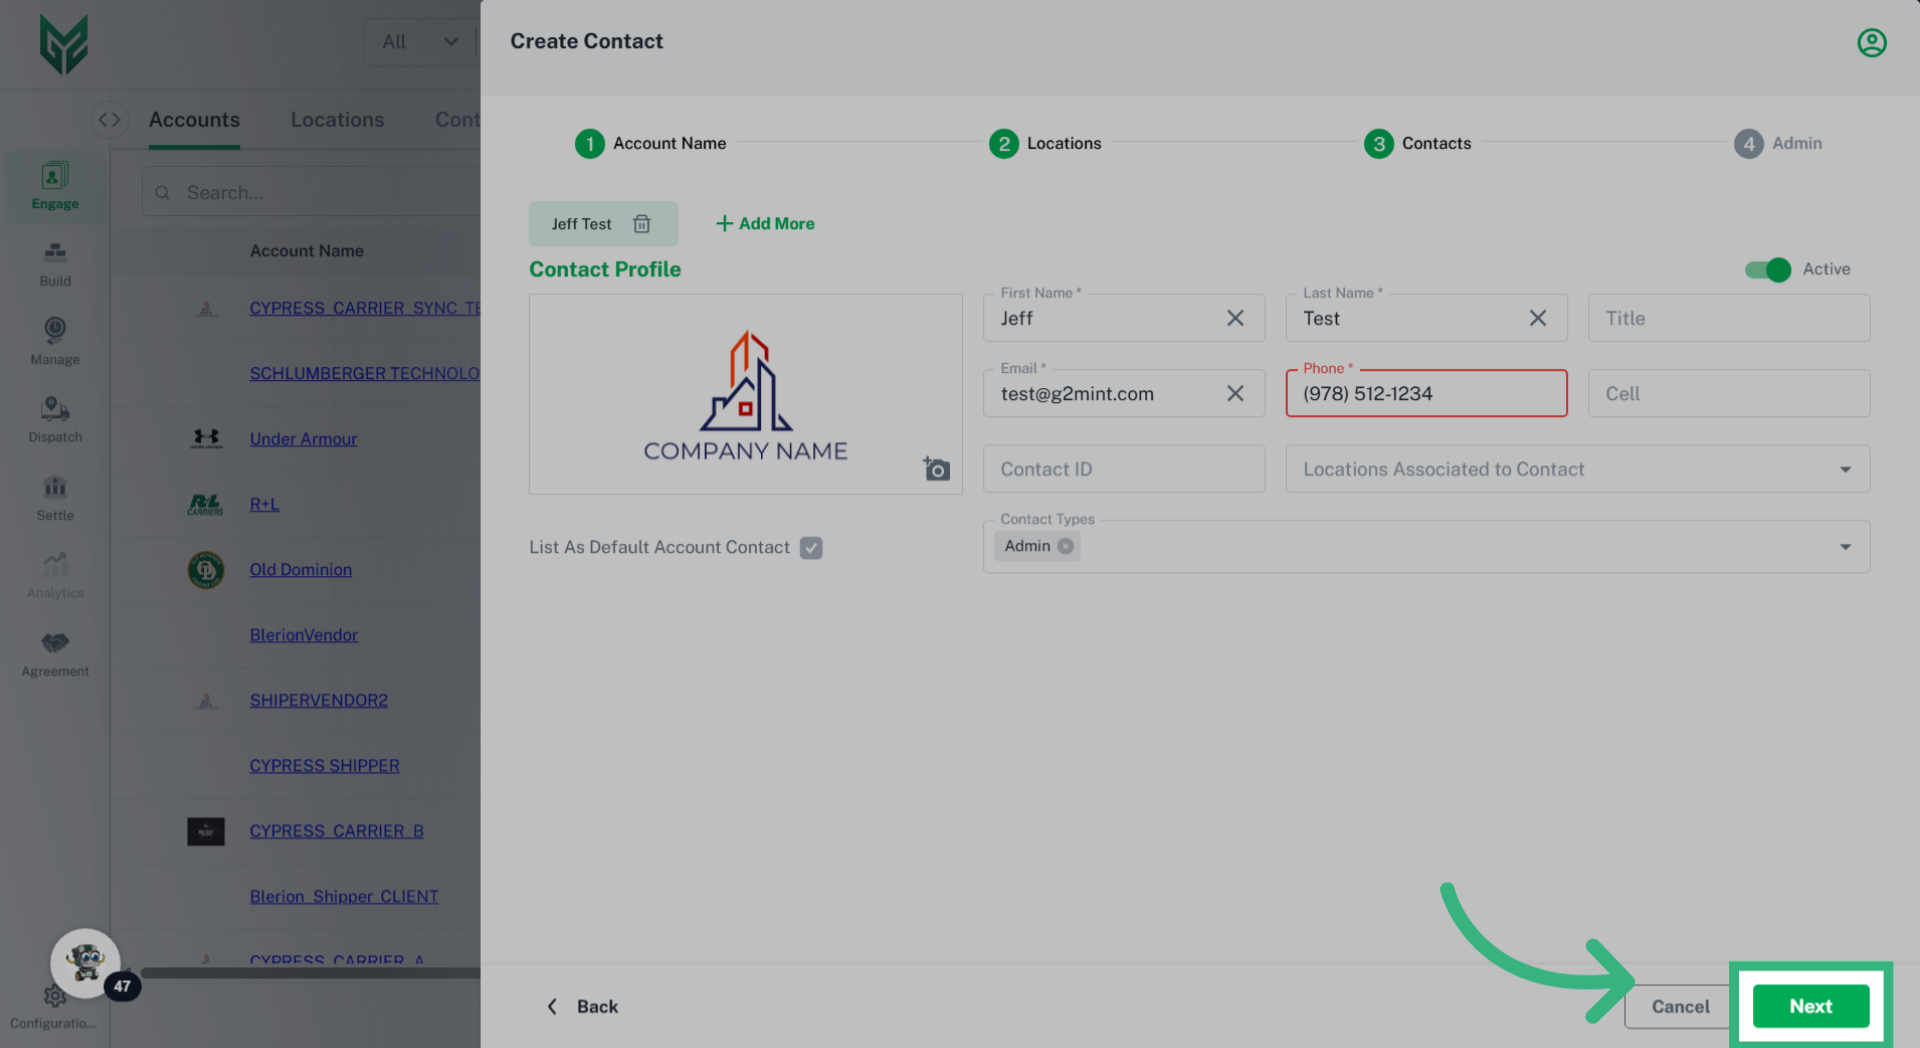
Each type of Engage Account is responsible for managing its specific attributes, including profiles, credit ratings, compliance, and capabilities. Furthermore, every Engage Account can have unique preferences and system settings tailored to its needs. In the G2M TMS, it is mandatory for each Engage Account to have at least one Location (typically designated as a Billing location) and one Contact (which includes a name and email address).
Solution Overview:
Once an Engage Account is created, all relevant information linked to that account will automatically populate in the application wherever applicable.
Admin in Engage: Accounts allows Shipper and Carrier accounts to identify and select alternate payments or invoicing (3rd party payment solutions). In addition, if the account is a Carrier, the Admin section of My Account is where you enter their Safety & Compliance information (Assessment Source and Score), as well as insurance information, including coverage limit.
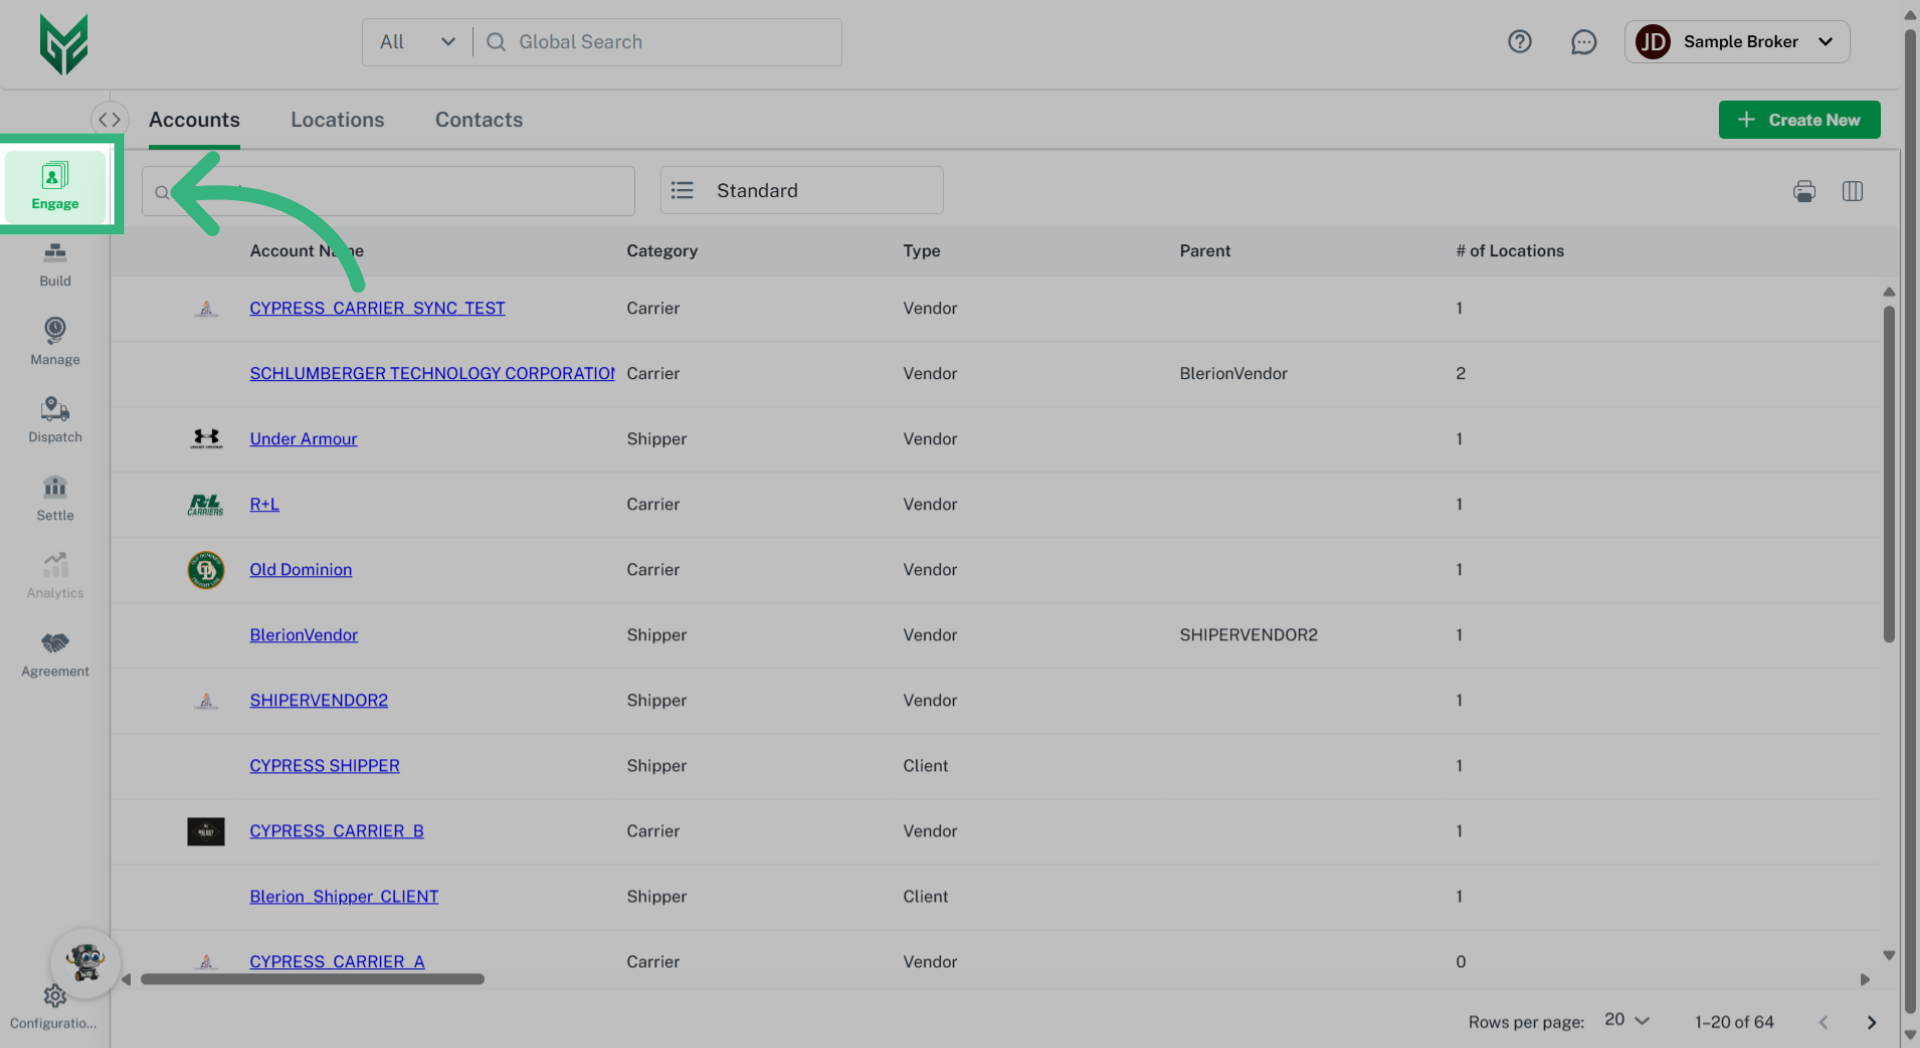
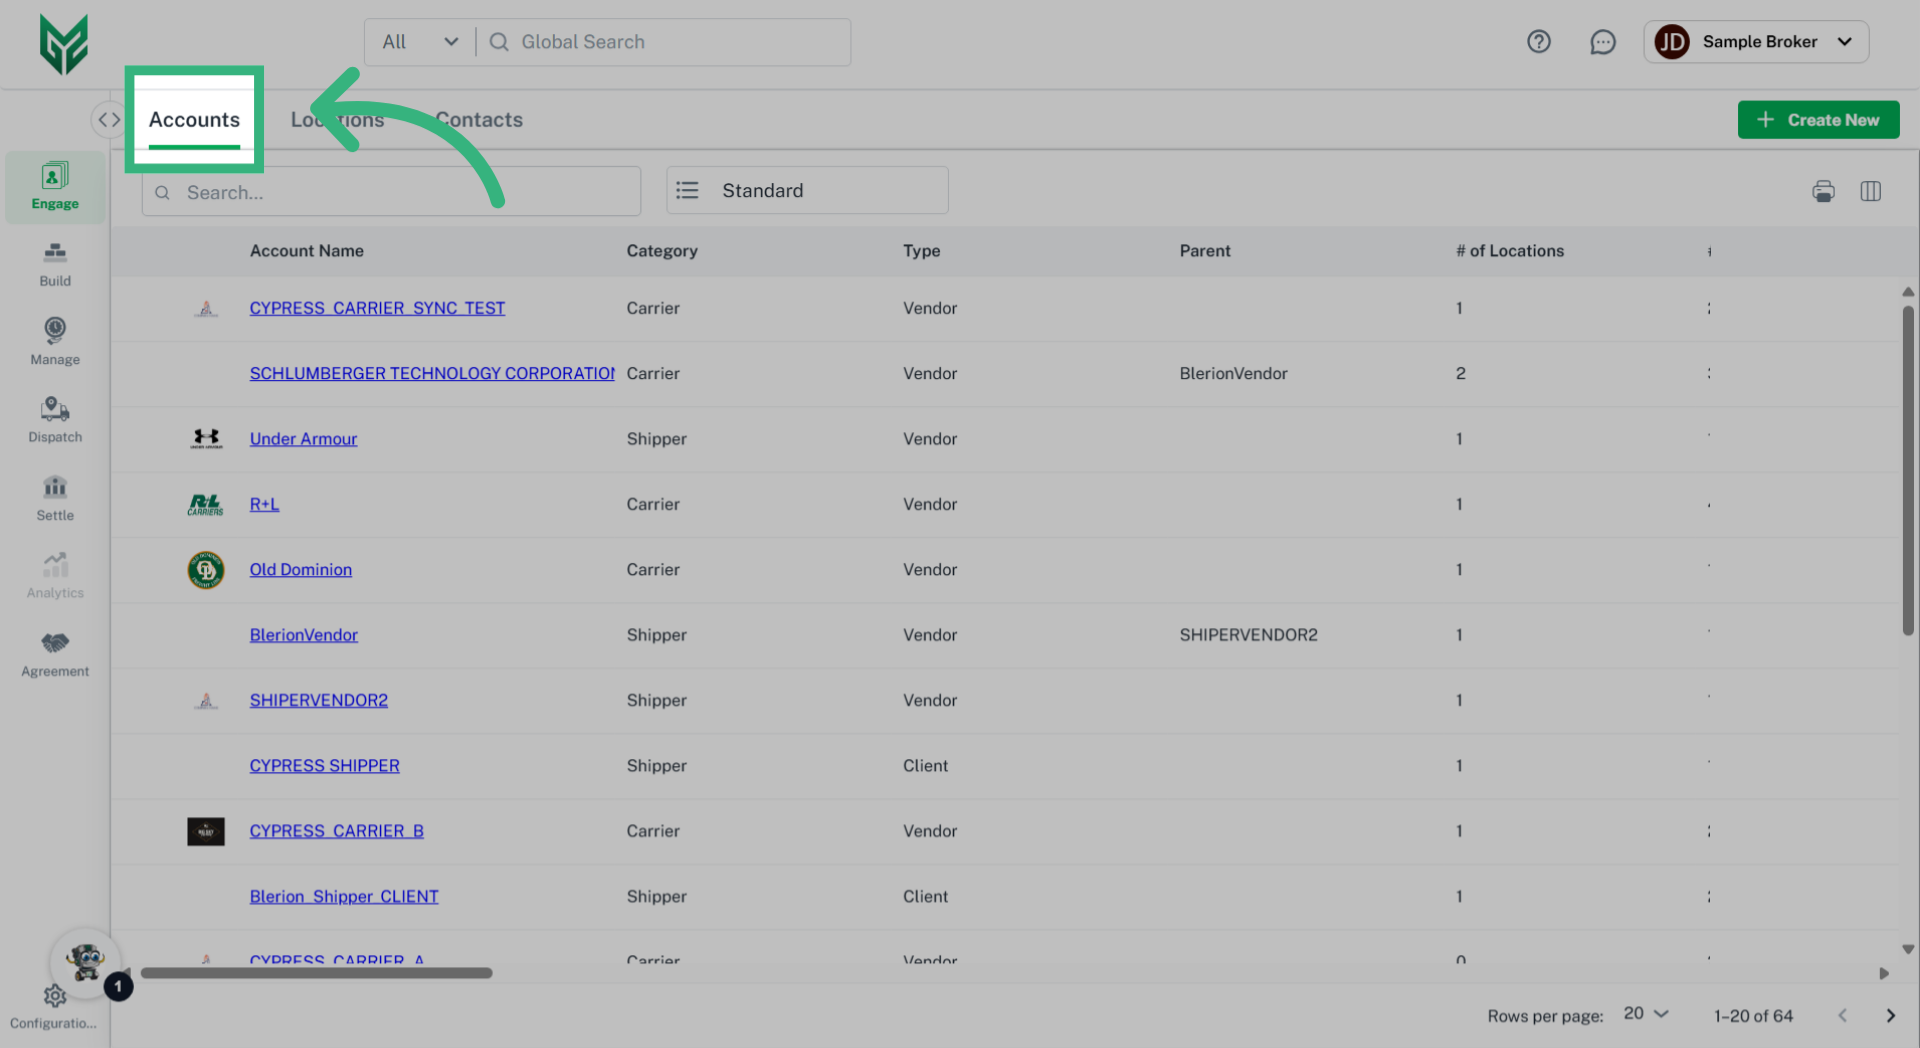
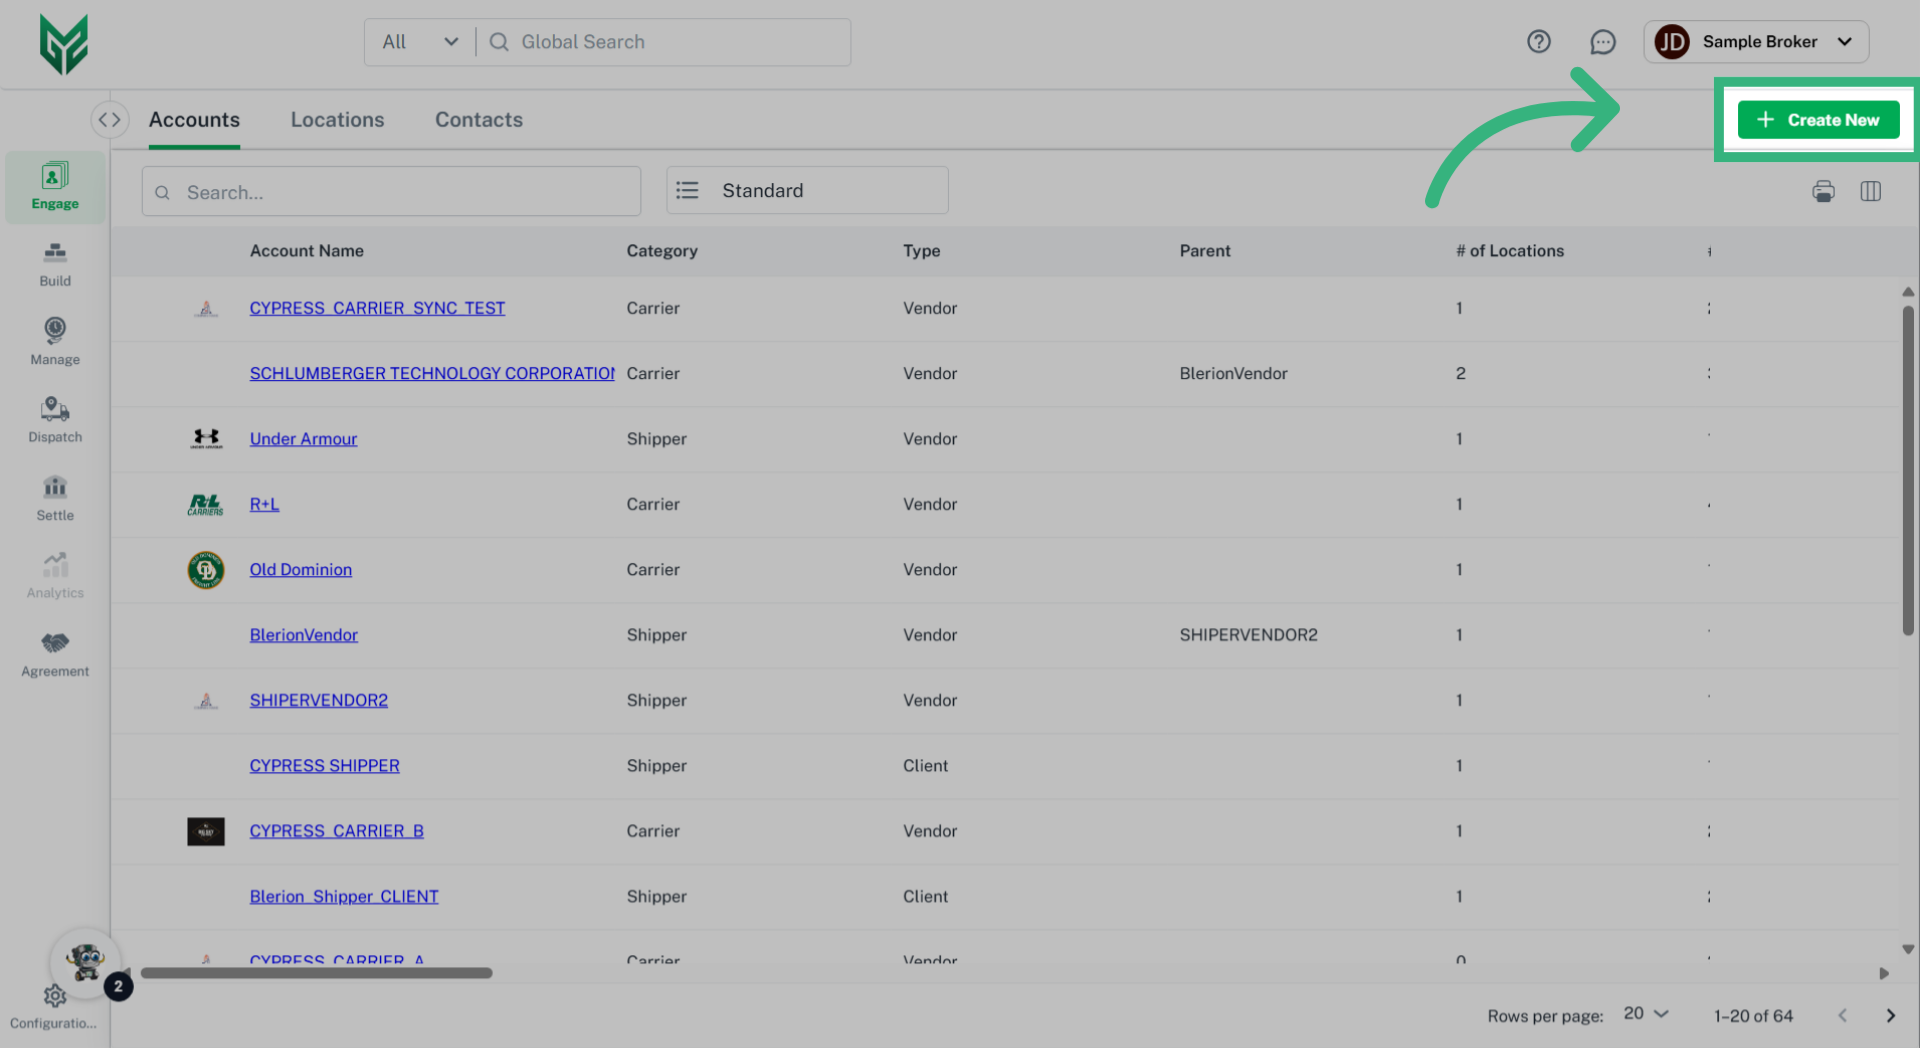
How to Create an Engage Account:


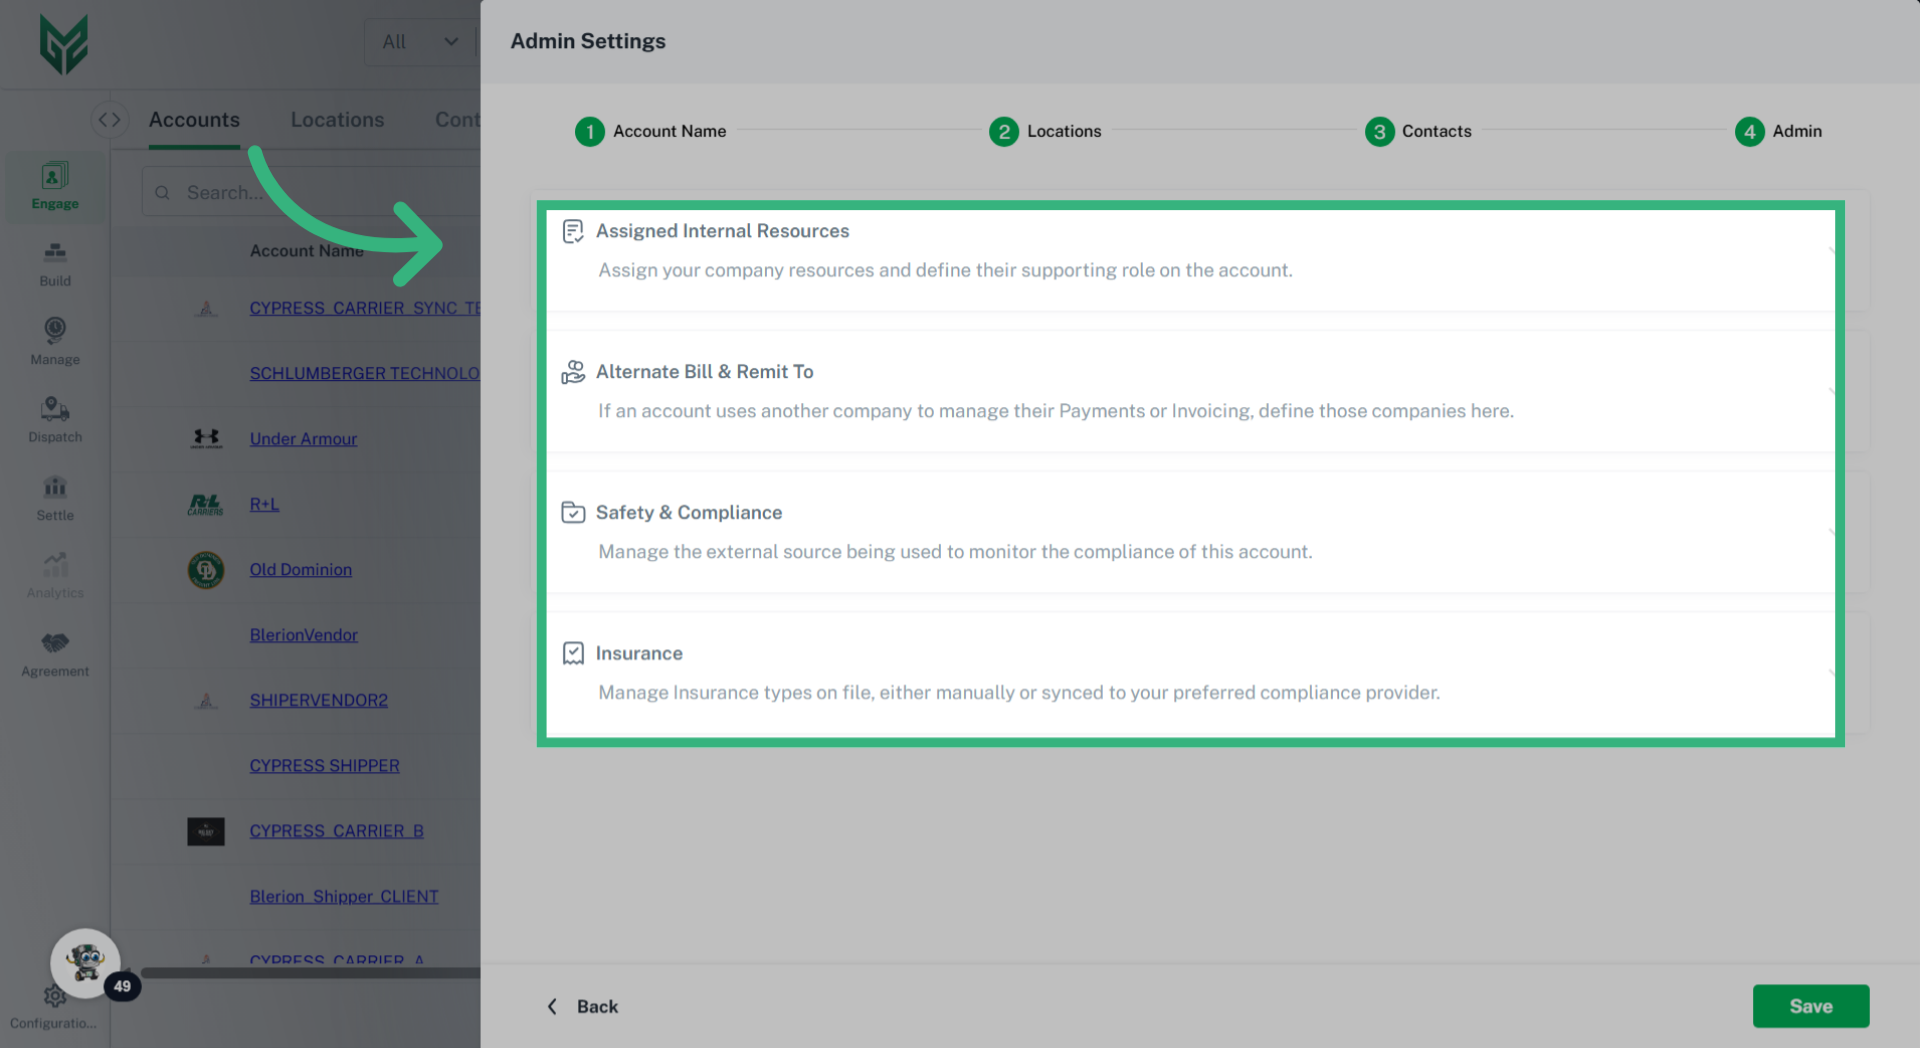
Admin allows licensed users to manage, identify, and select alternate payments or invoicing (Bill To/ Remit To), safety and compliance, or insurance for an account. To set Admin features:
- Sections of Admin include:
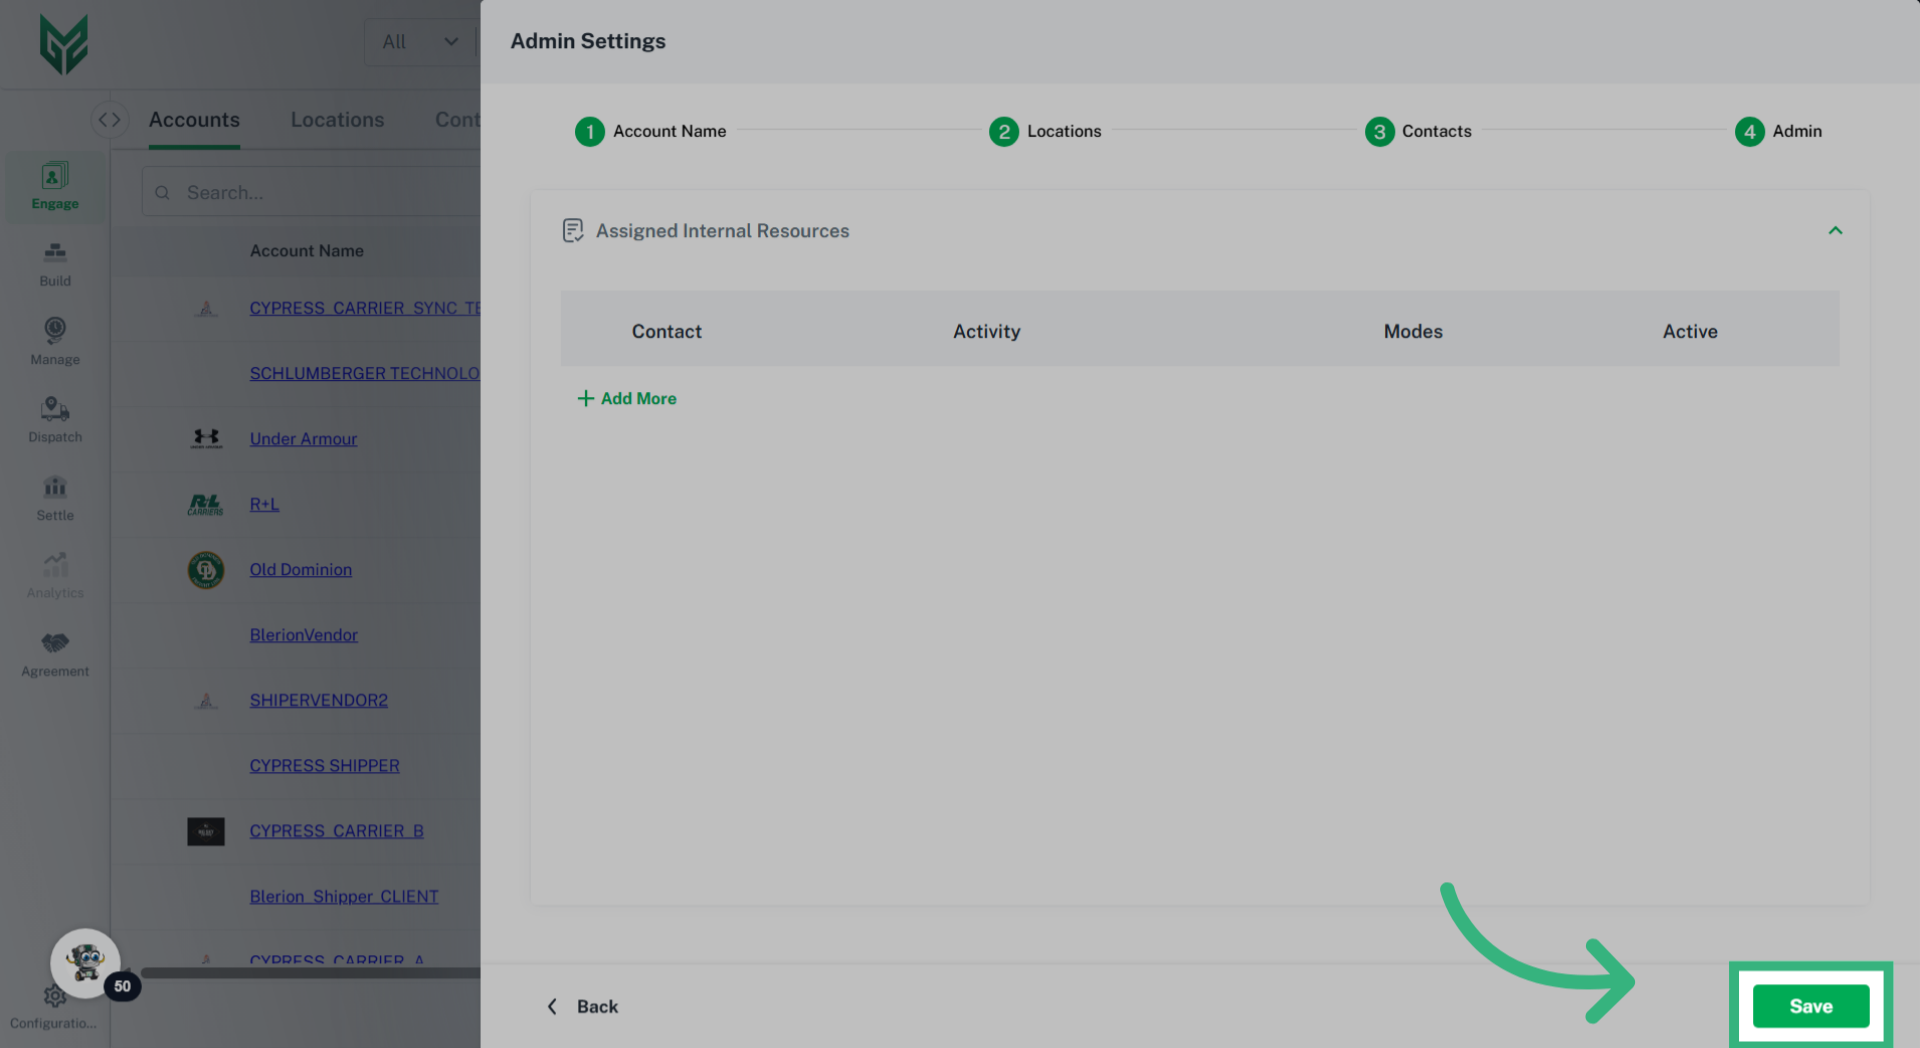
- Assigned Internal Resources (Carrier & Shipper accounts): Internal Resources allows you to assign specific members of your team to an Account, like an internal Sales rep associated to the account, or a Customer Service rep. This is a great reference to utilize to ensure proper internal communication regarding an account. The picklist options here will be Contacts of the licensed account.
- Alternate Bill & Remit to (Carrier & Shipper accounts): If an account uses another company to manage their payments or invoicing (3rd party payment company), this is where those accounts are defined.
- Safety & Compliance (Carrier accounts only): Manage the external plug-ins that provide a compliance assessment by selecting the provider and entering the Overall Risk Assessment. Selecting Bypass Validation allows the Carrier to be used regardless of Assessment score.
- Insurance (Carrier accounts only): Enter Insurance information for the Carrier Account, including coverage limit, to which you will be notified if the value of a load exceeds the limit. This can be entered manually, or by syncing with a compliance provider.