Last Updated: April 8, 2025
Applies to:
Shippers, Brokers, Carriers, and Partners
Common Scenarios/Challenges:
The Engage Account feature enables users to establish an entity within the Licensed Account of the TMS, representing an organization or company that will engage in various transactions within the system, such as shipments and settlements.
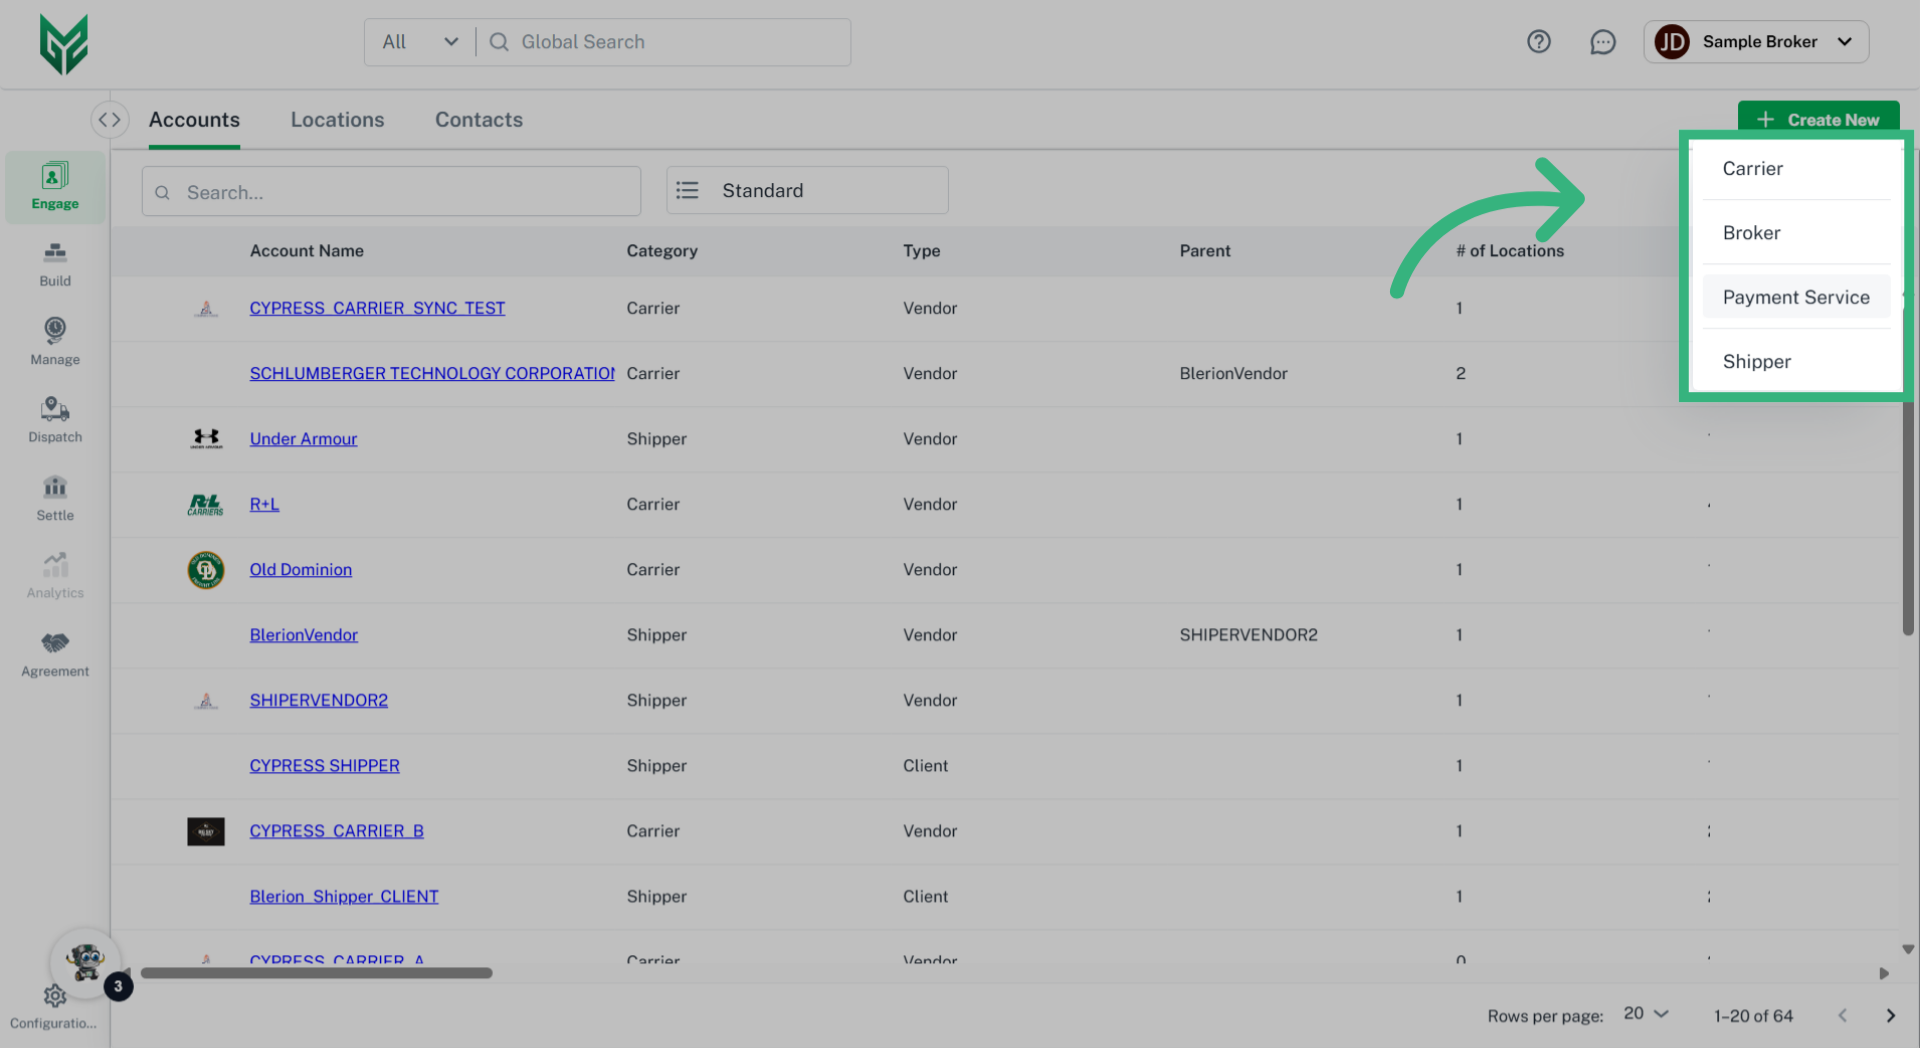
Engage Accounts can take on several personas, including:
- Broker
- Shipper
- Carrier
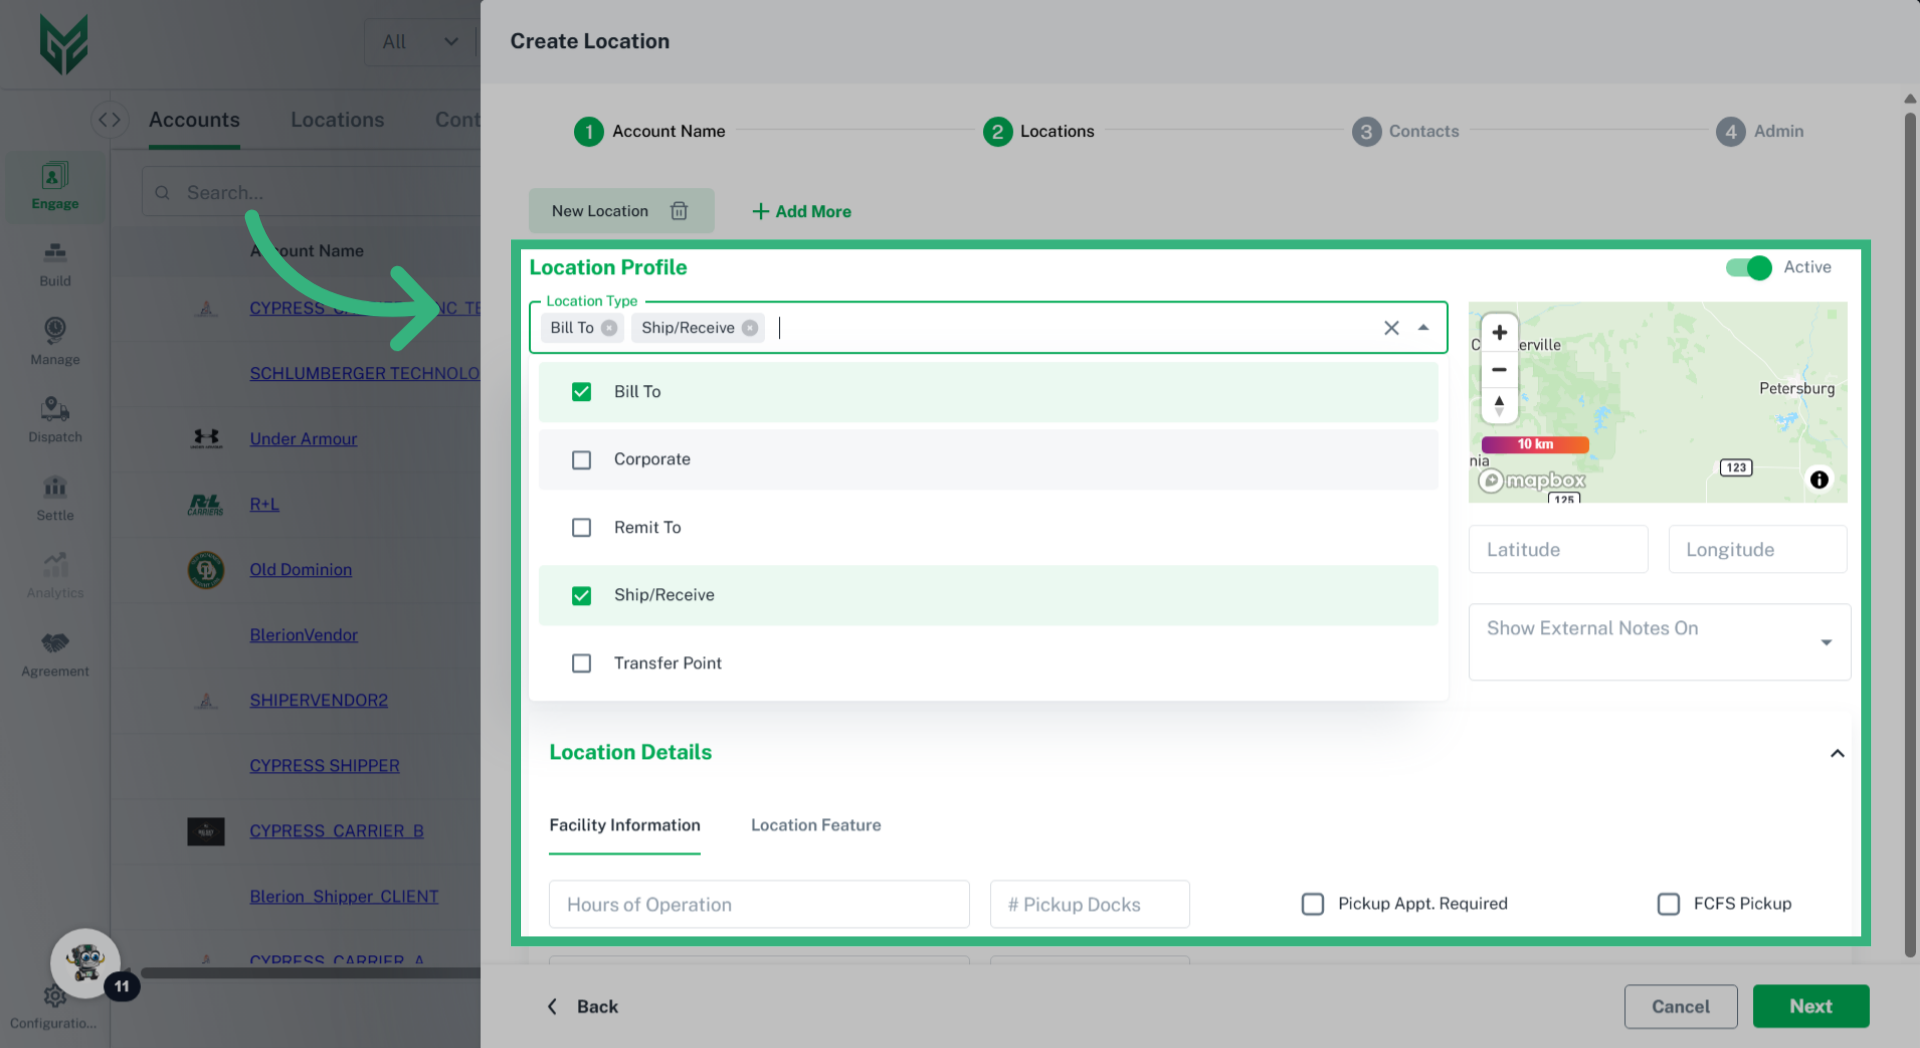
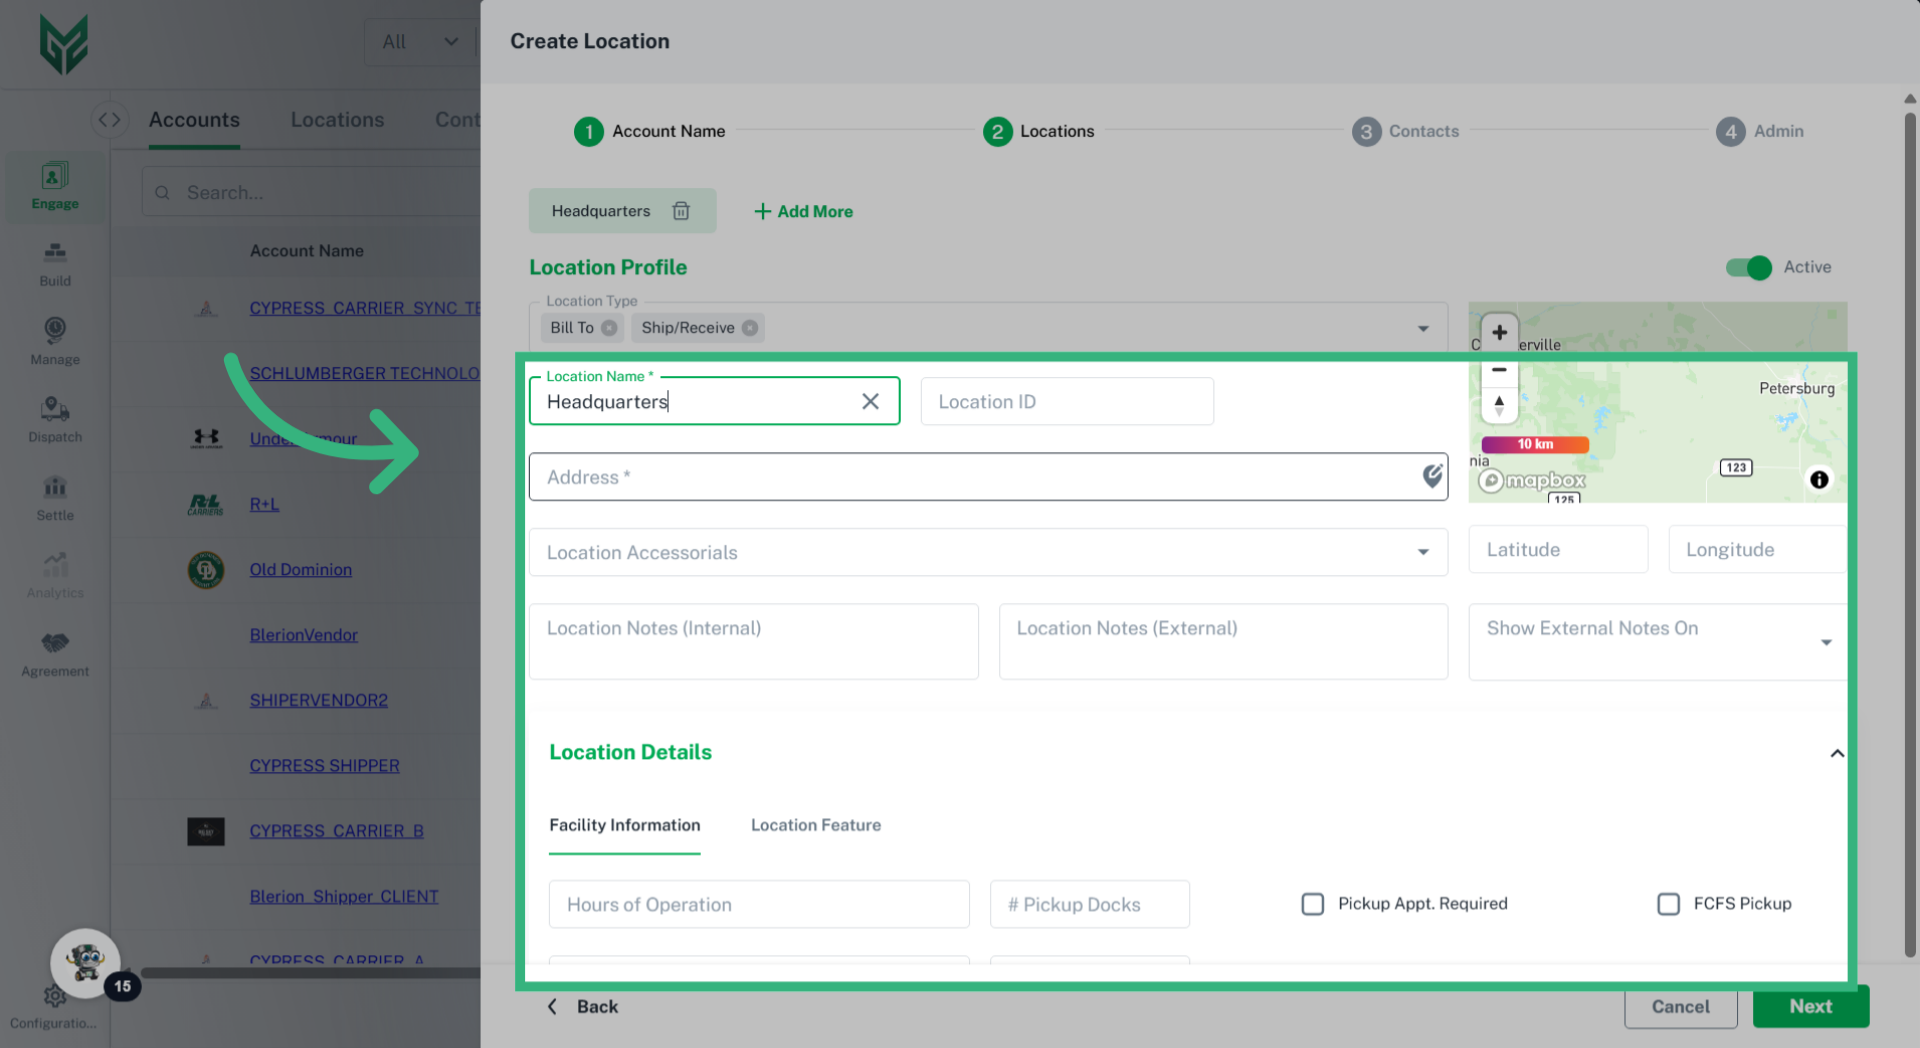
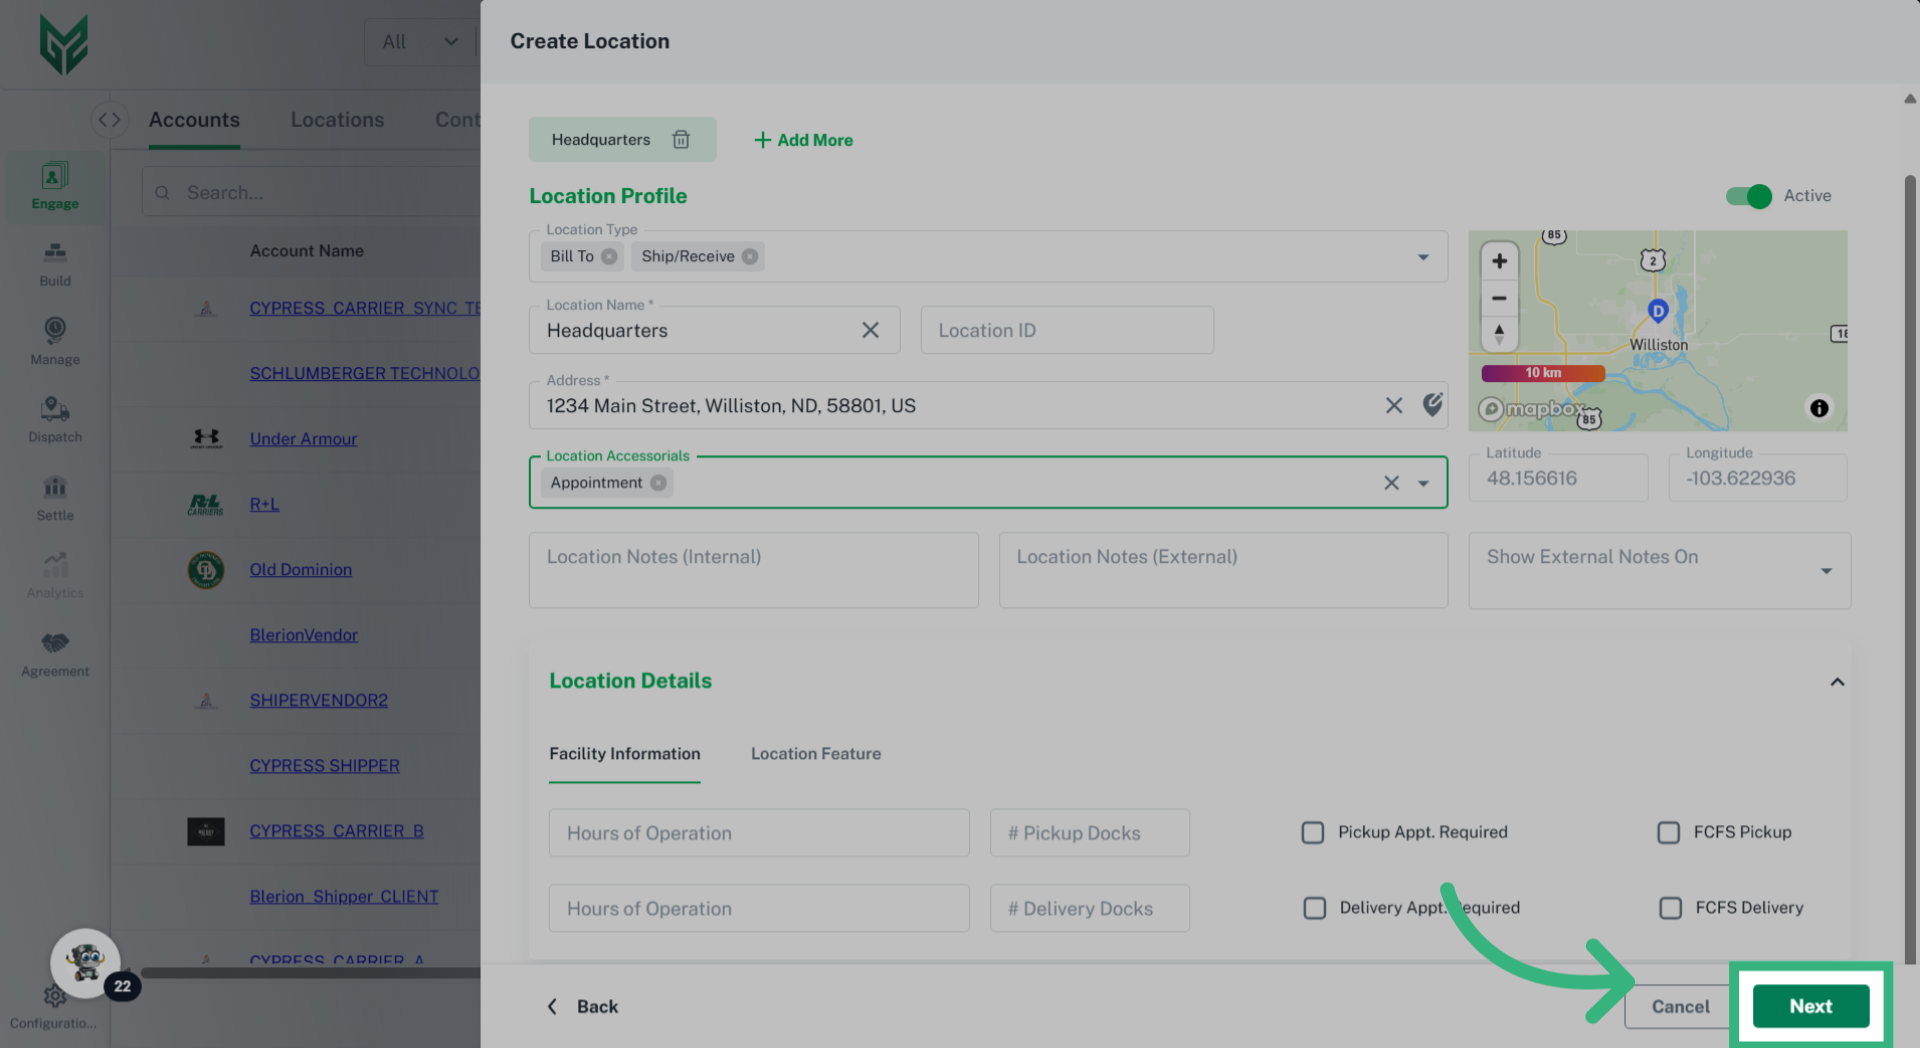
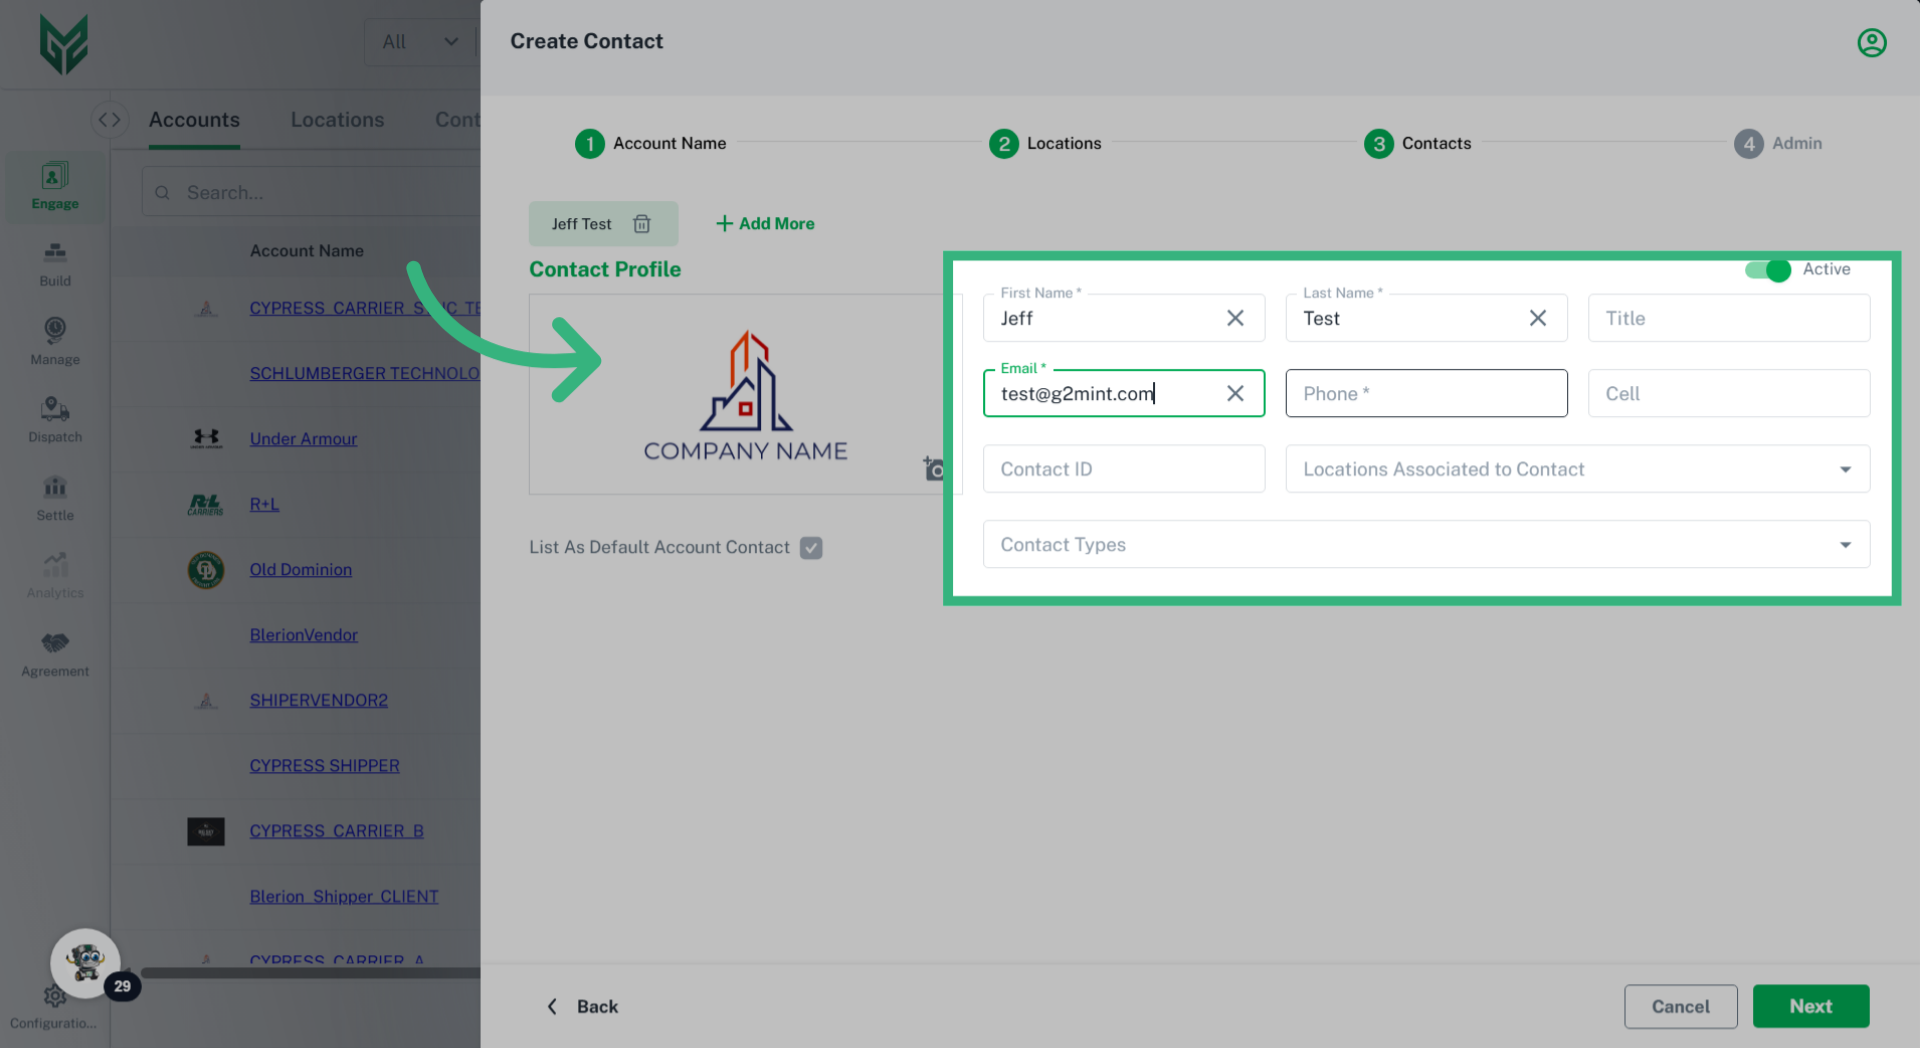
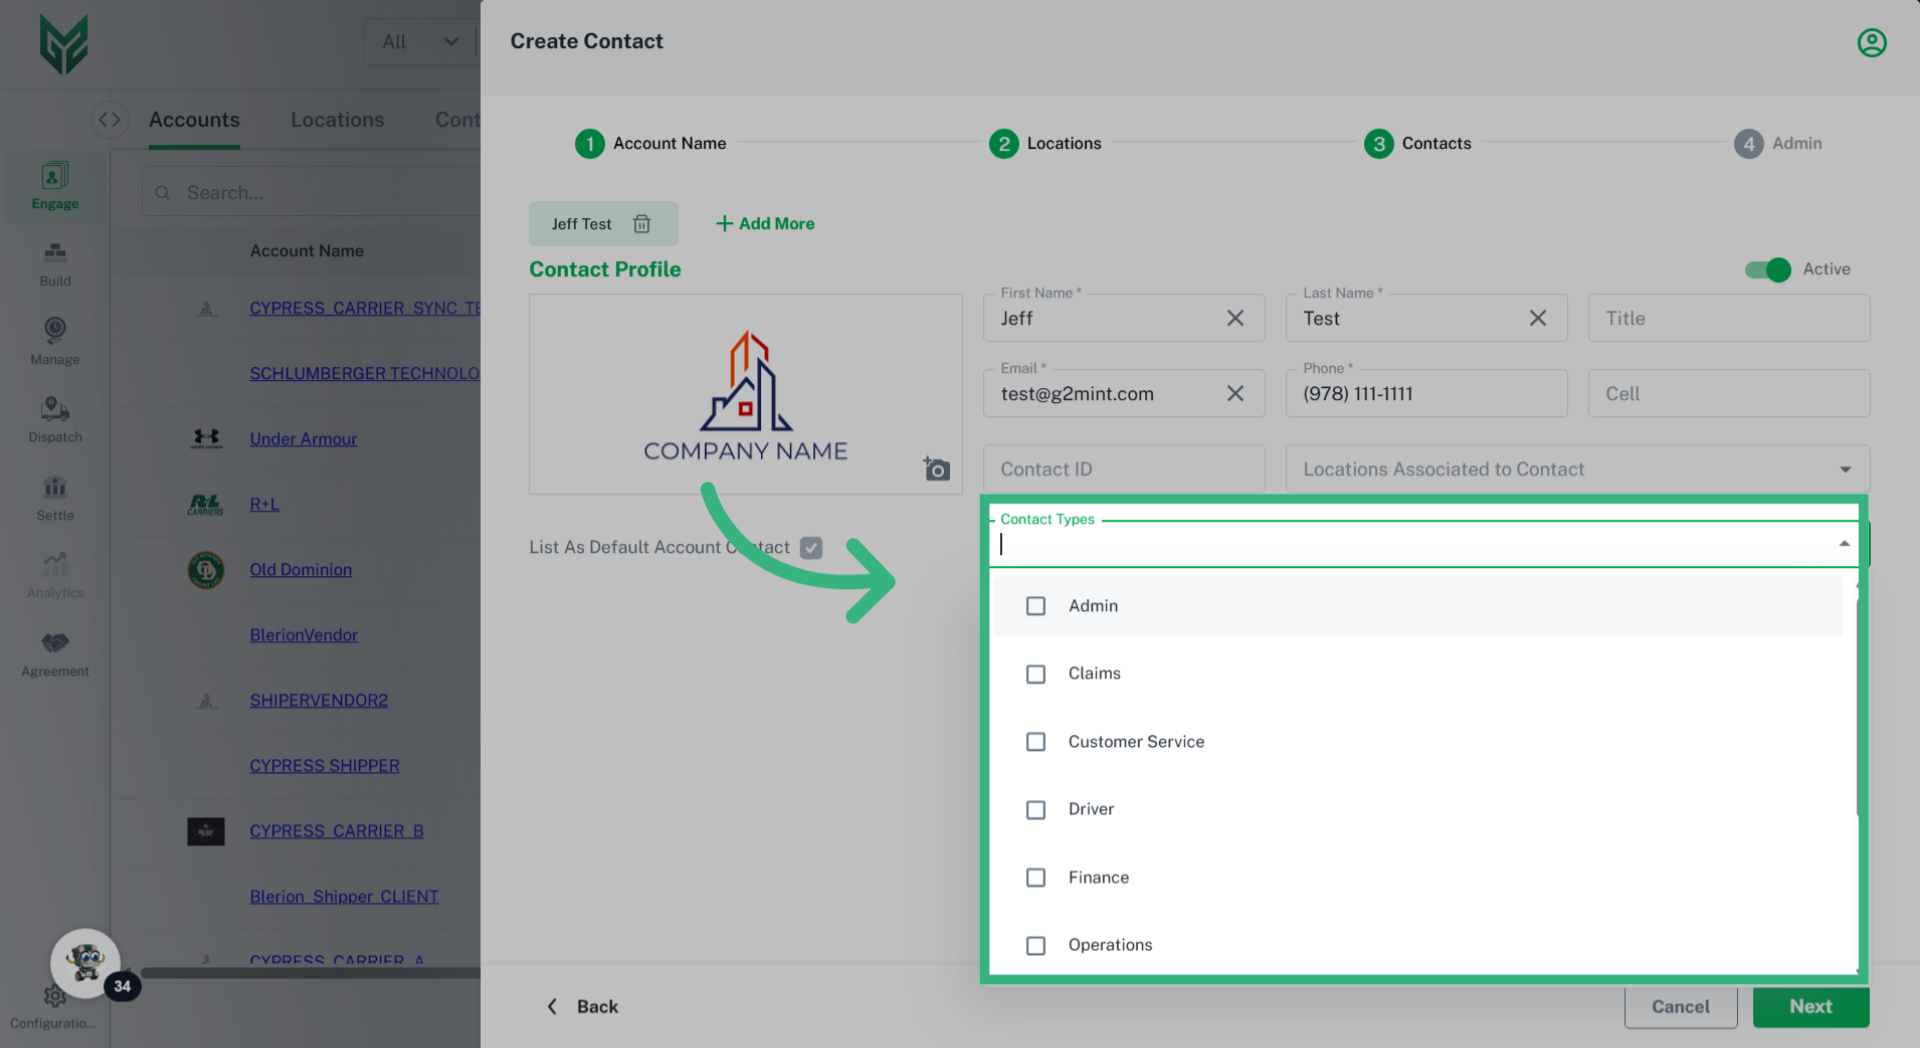
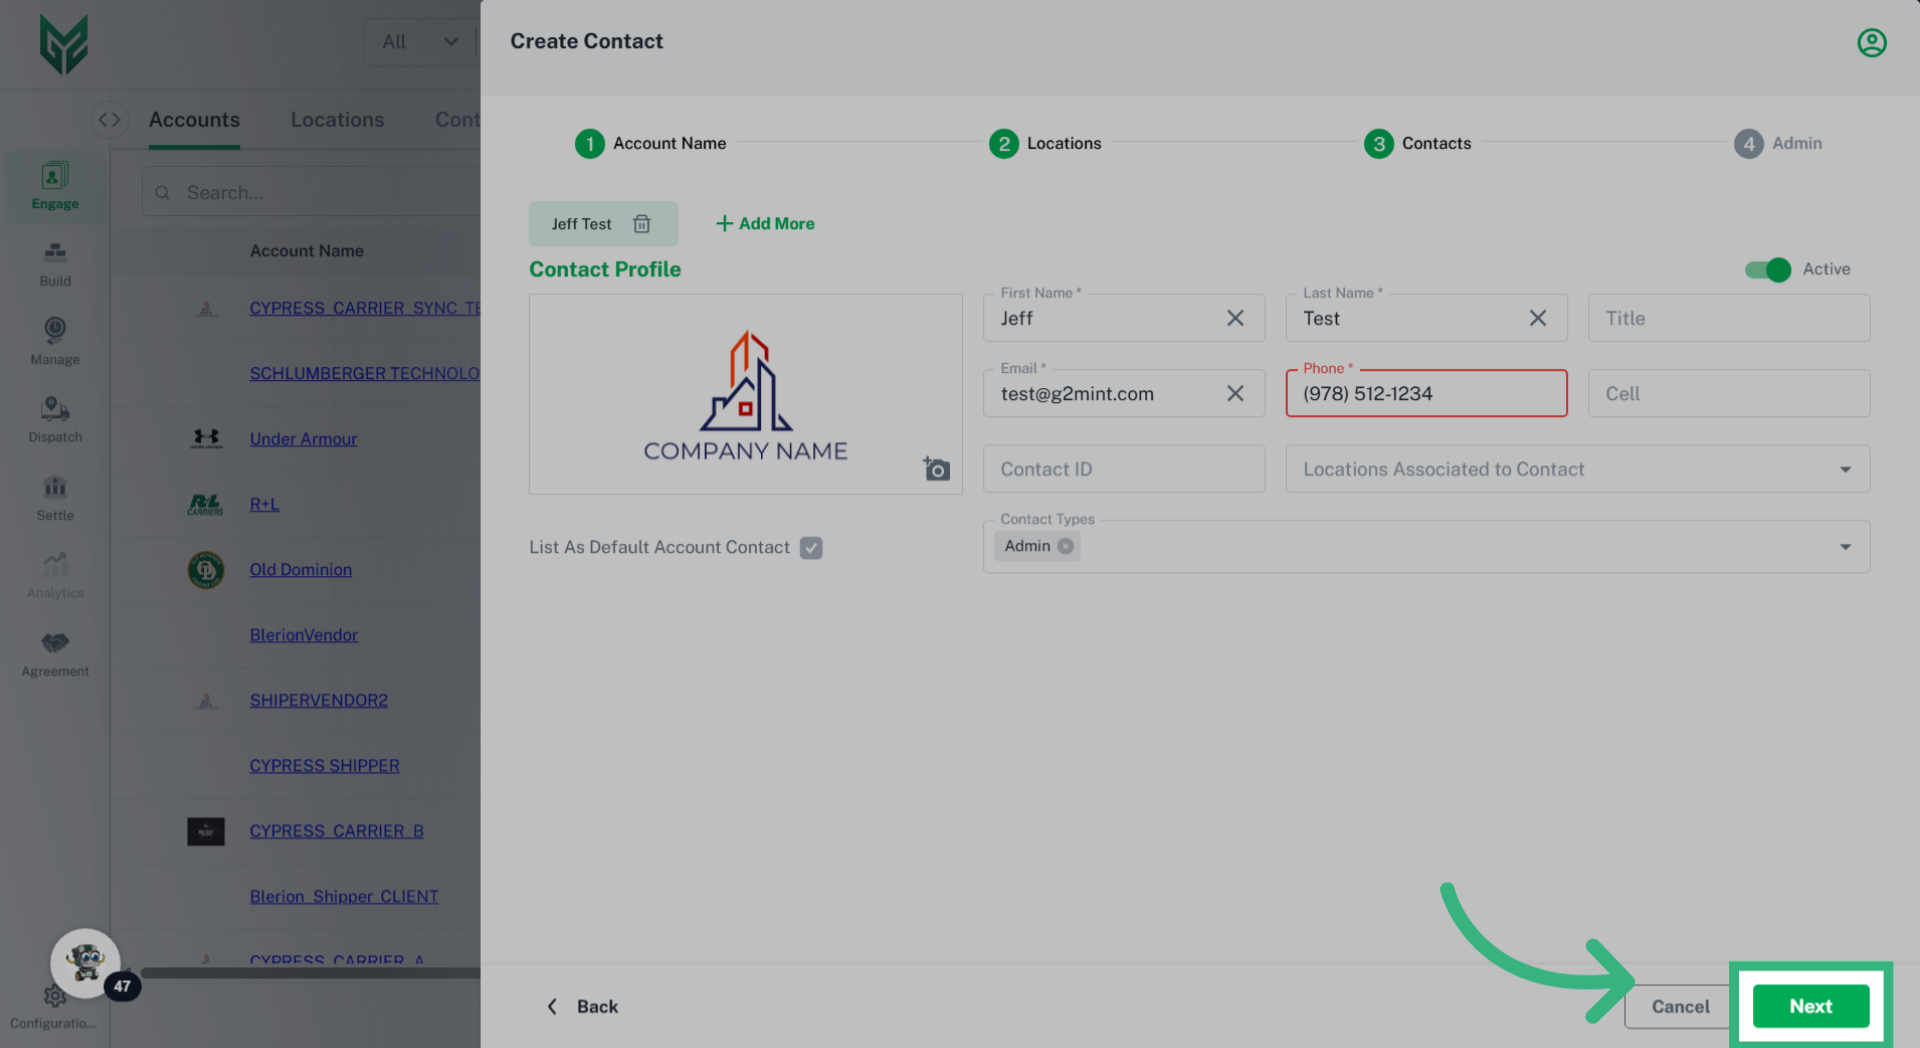
Each type of Engage Account is responsible for managing its specific attributes, including profiles, credit ratings, compliance, and capabilities. Furthermore, every Engage Account can have unique preferences and system settings tailored to its needs. In the G2Mint TMS, it is mandatory for each Engage Account to have at least one Location (typically designated as a Billing location) and one Contact (which includes a name and email address).
Solution Overview:
Once an Engage Account is created, all relevant information linked to that account will automatically populate in the application where applicable.
Create a Carrier Account in Engage (if not web service)
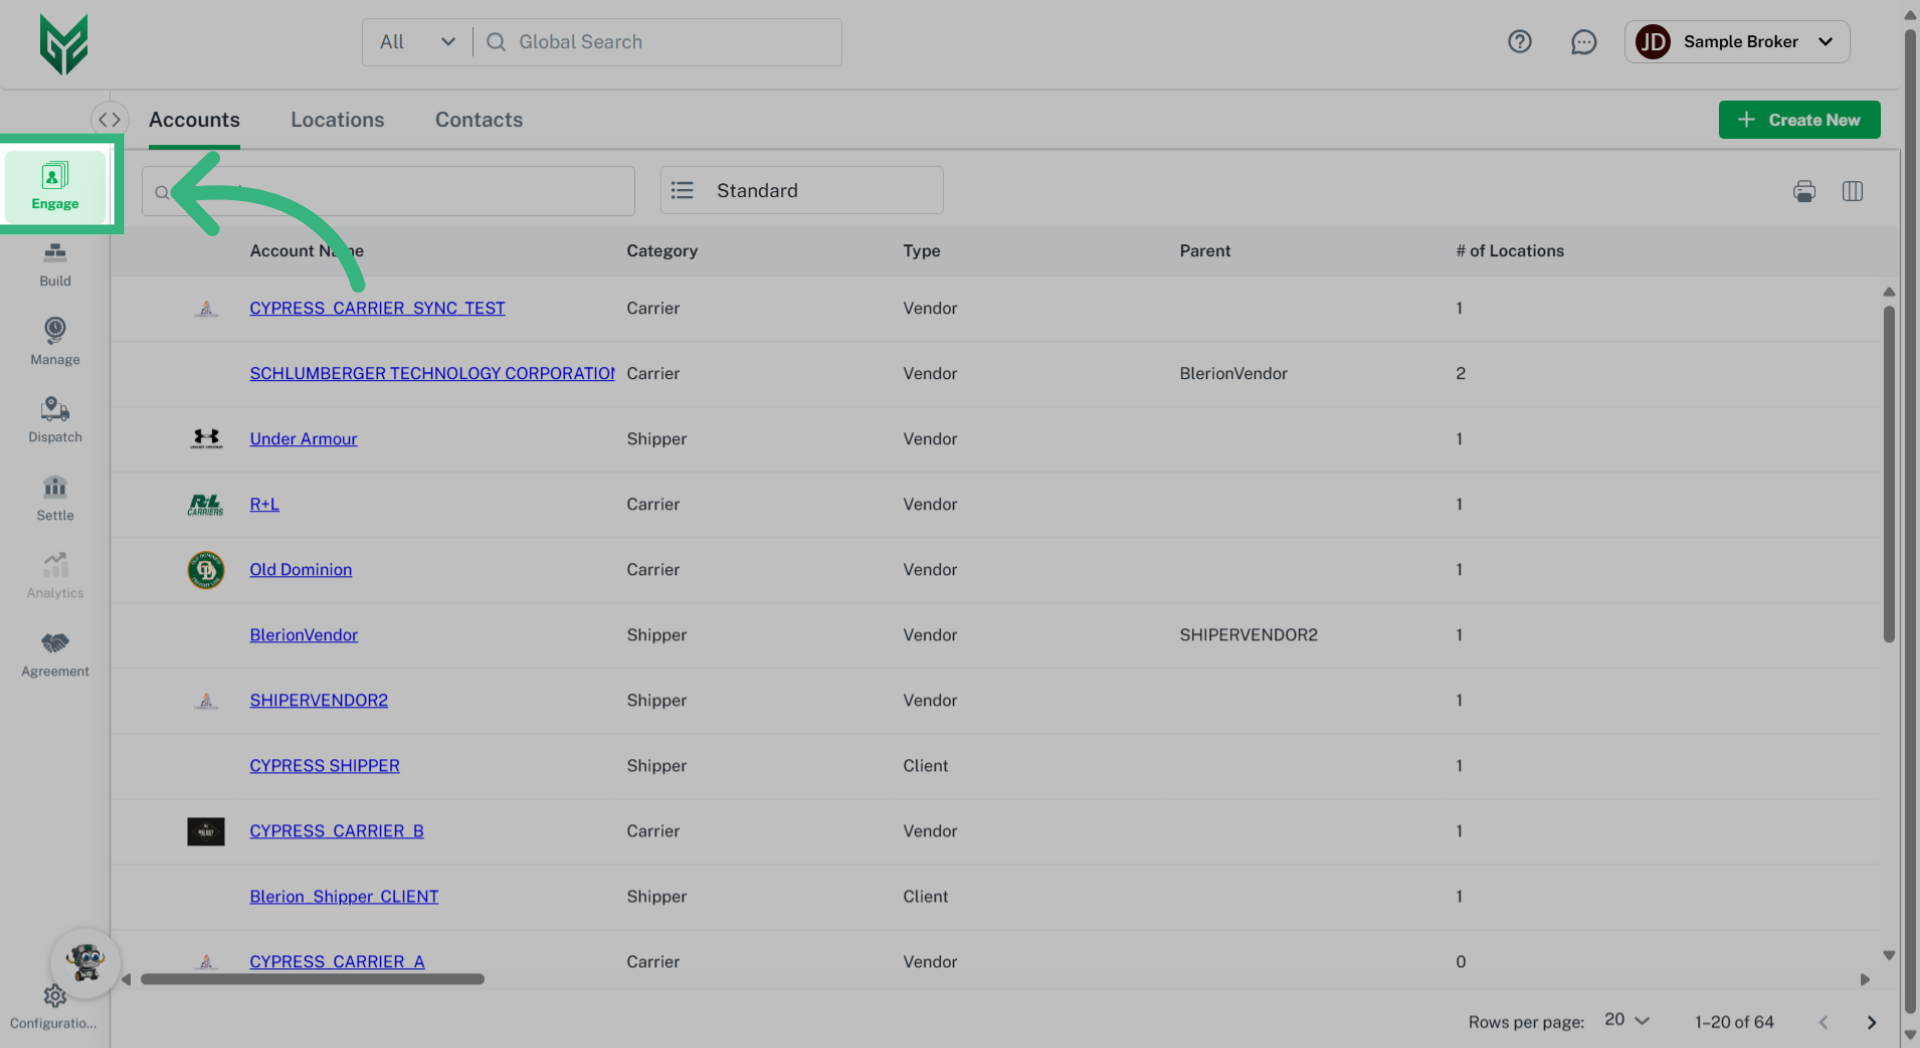
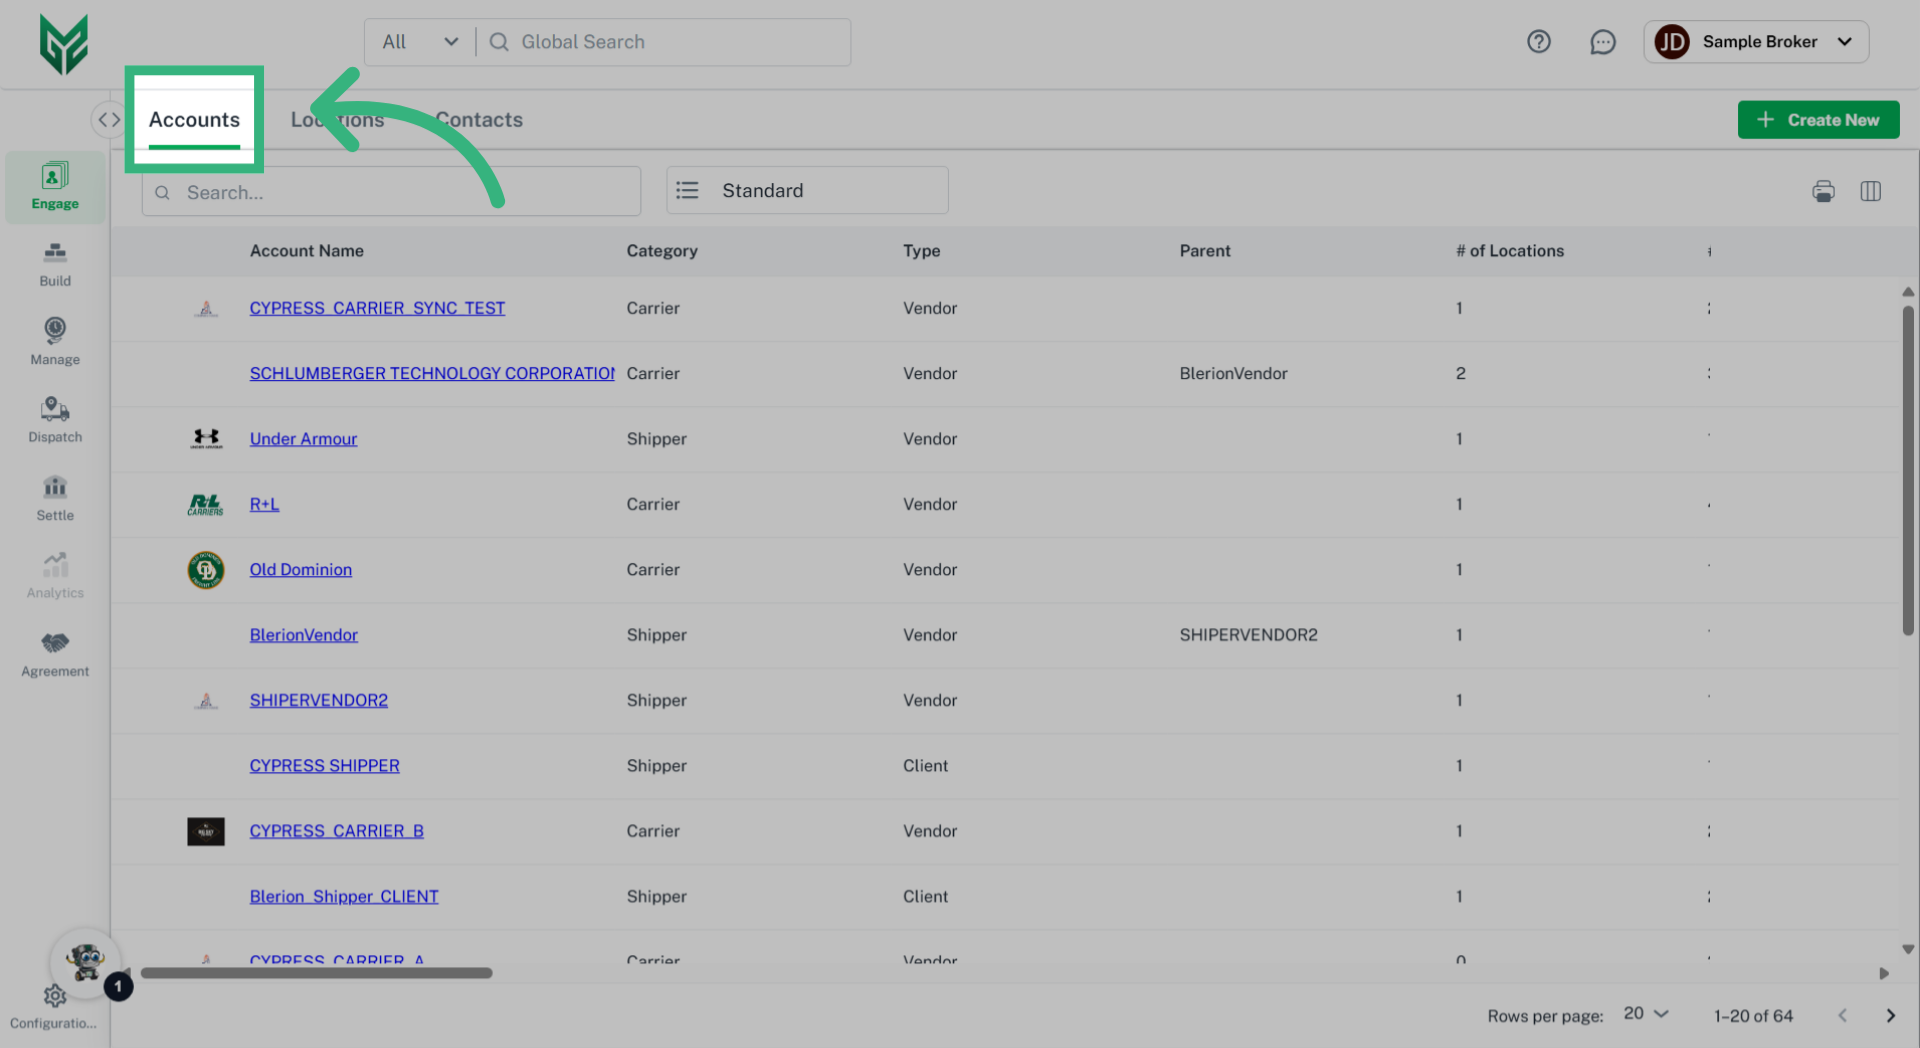
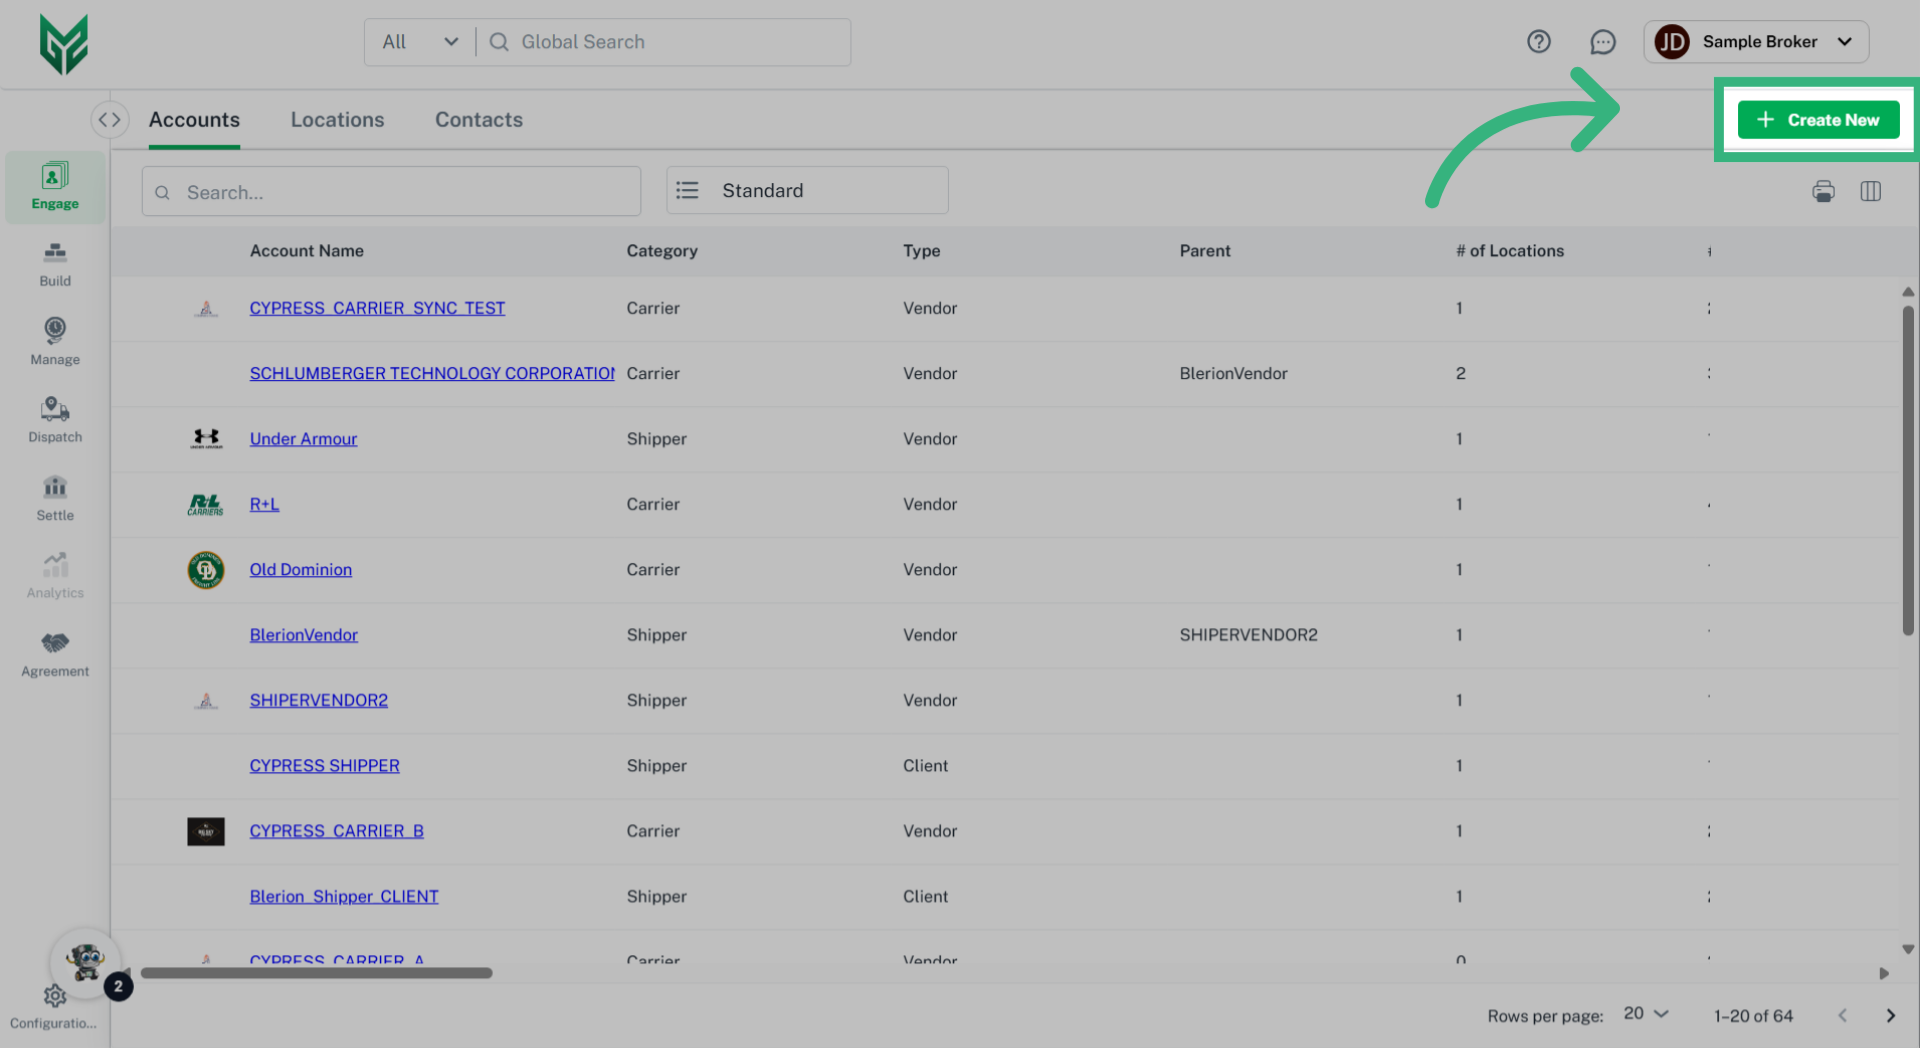
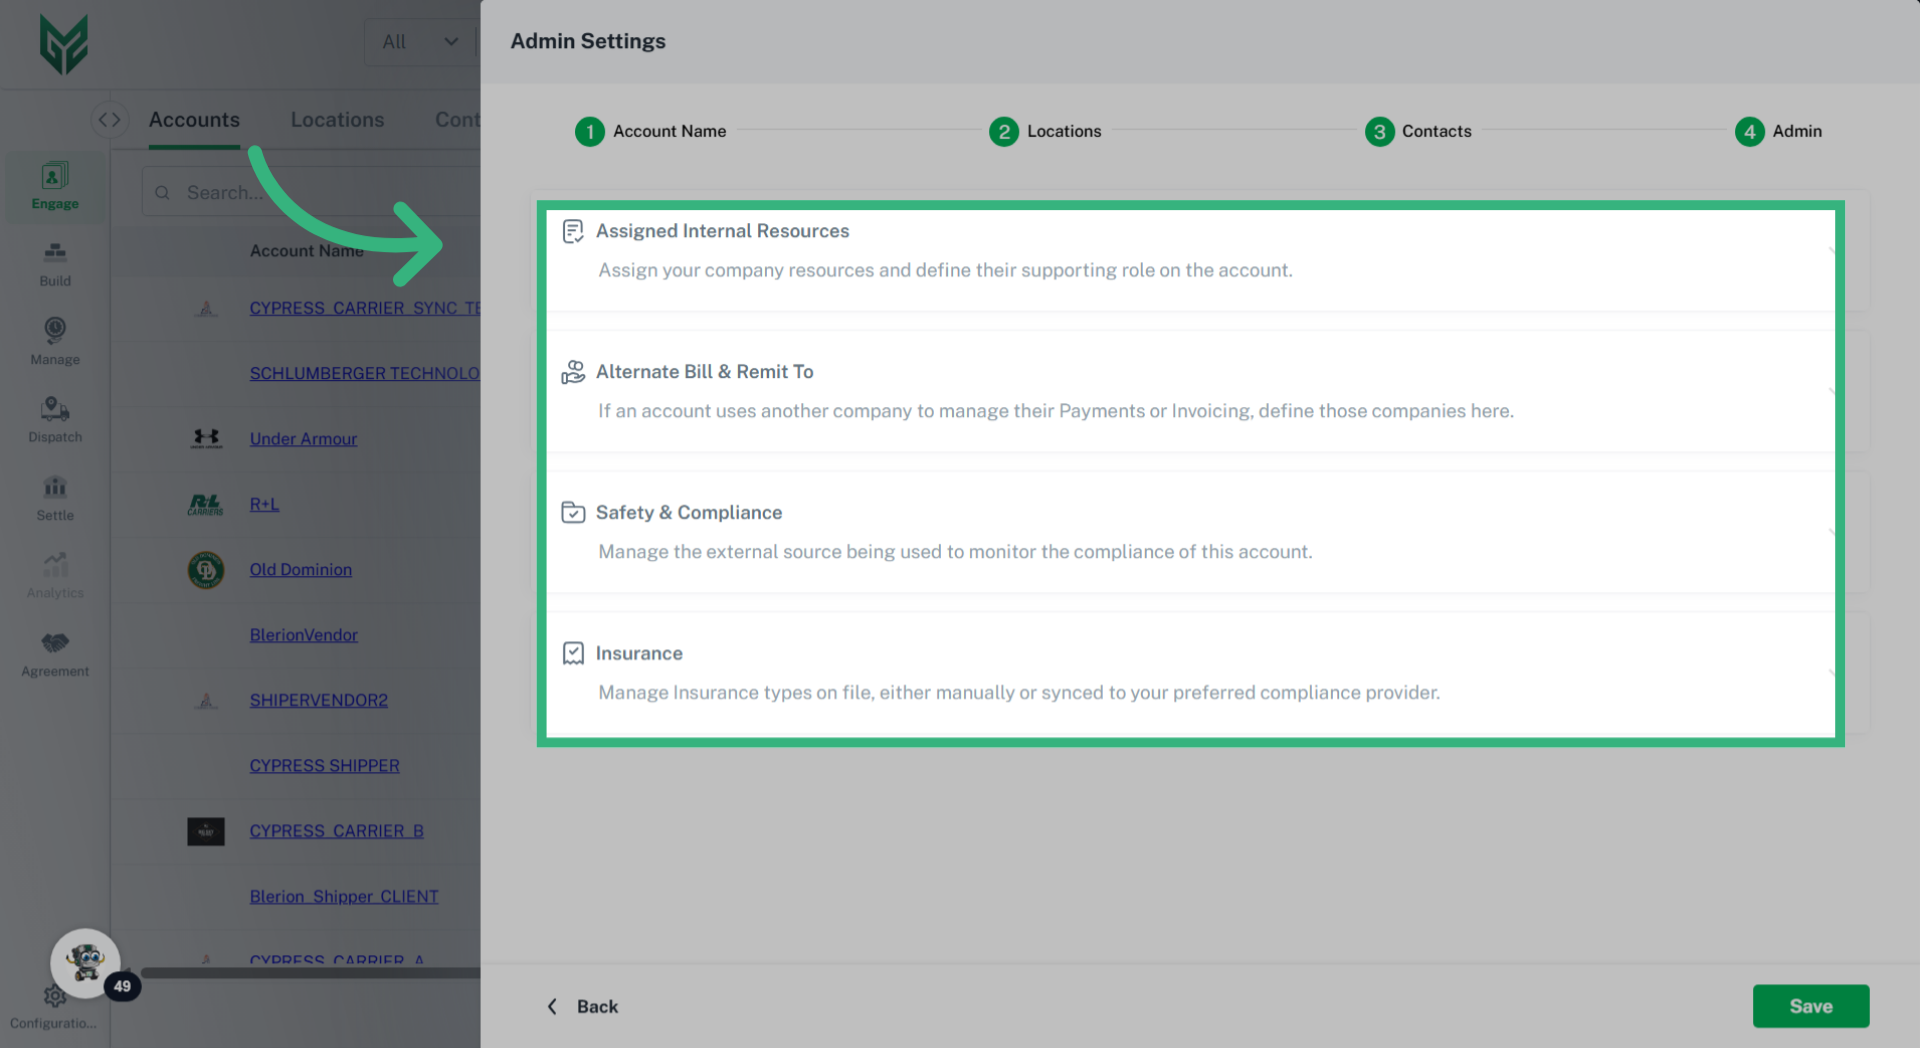
How to Create an Engage Account (all Personas):

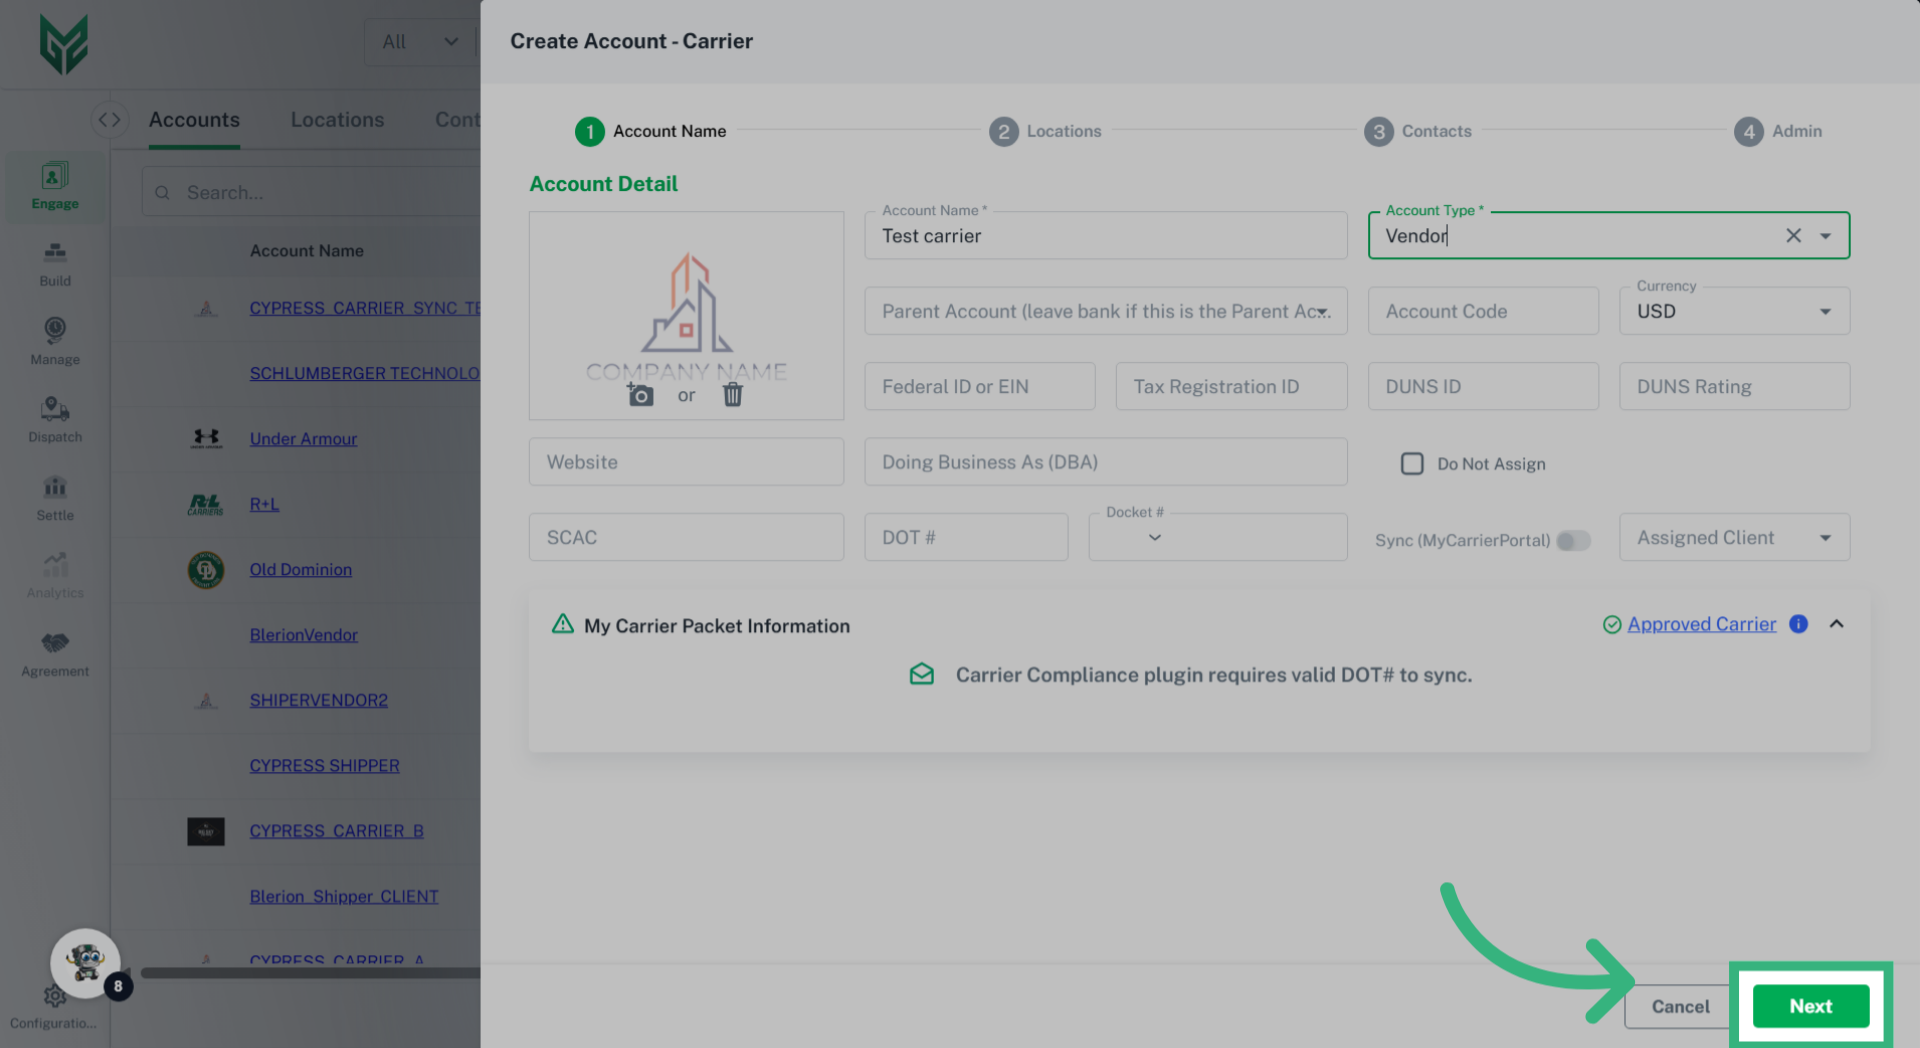

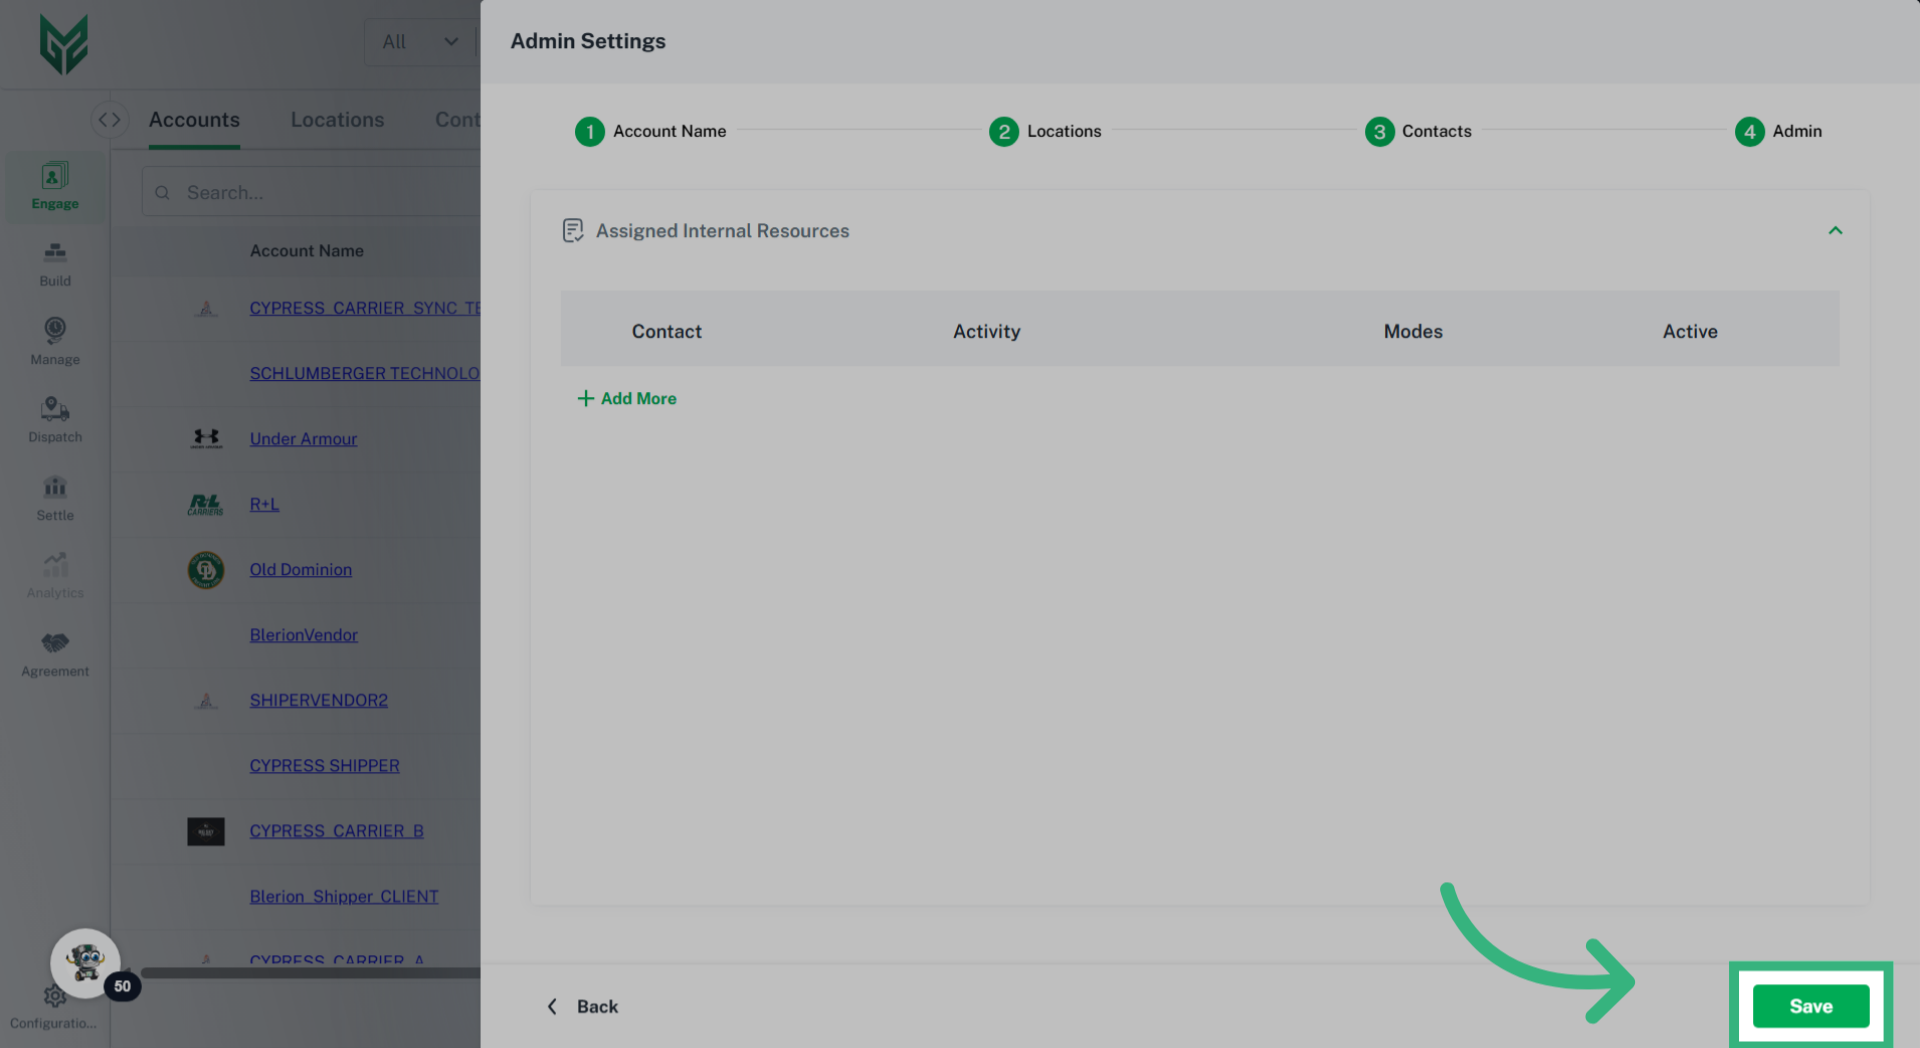
General contains the standard information for the account. These fields can be filled out or edited upon account activation, or the user can return to them later if desired. Within this tab are persona specific fields such as:
-
- Account Name: Assign a specific, unique, recognizable Account name
- Account Type: Vendor and Client will be the options, although this field will be uneditable depending upon primary account persona, and persona being created. To simplify the difference, a Vendor is typically someone that you pay for services, while a Client someone that pays you
- Parent Account: Leave blank, unless Account is a division of a previously created Account
- Account Code: Optional field where a user can enter a pre-assigned unique identifier code that may correspond with future integrations.
- Currency: Currency utilized by Account (currently only USD)
- Federal ID or EIN: An Employer Identification Number, or federal tax ID, is used to identify a business entity. This is for reference only.
- Tax Registration ID: This may be found on a number of documents, including tax returns and forms filed with the IRS. This is for reference only.
- DUNS ID: A Data Universal Numbering System (DUNS) is a 9 digit number used for business credit reporting. This is for reference only.
- DUNS Rating: A score that measures a business's financial strength and creditworthiness. This is for reference only.
- Website and Company Logo: Enter the Account website address and Logo here
- Doing Business As: Utilize this field if the business operates under a name that is different from its legal name. This name will populate on documents such as BOL's and Invoices.
- Assigned Client: If a company has more than one division, Clients can be assigned to a specific division.
- Carrier Accounts also include the Approved Carrier Certification (as obtained through a connected Carrier Compliance plug-in), the ability to mark the Carrier Do Not Assign status, SCAC, DOT, Docket # and the ability to sync MyCarrierPortal
- Do Not Assign: Select checkbox if this Carrier should not show Rates