Skip to content
English
  • There are no suggestions because the search field is empty.

Engage Services & Capabilities

Add the necessary account types to your G2Mint TMS. 

Last Updated: April 19, 2025

Applies to:

Shippers, Brokers, Carriers, and Partners

Common Scenarios/Challenges:

The Engage Account feature enables users to establish an entity within the Licensed Account of the TMS, representing an organization or company that will engage in various transactions within the system, such as shipments and settlements.

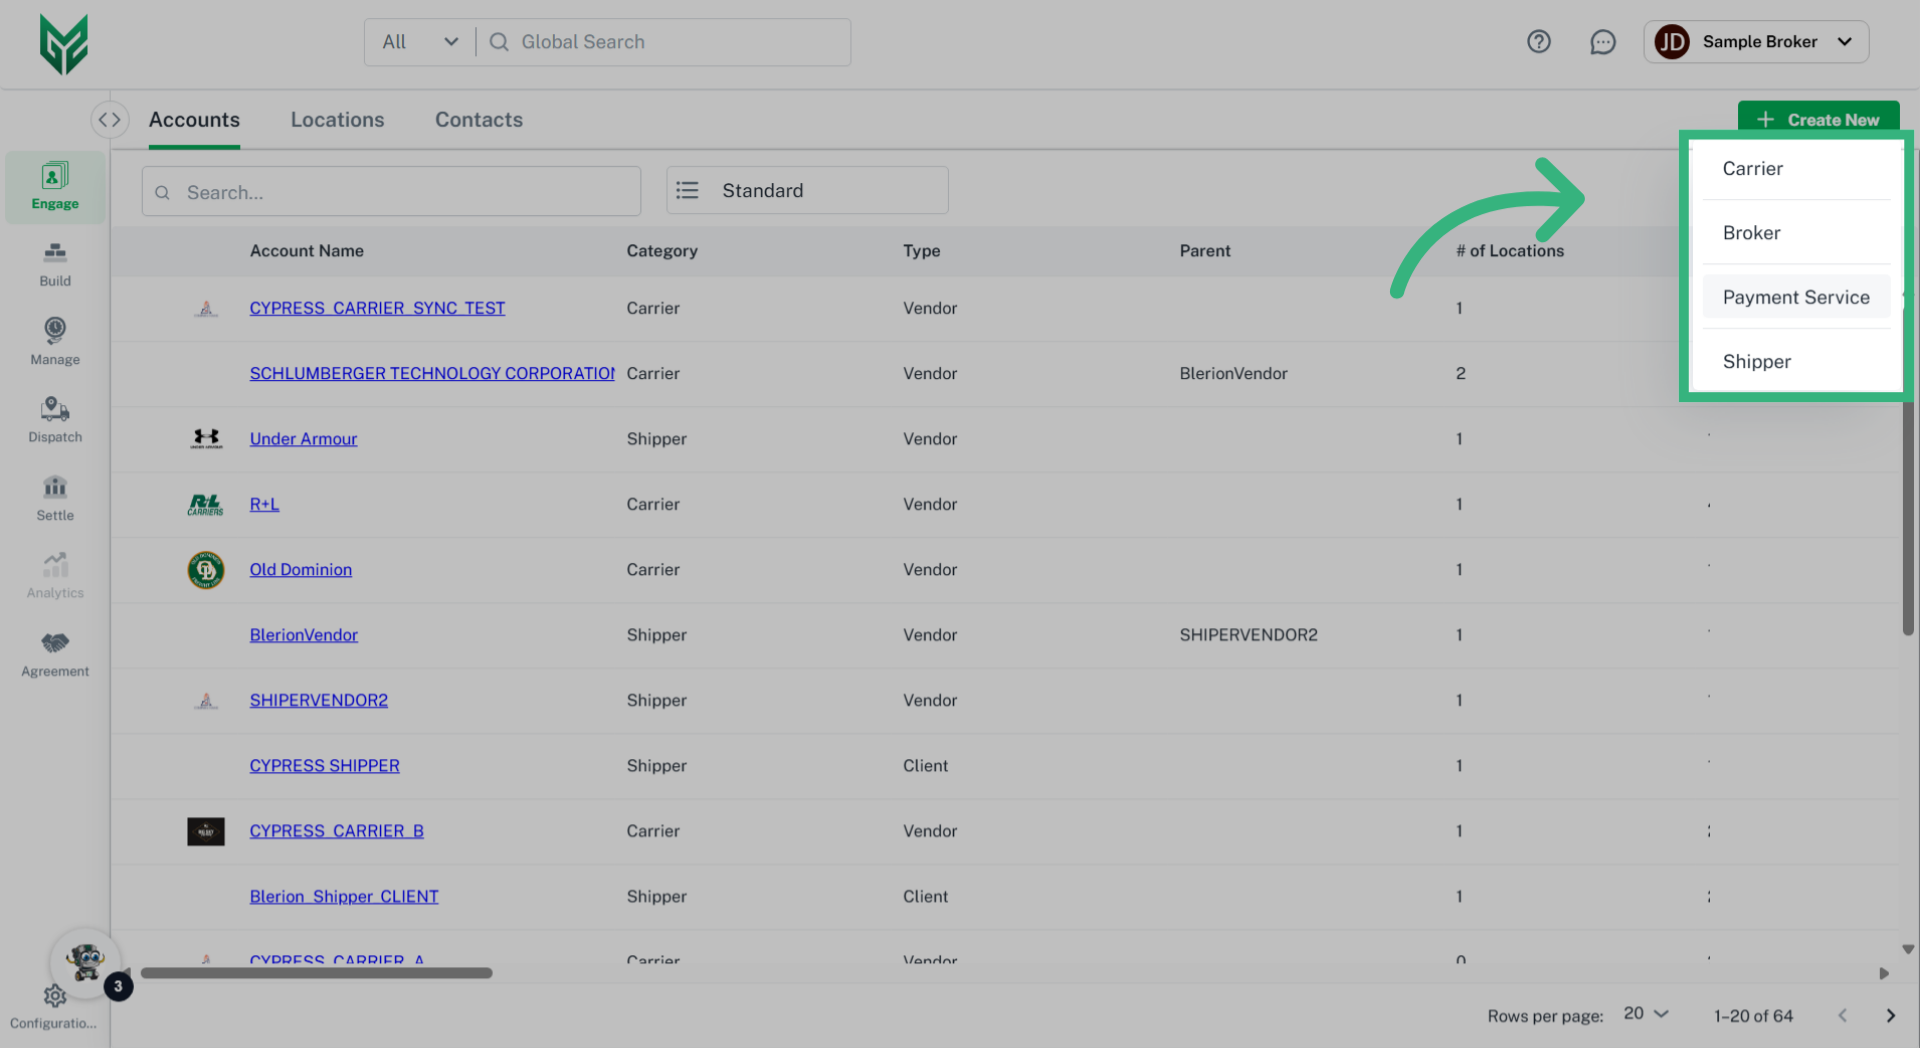
Engage Accounts can take on several personas, including:

- Broker

- Shipper

- Carrier

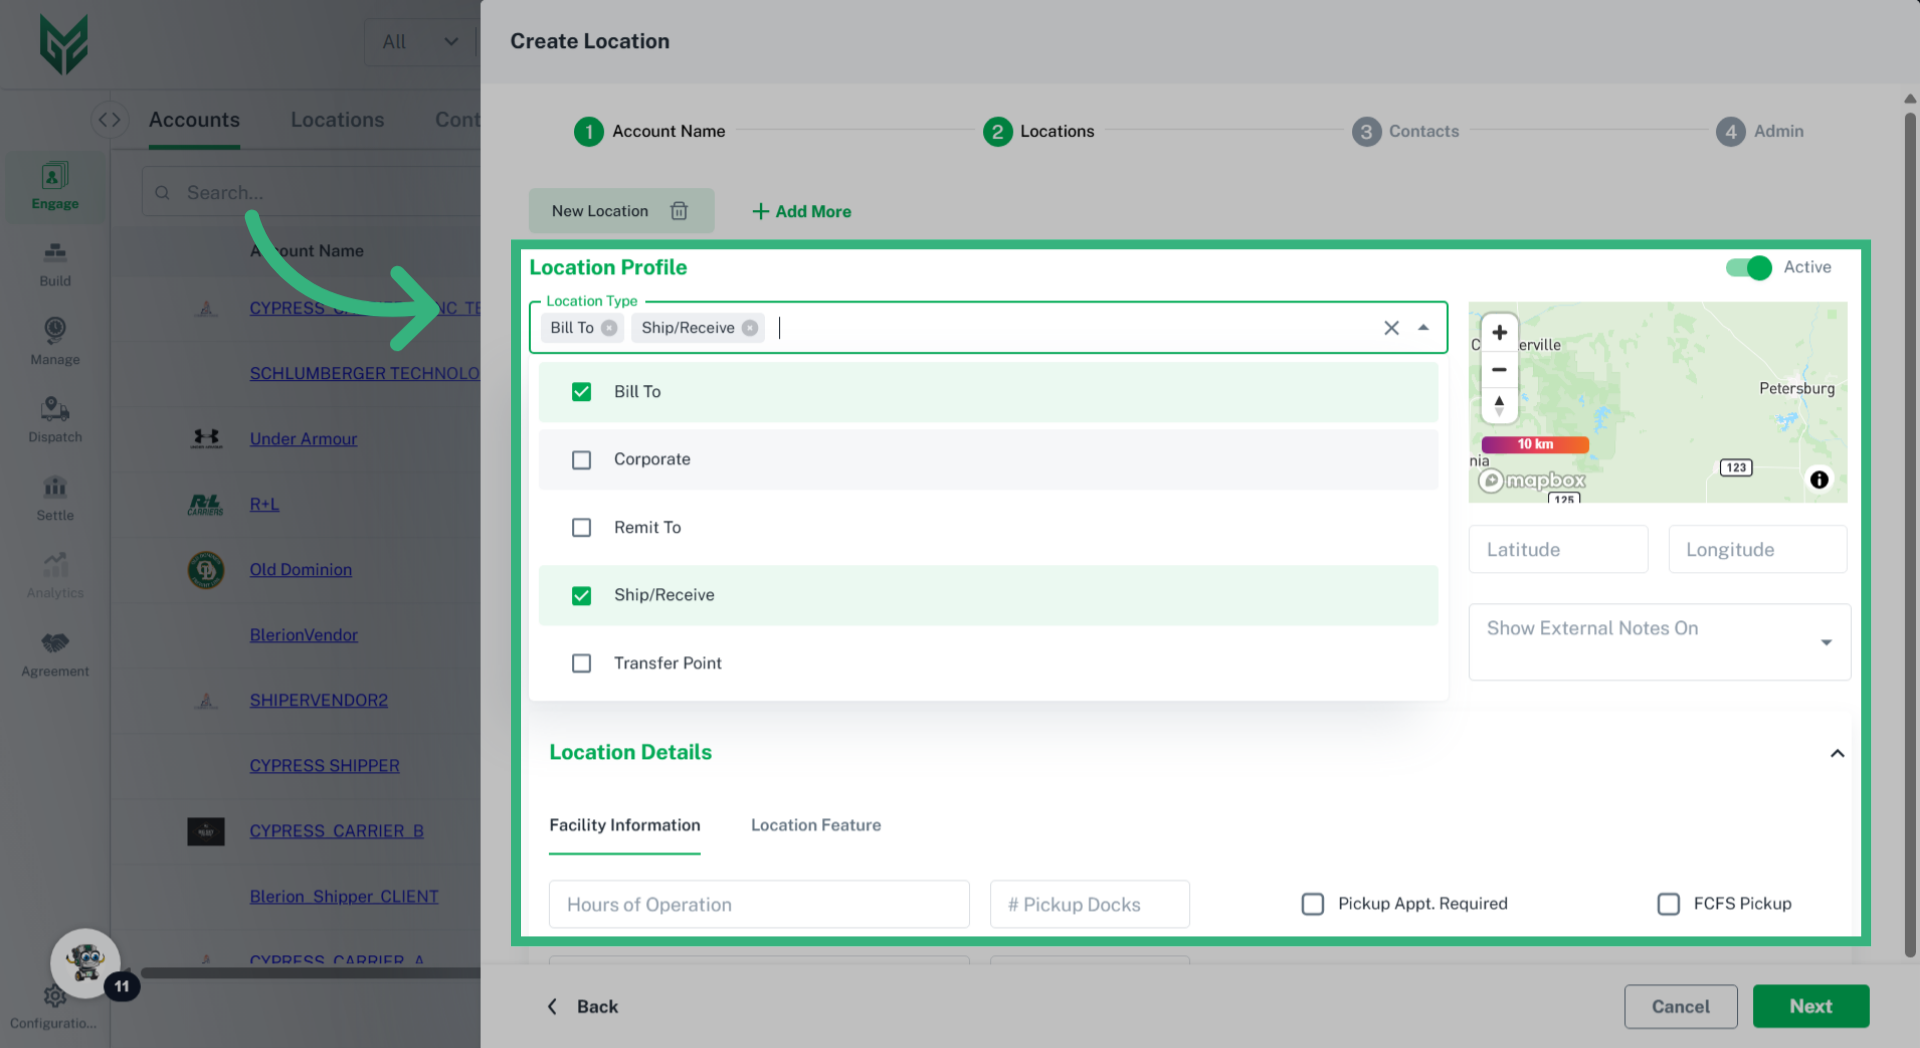
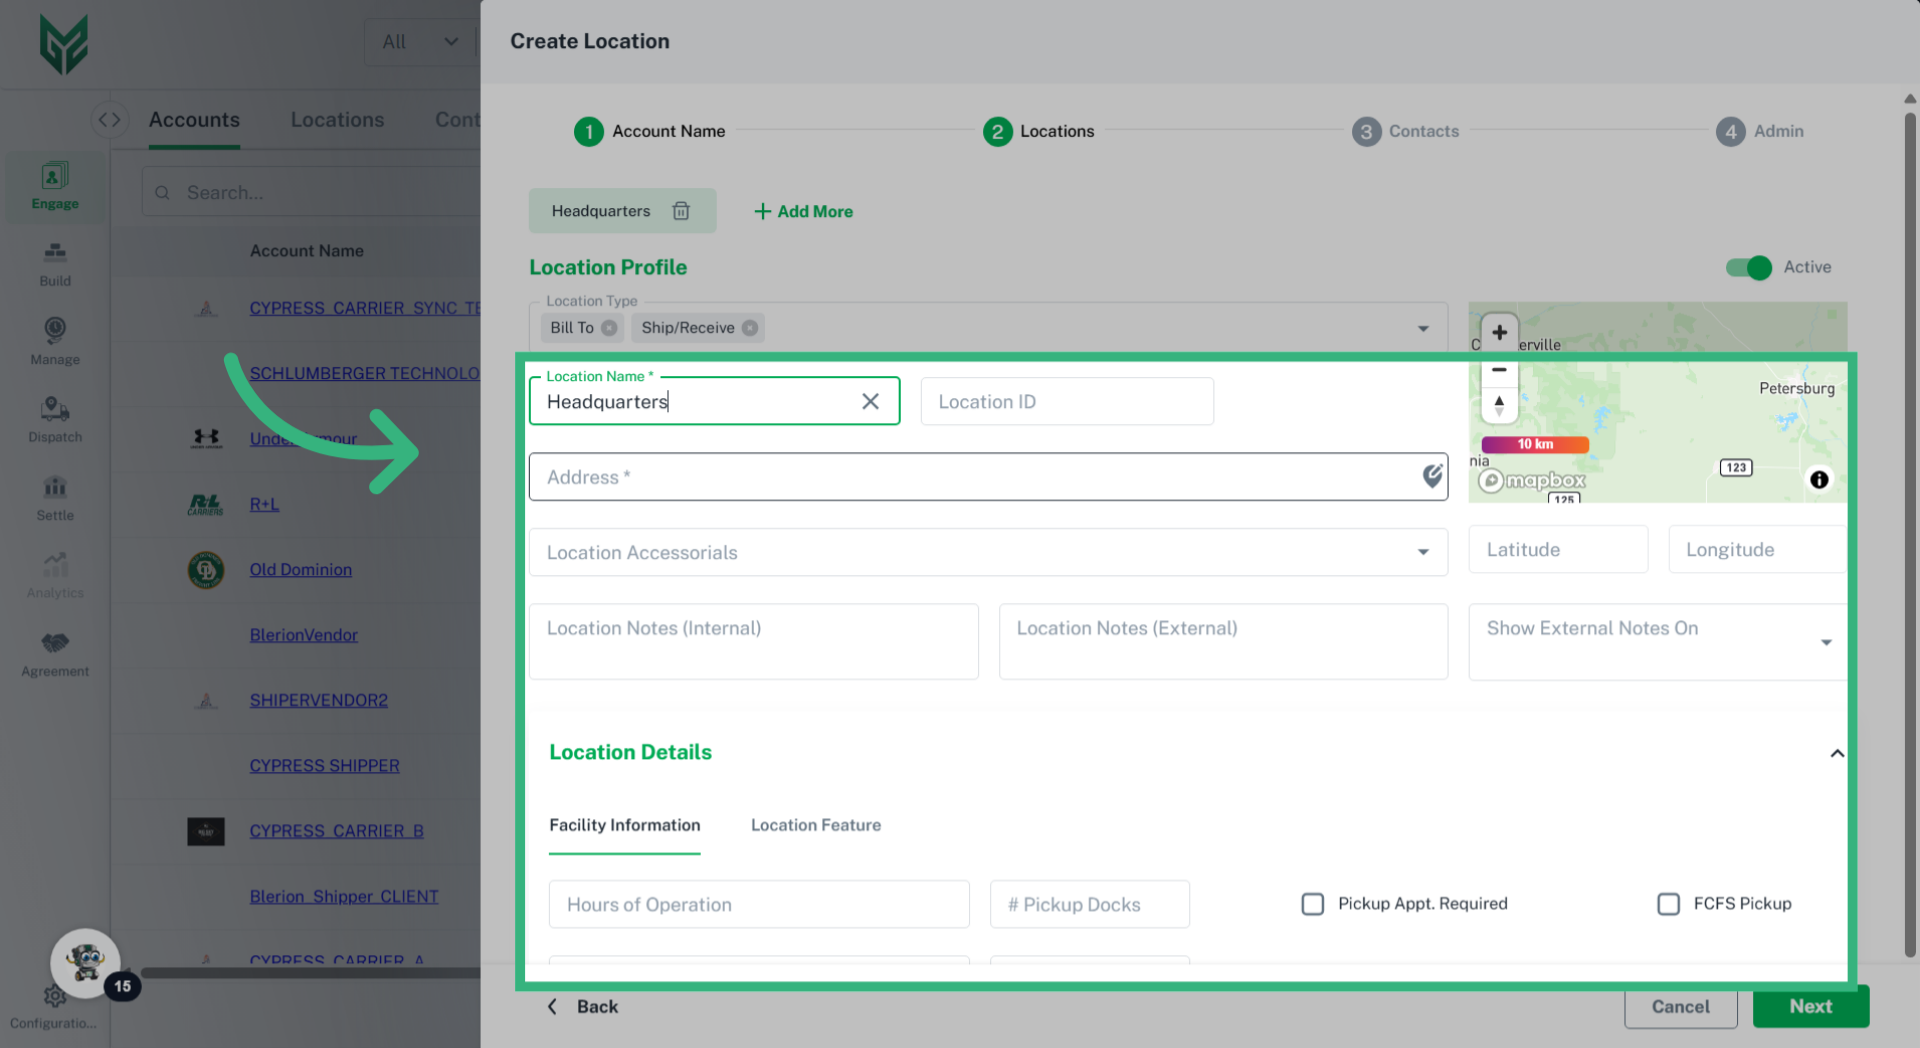
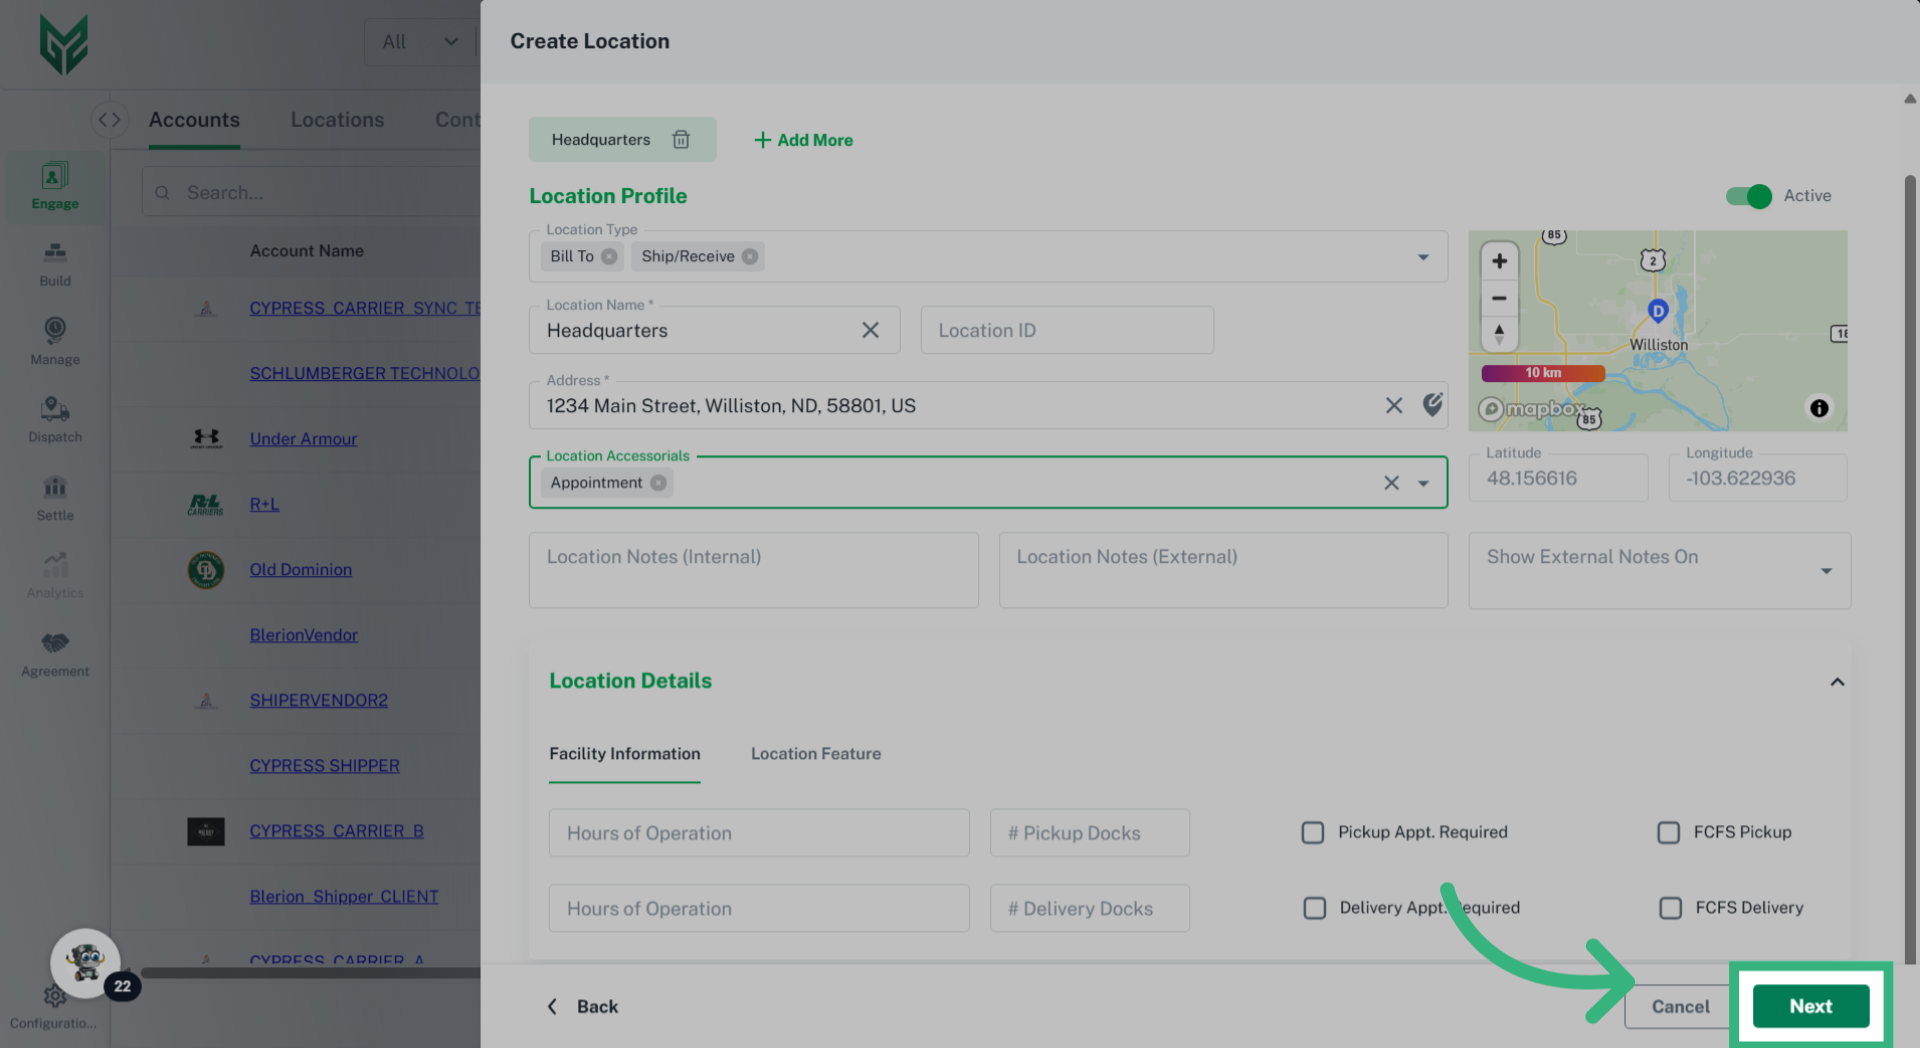
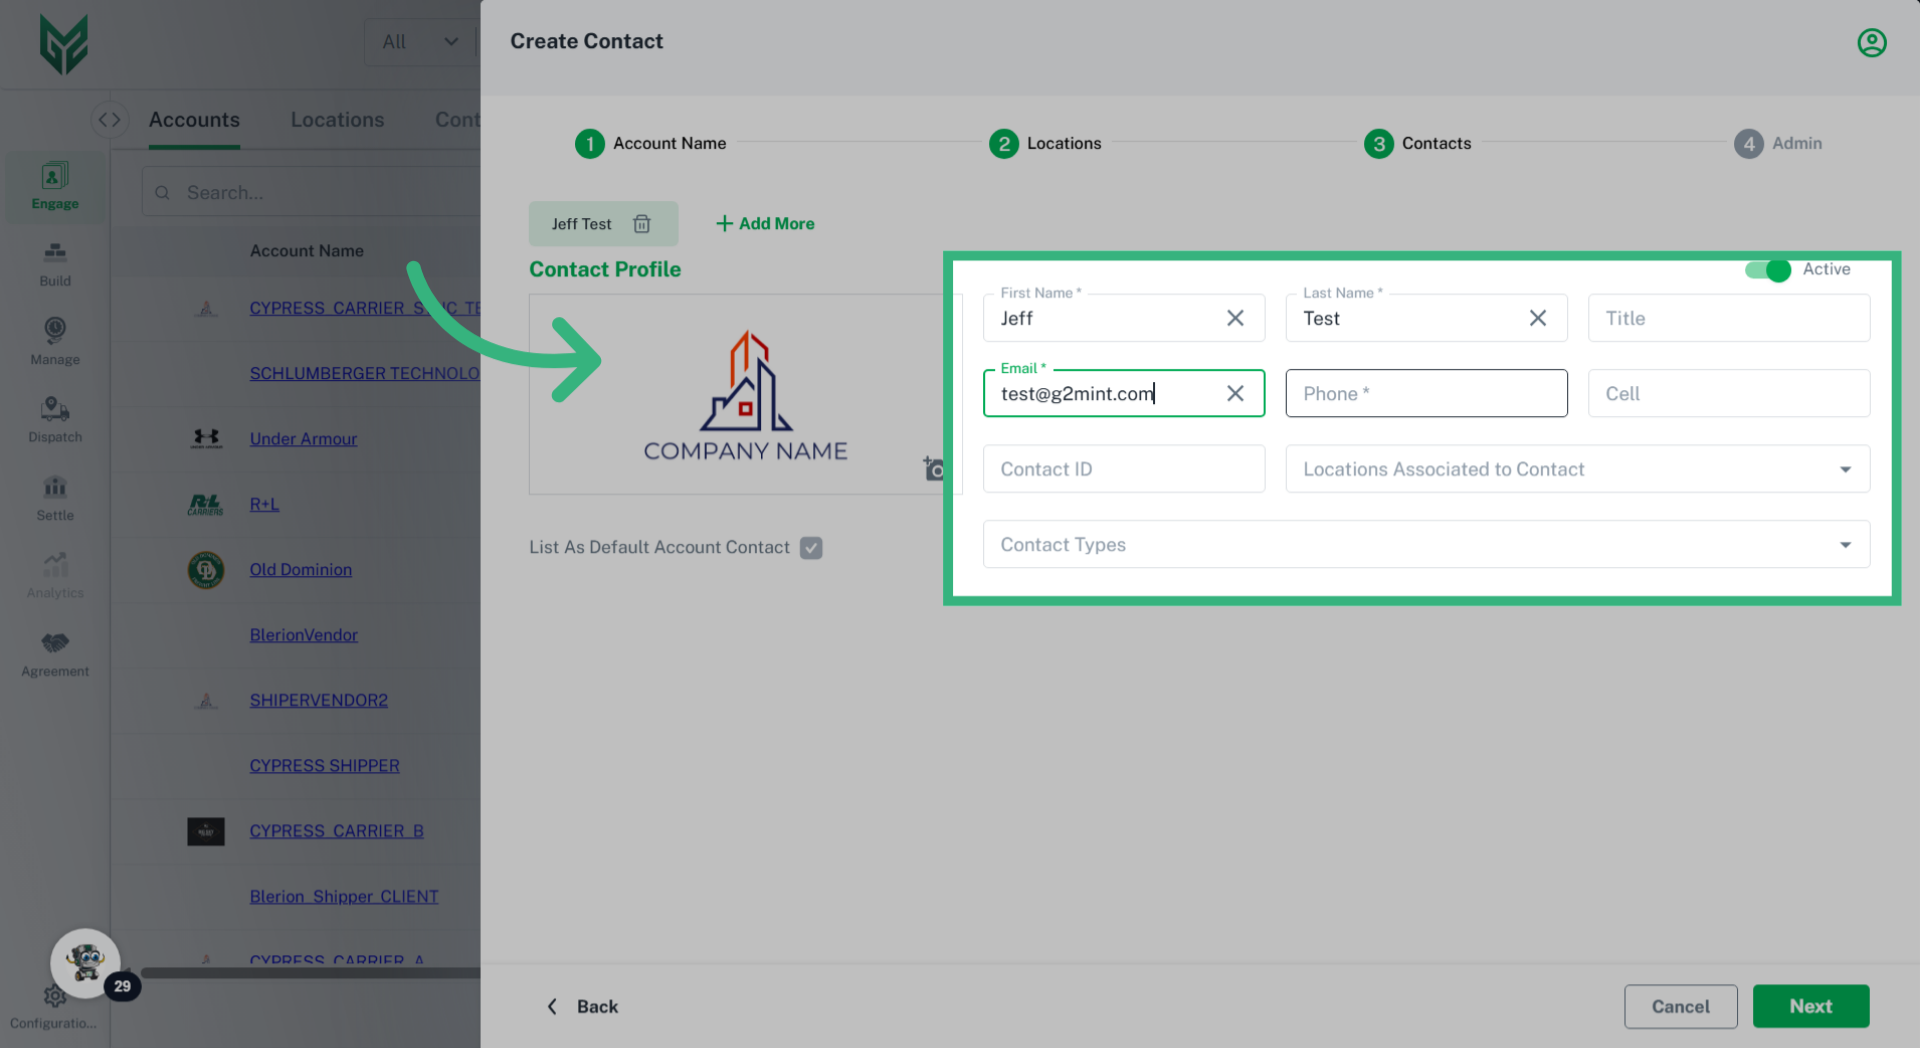
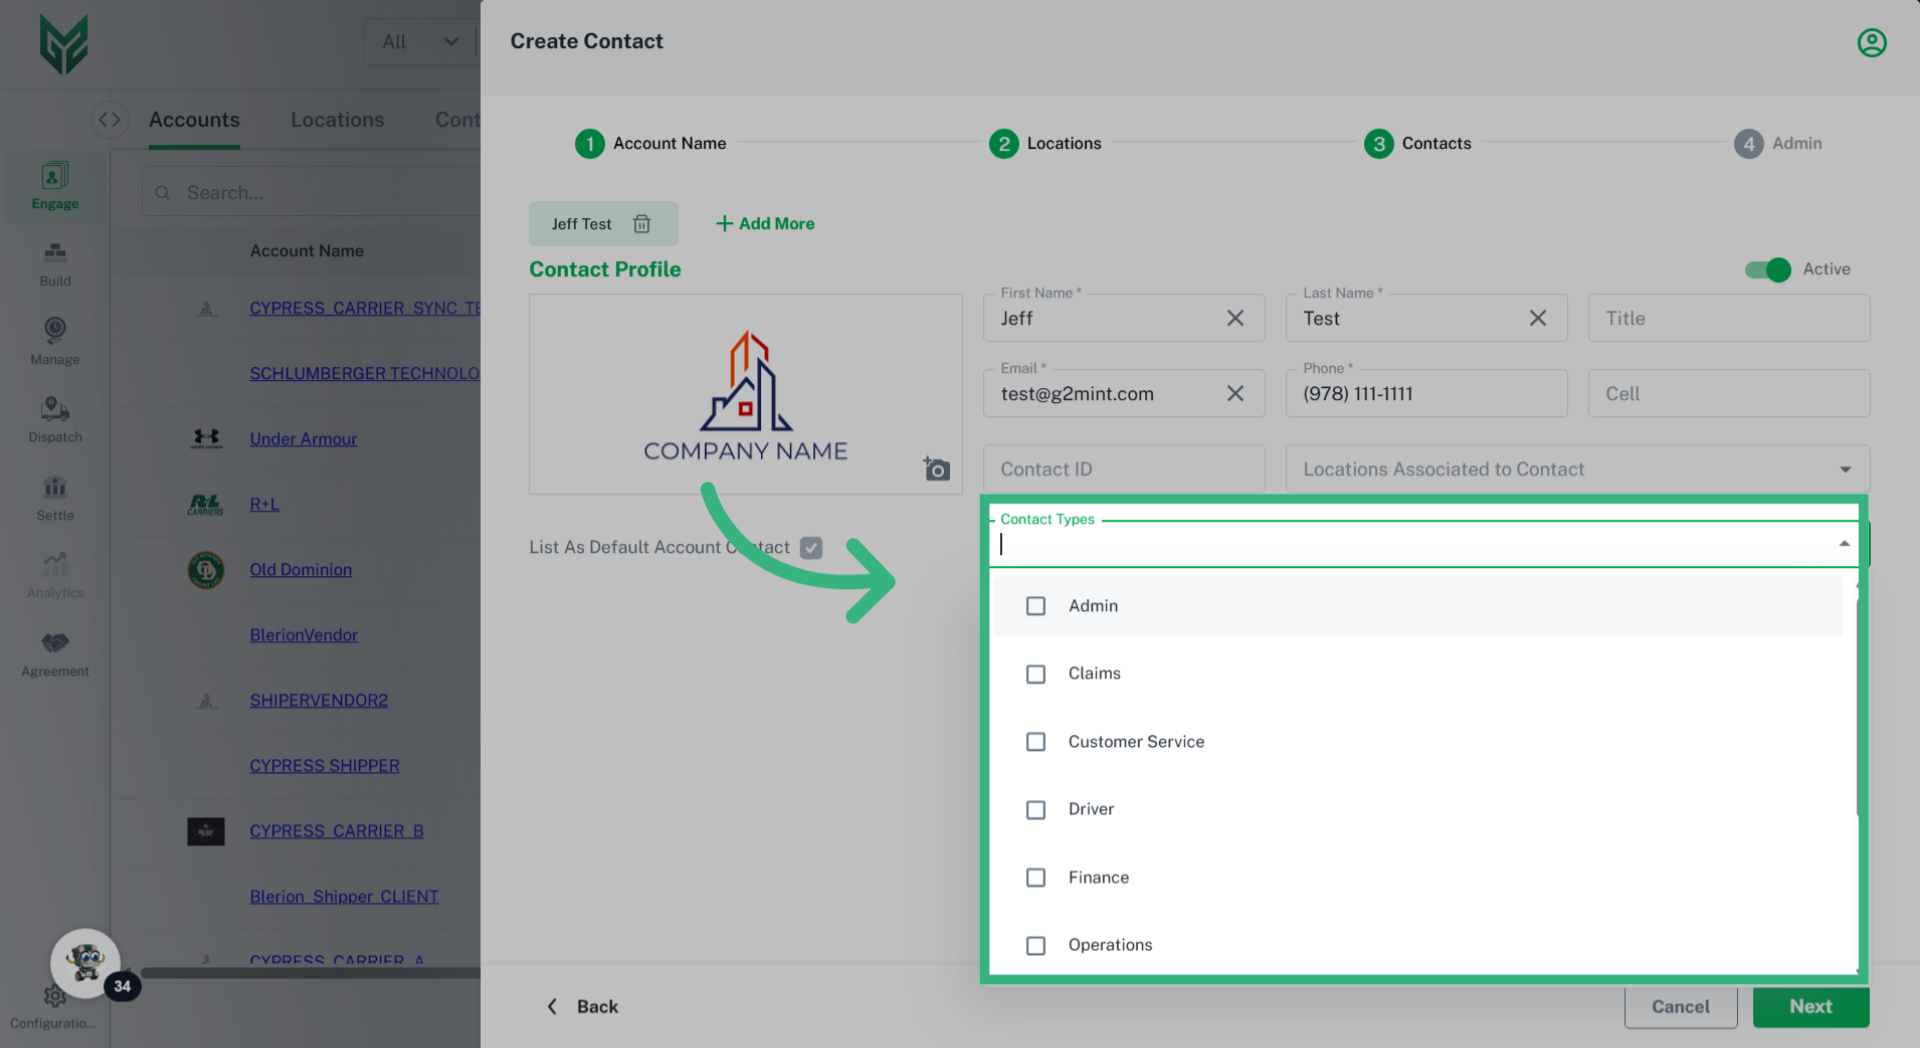
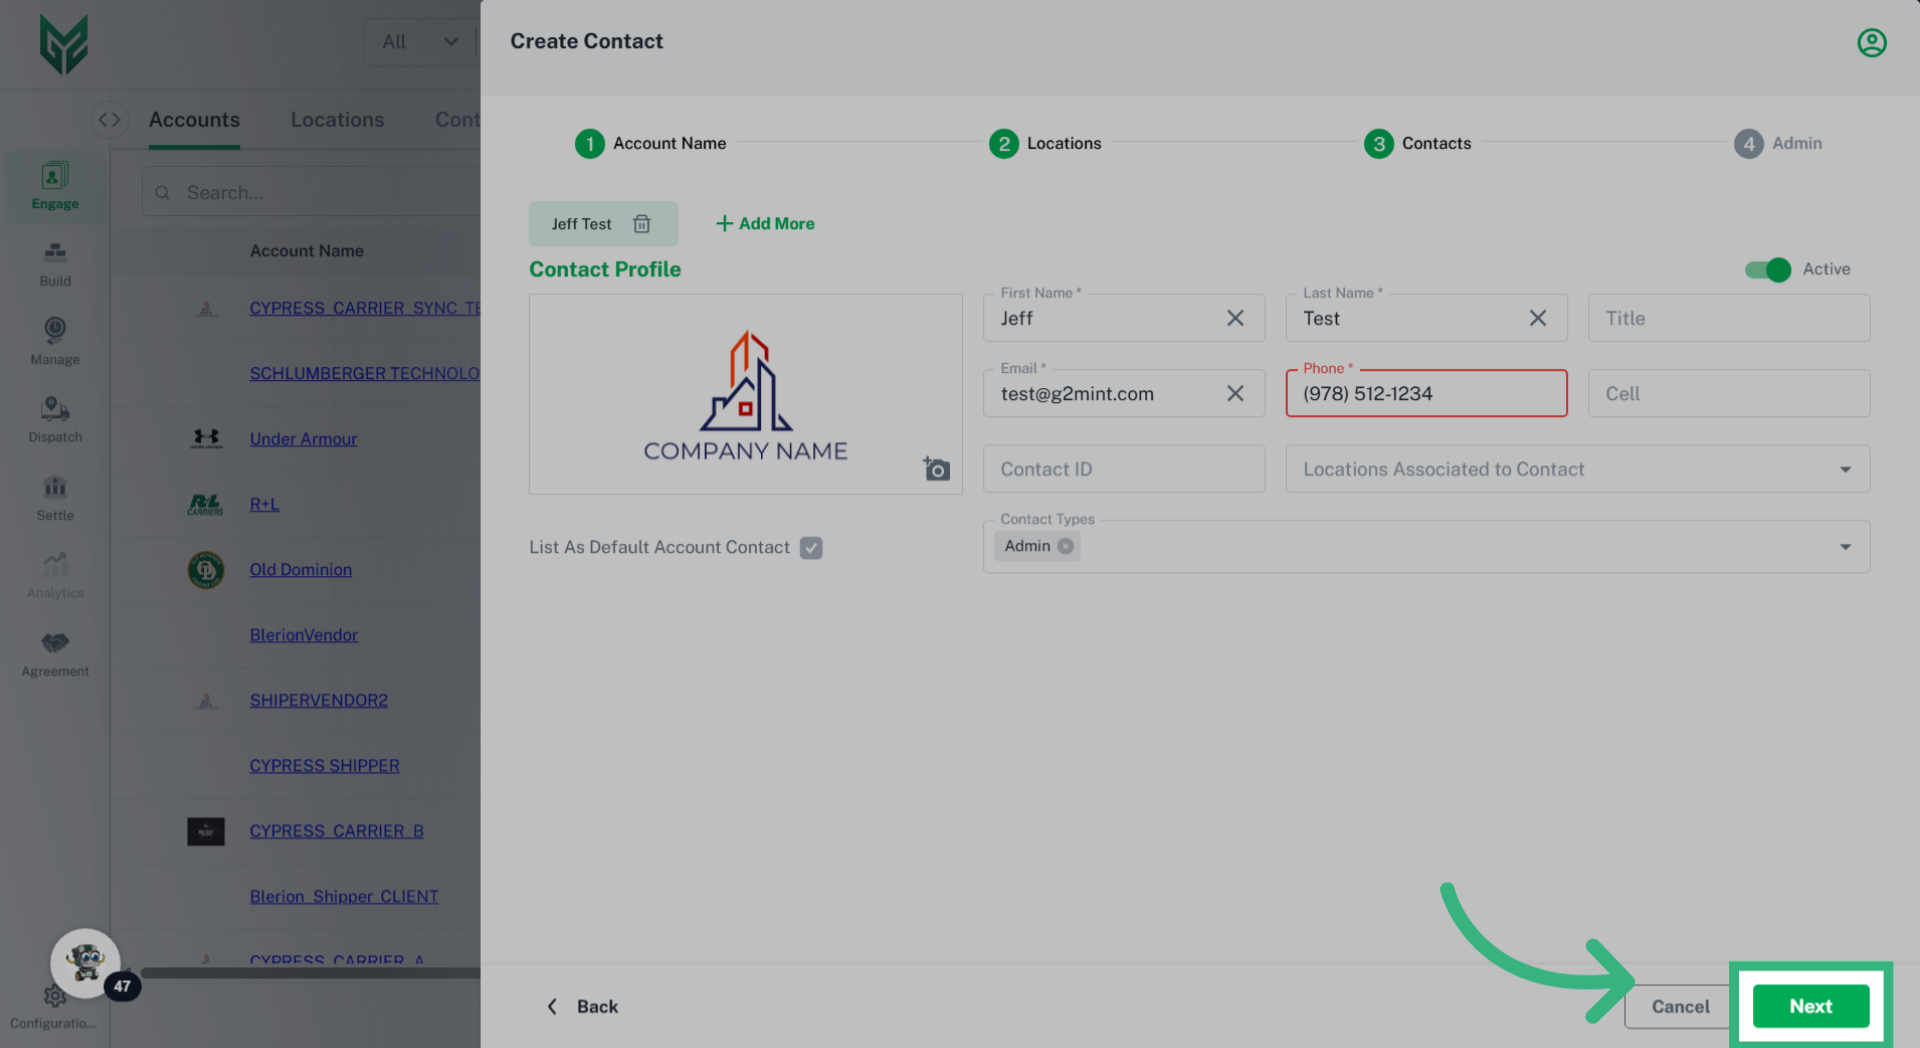
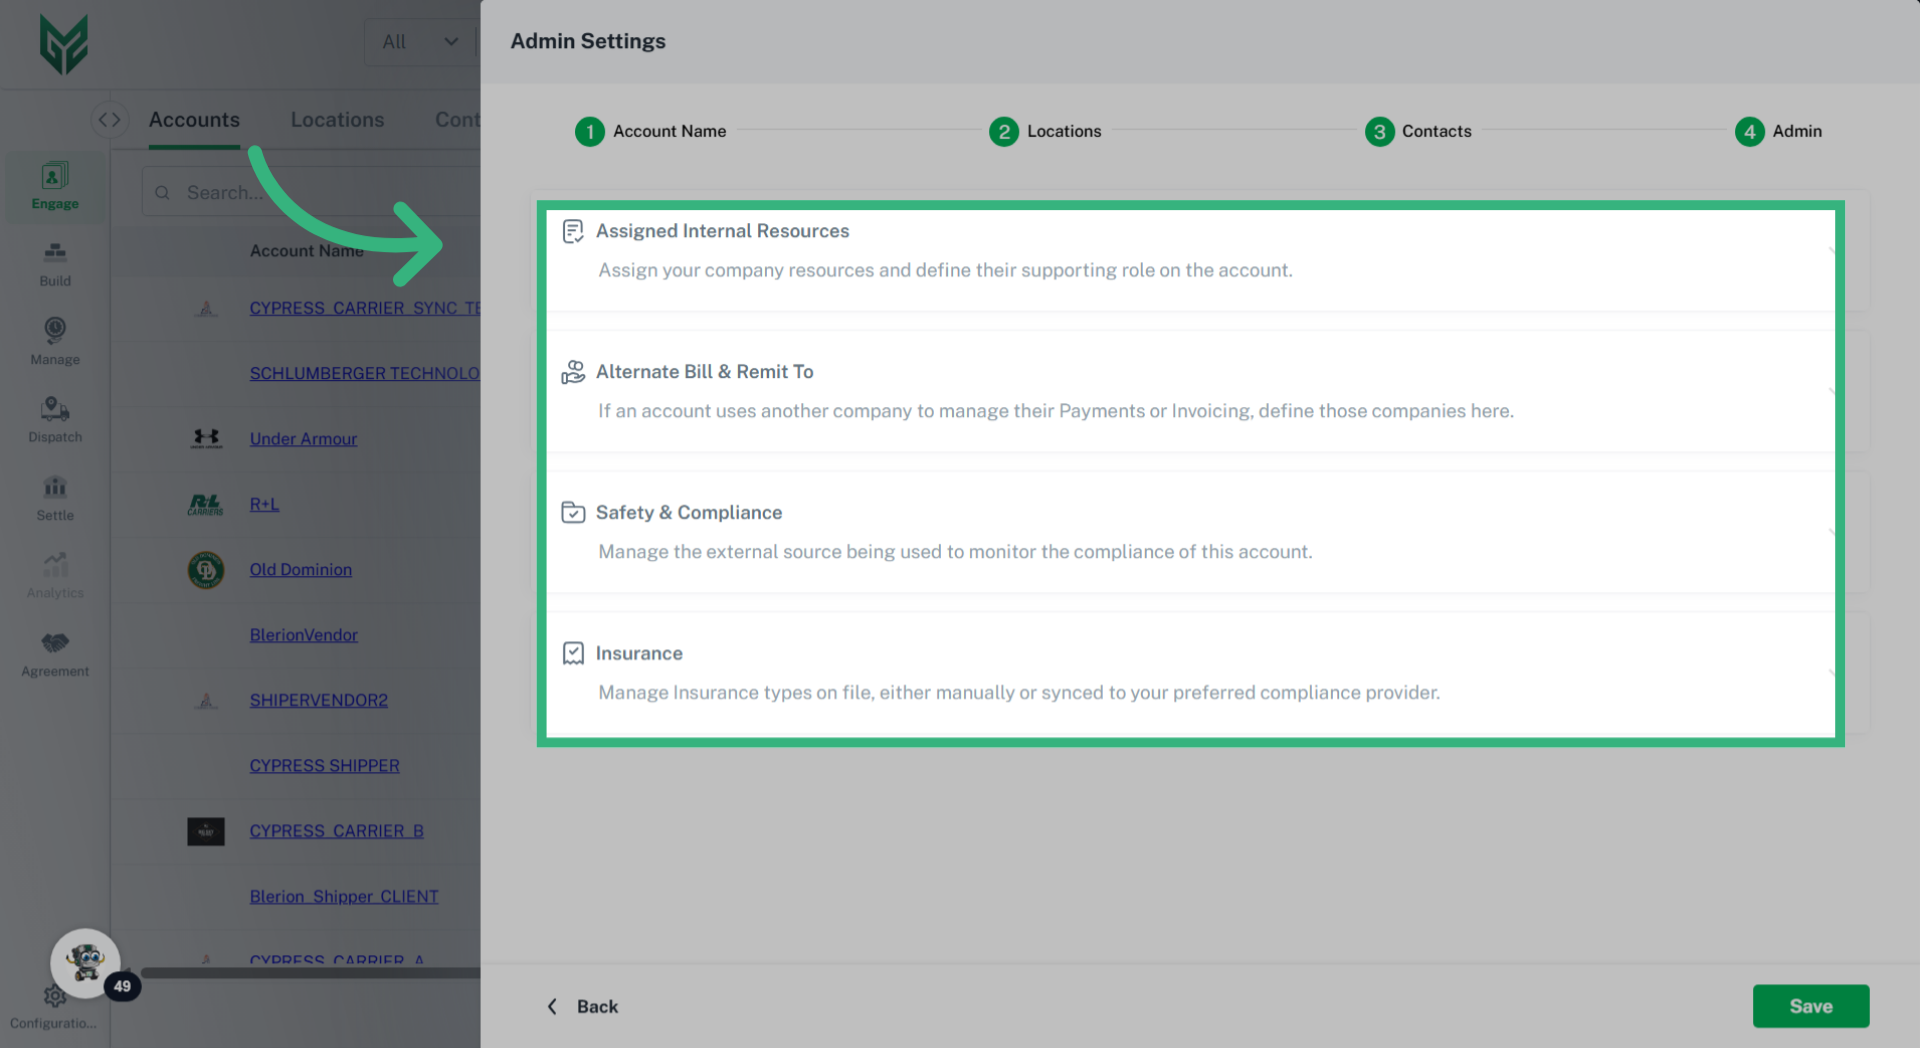
Each type of Engage Account is responsible for managing its specific attributes, including profiles, credit ratings, compliance, and capabilities. Furthermore, every Engage Account can have unique preferences and system settings tailored to its needs. In the G2M TMS, it is mandatory for each Engage Account to have at least one Location (typically designated as a Billing location) and one Contact (which includes a name and email address).

Solution Overview:

Once an Engage Account is created, all relevant information linked to that account will automatically populate in the application wherever applicable.

Services & Capabilities in Engage allows users to manage specific coverage areas, modes or services to be assigned to an account. These options do differ based on their persona: Broker, Shipper, Carrier or Payment Service.  This can allow desired information to be visible to other G2Mint users, if desired, to increase networking capabilities.

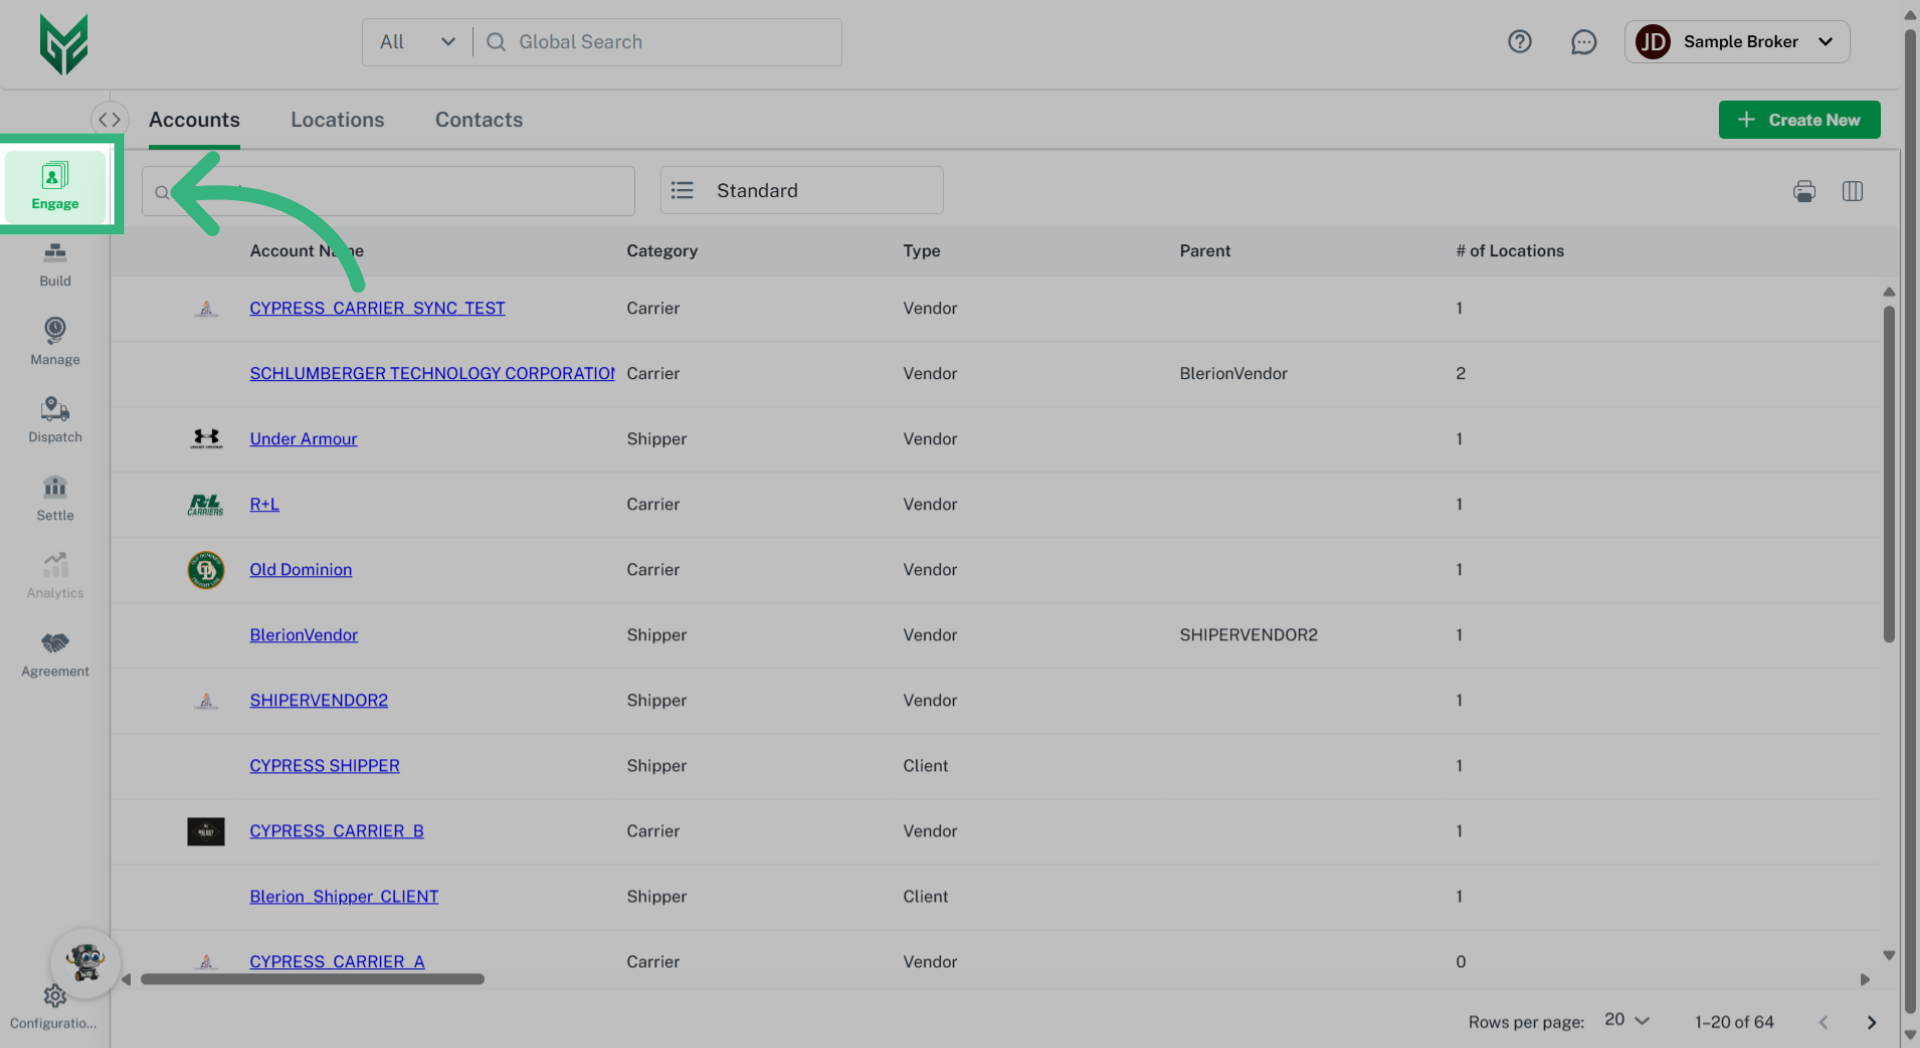
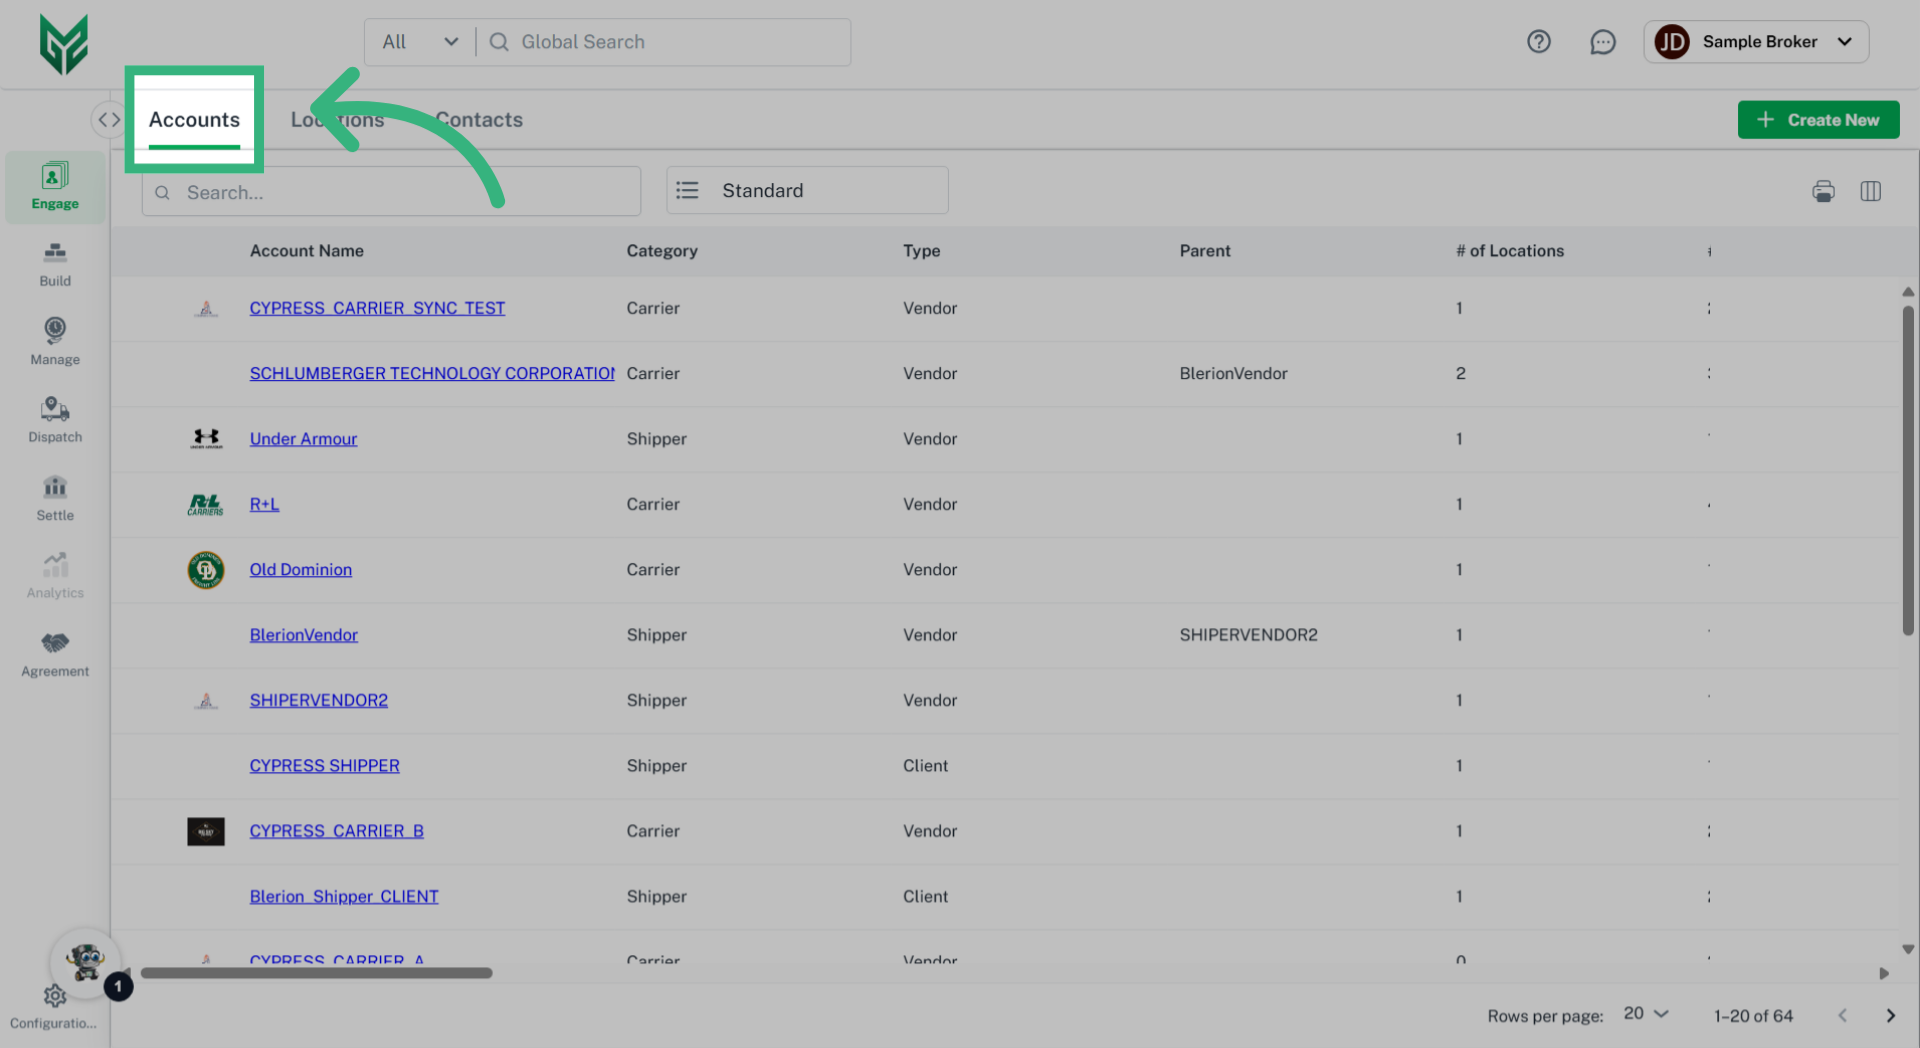
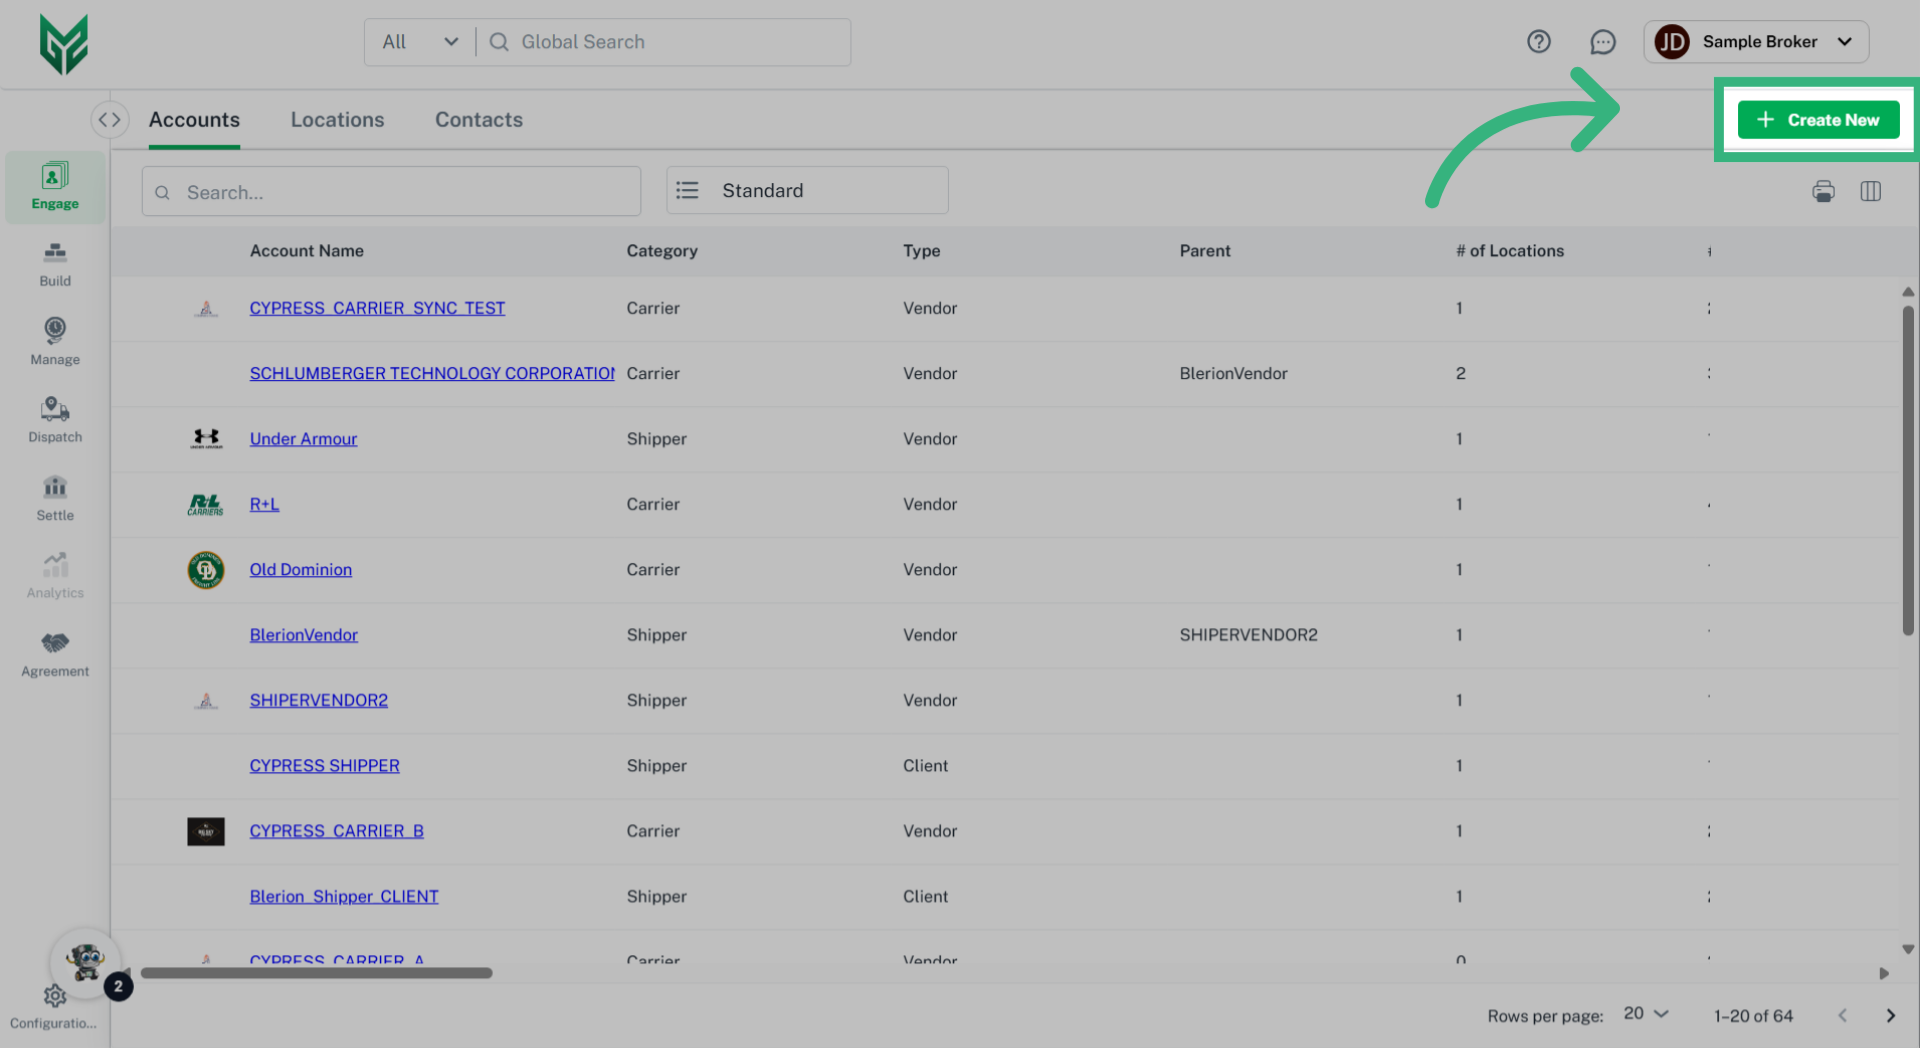
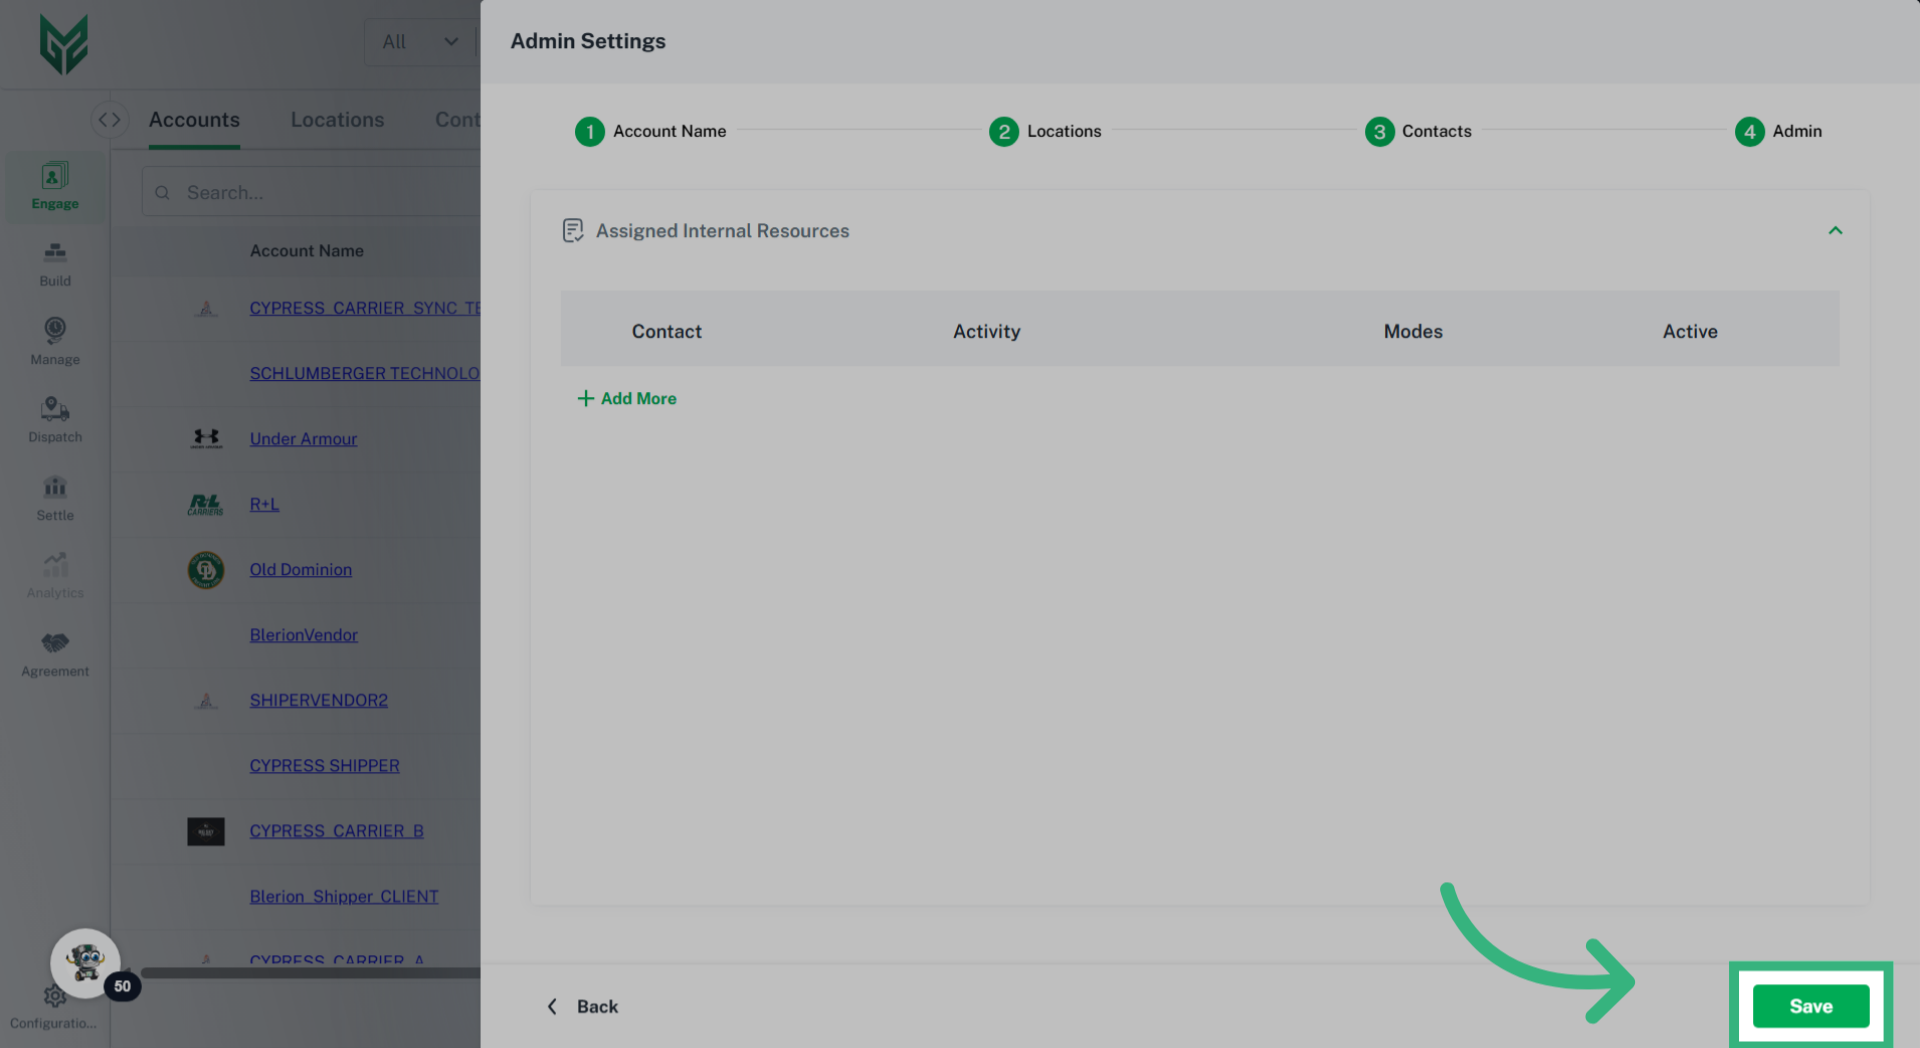
How to Create an Engage Account: 
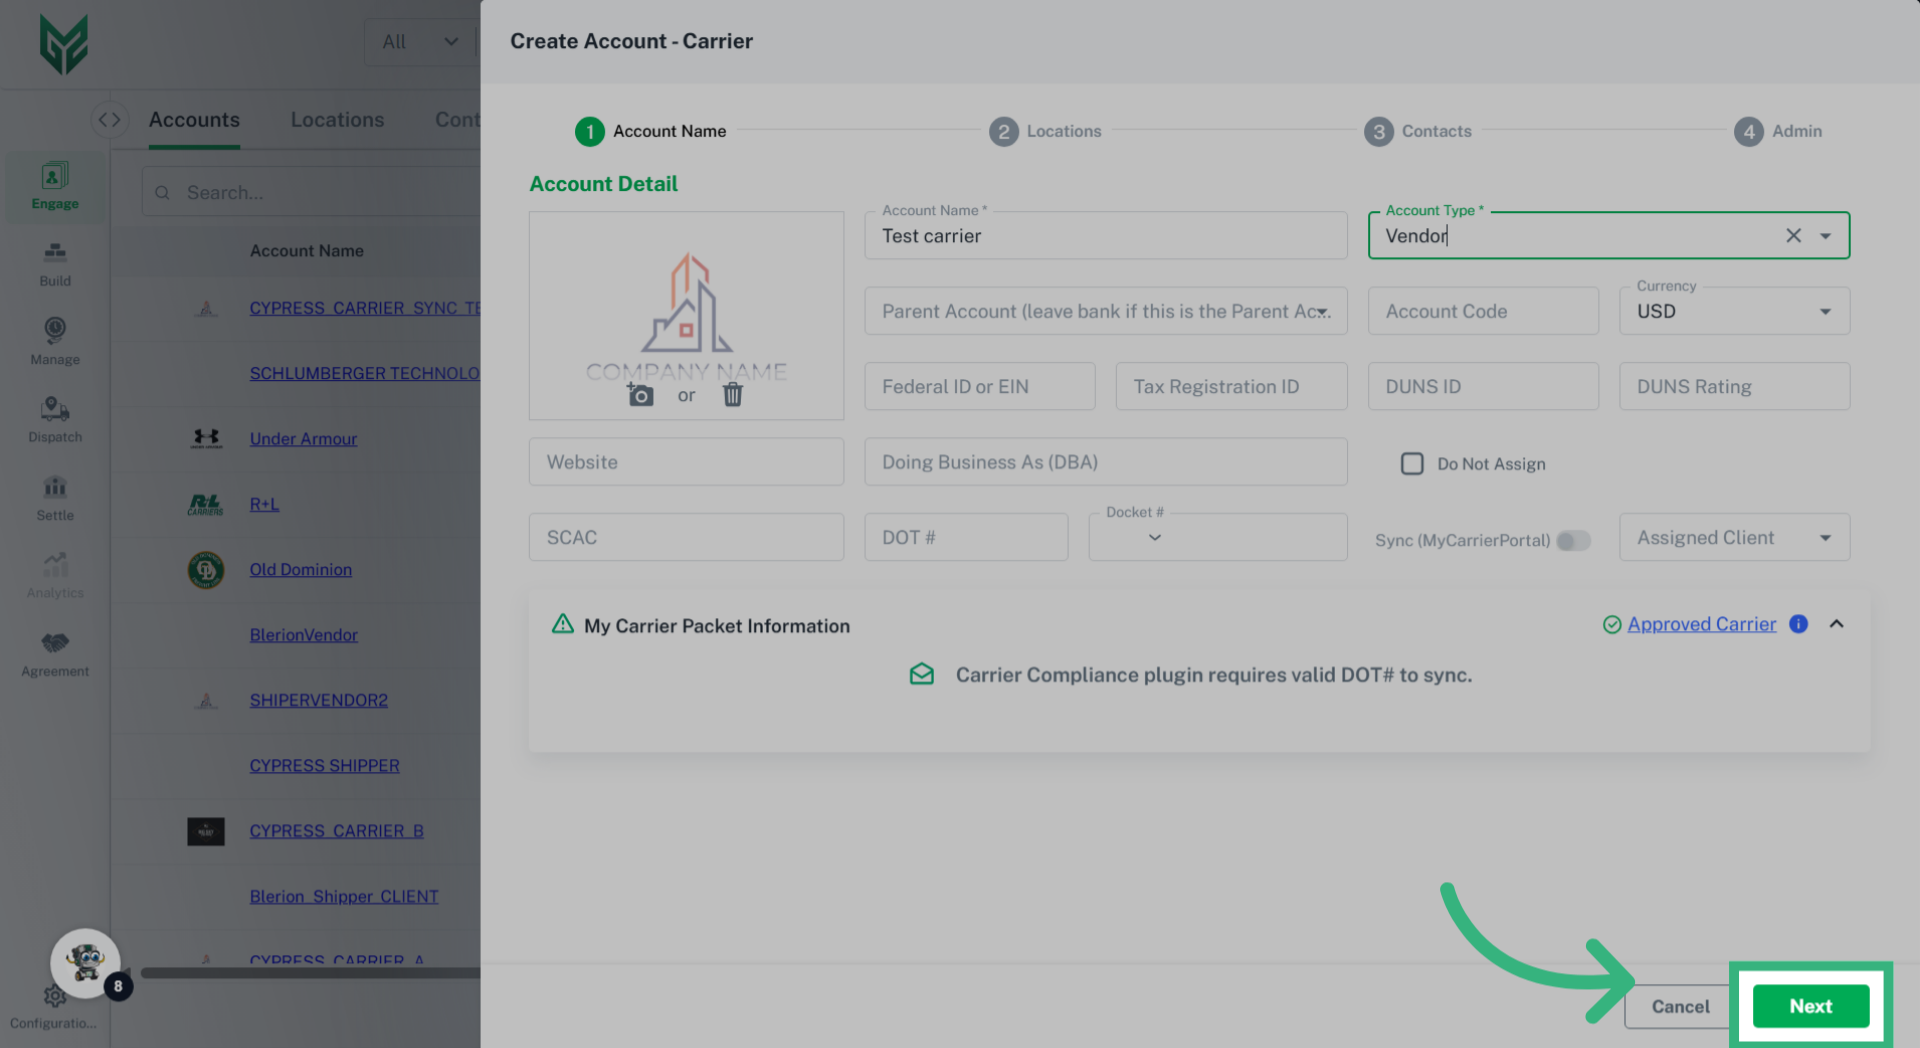
Accounts in Engage is a collection of Vendors and Clients of all Personas.

1. Click "Engage"

Begin by selecting "Engage".
Click 'Engage'

2. Click "Accounts"

Navigate to the "Accounts" tab.
Click 'Accounts'

3. Click "Create New"

Select "Create New"
Click 'Create New'

4. Click "Persona"

Select the persona of the Account that is being entered. Please note that Accounts are entered on the Company level. Setting options will differ based upon the selected persona.
Click 'Persona'

5. Enter  "Account Details"

Enter the Account Details. For further definitions of each field, visit Engage Accounts: General.
Enter  'Account Details'

6. Click "Next"

Once the information required, which is marked by an asterisk, is entered, click "Next". You can always fill additional information at a later date.
Click 'Next'

7. Enter "Location Type"

Location Type is a critical step allowing the Location to be accessed as a dropdown select option throughout the application. For example, designating the location as a Ship/Receive location will always prompt the user this option while creating a Quote or Shipment, avoiding the likelihood of error.
Enter 'Location Type'

8. Enter "Location Profile" details

Fill the desired Location Profile Details. For more information regarding each specific field, visit Engage Accounts: Locations.
Enter 'Location Profile' details

9. Click "Next"

Select "Next".
Click 'Next'

10. Enter "Contact Profile" details

Enter Contact Profile information. Required fields are marked with an asterisk. For further details regarding the individual fields, navigate to Engage Accounts: Contacts.
Enter 'Contact Profile' details

11. Default Contact

The initial Contact created for an Account is automatically assigned as the Default Contact. As additional Contacts are created, this checkbox will determine the Default Contact.
Default Contact

12. Select "Contact Types"

"Contact Types" helps to assign Contacts to specific correspondences, including emails and commissions.
Select 'Contact Types'

13. Click "Next"

Select "Next".
Click 'Next'

14. Enter additional Account details

Additional Account details will vary based upon the persona of the Account, whether it is a Broker, Shipper or Carrier Account.
Enter additional Account details

15. Click "Save"

Select "Save".
Click 'Save'
For further information, please contact us at support@G2Mint.com.


   Options include:

  • Coverage: Define specific geographic hierarchies (coverage areas) of the service areas you operate in, enabling you to identify preferred lanes for using a spot provider.  The preferred lanes designation becomes particularly helpful to limit the number of Spot Carriers available, allowing you to only see those who specialize in the lane. 
  • Capabilities: Identify any Equipment types supported (for Carrier accounts) or required (for Shipper accounts).  For example, if an account requires a refrigerated truck, this would be noted here.
  • Available Services: Allows the user to define any service levels & special services as well as the appropriate codes their account may pass to the system as part of the shipment integration.
  • Supported 3PL Services: Select additional services that the Account is capable of providing, such as Factoring Services.  These elections can be visible to help others discover services offered by this account (opt-in will be required).