How (and where) to add my Shipper Accounts (If I am a Broker)
Accounts in Engage is a collection of Vendors and Clients of all Personas.
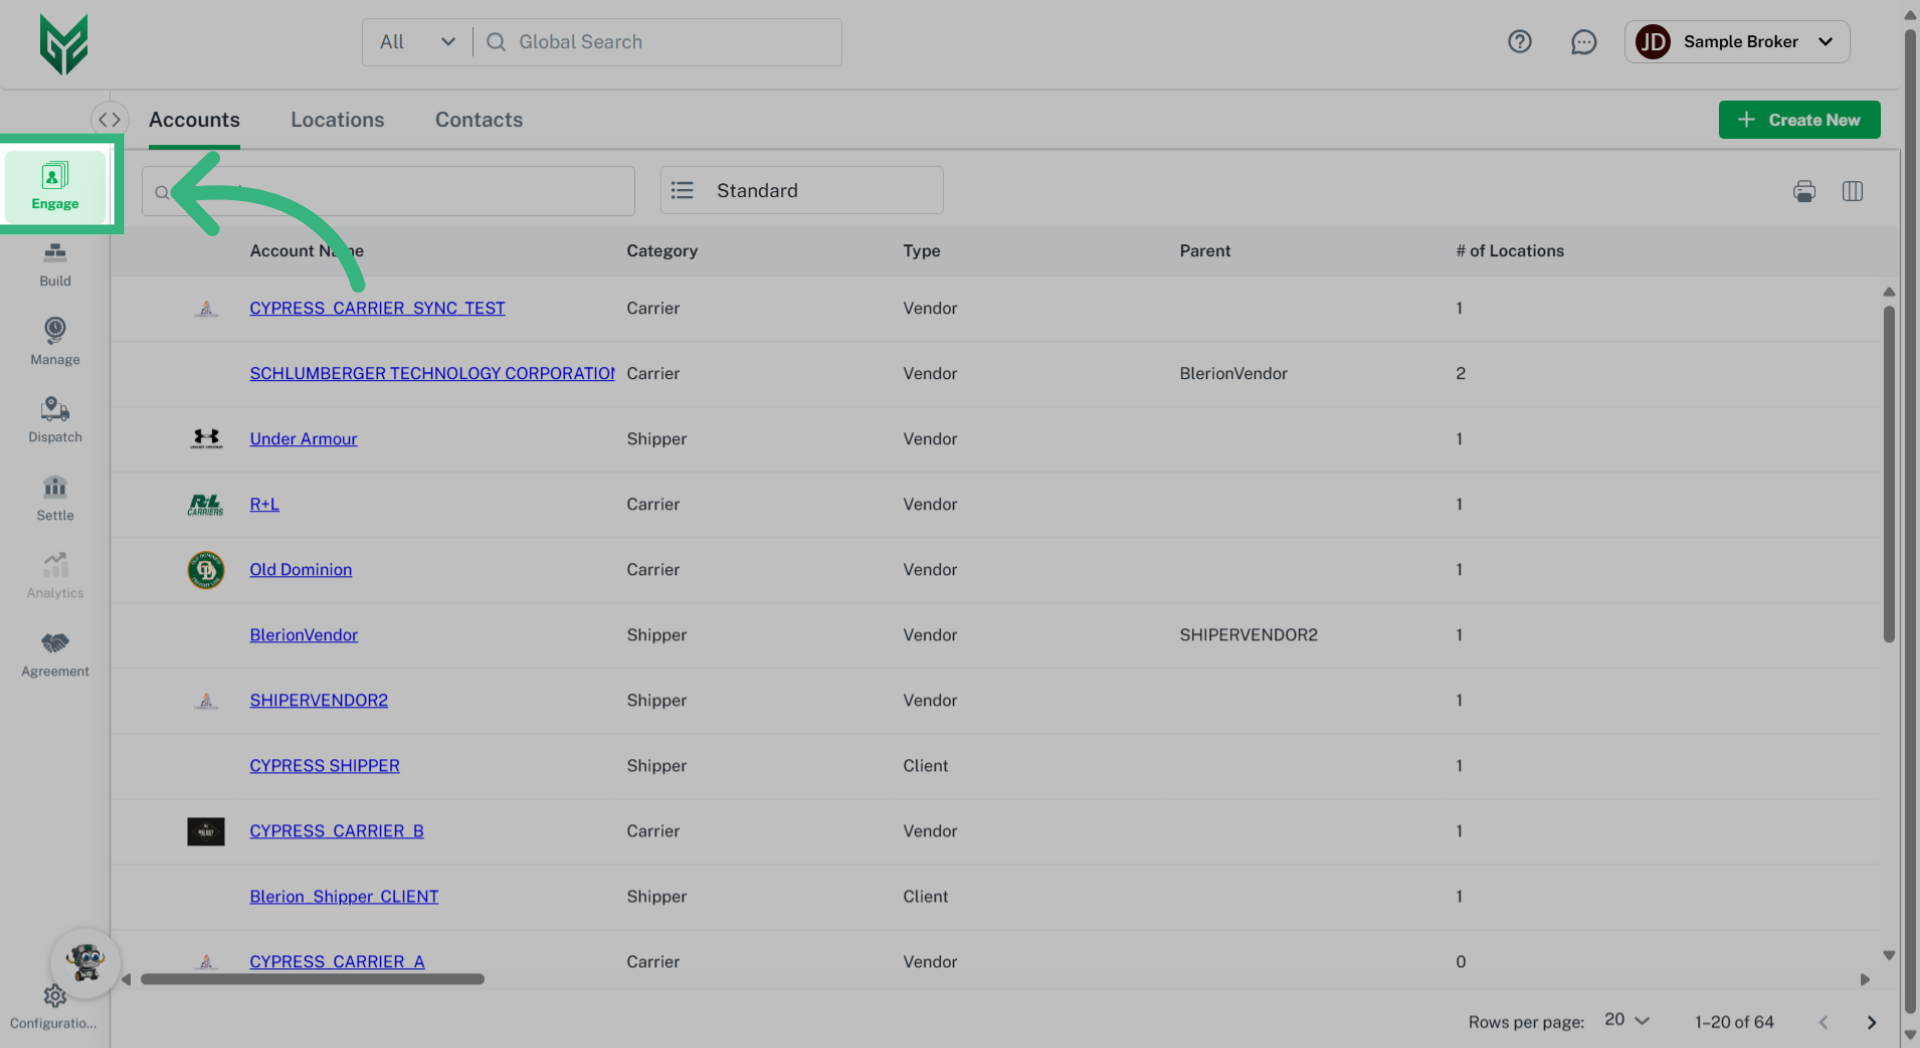
1. Click "Engage"
Begin by selecting "Engage".
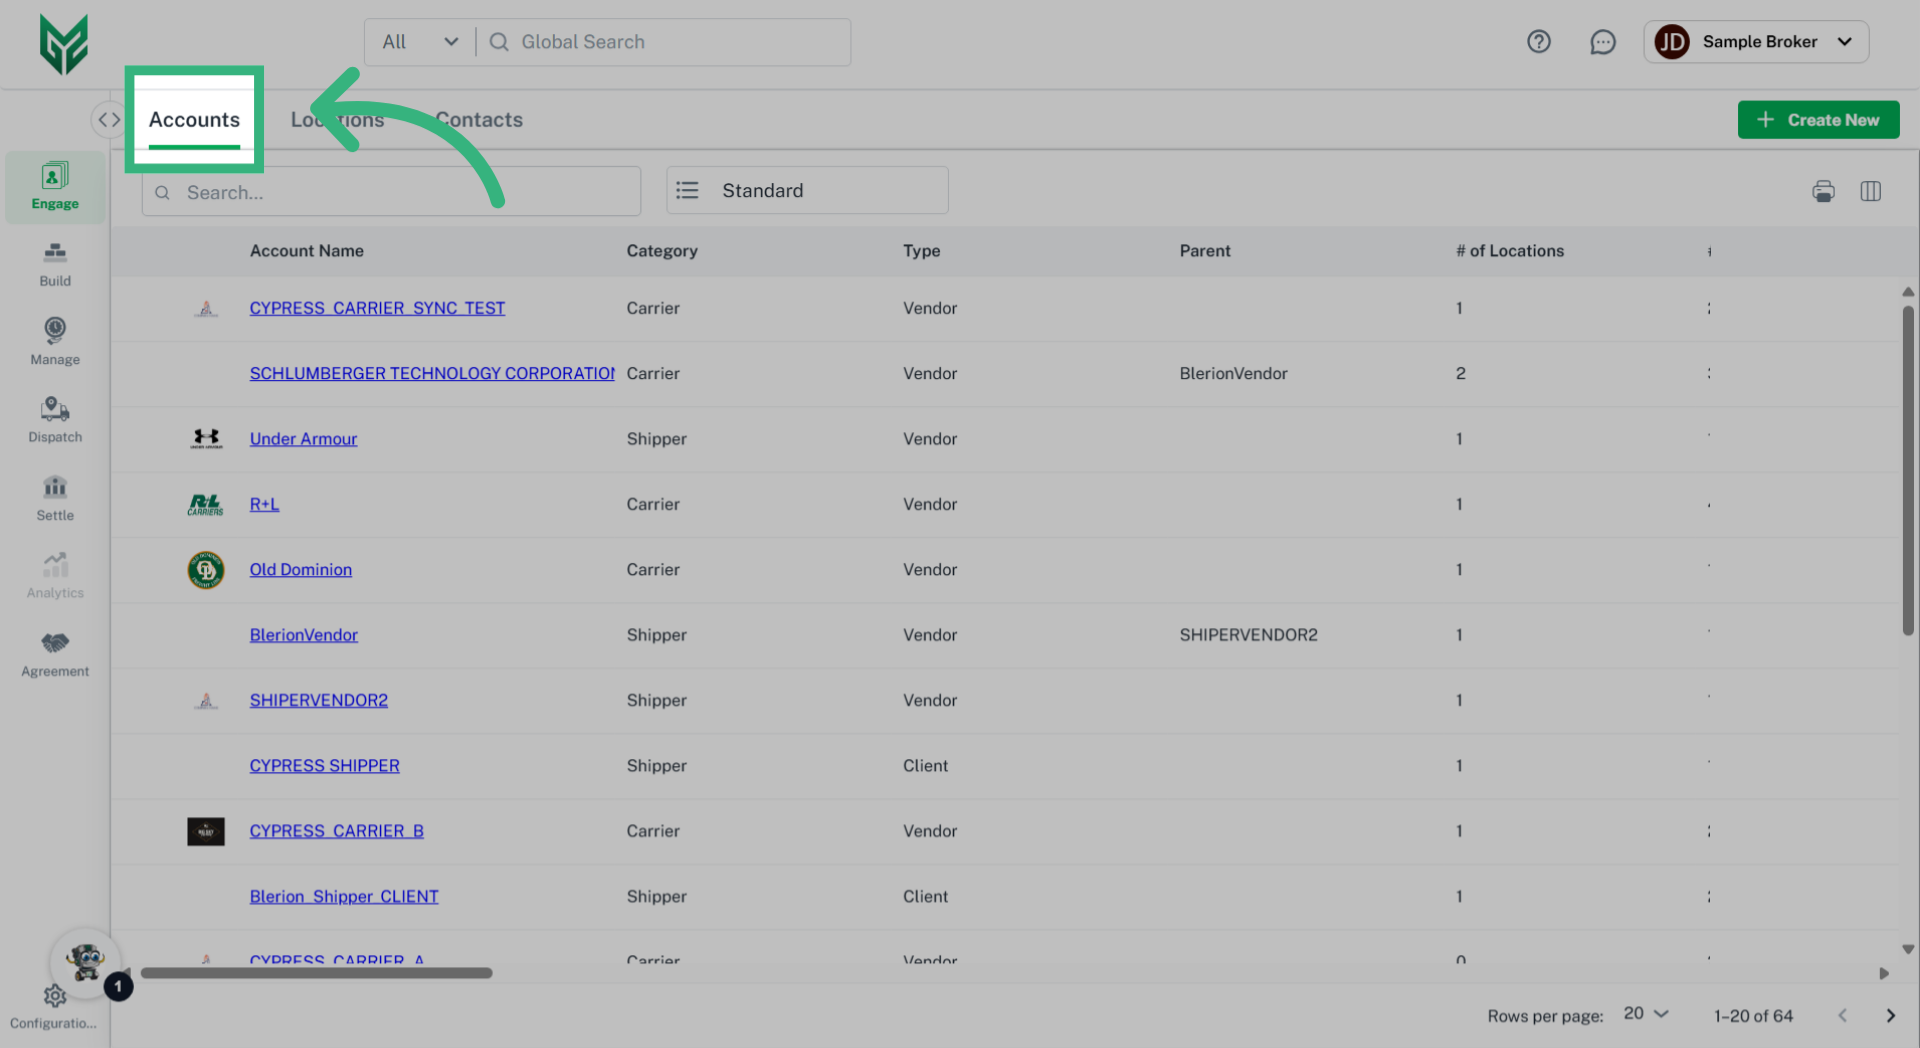
2. Click "Accounts"
Navigate to the "Accounts" tab.
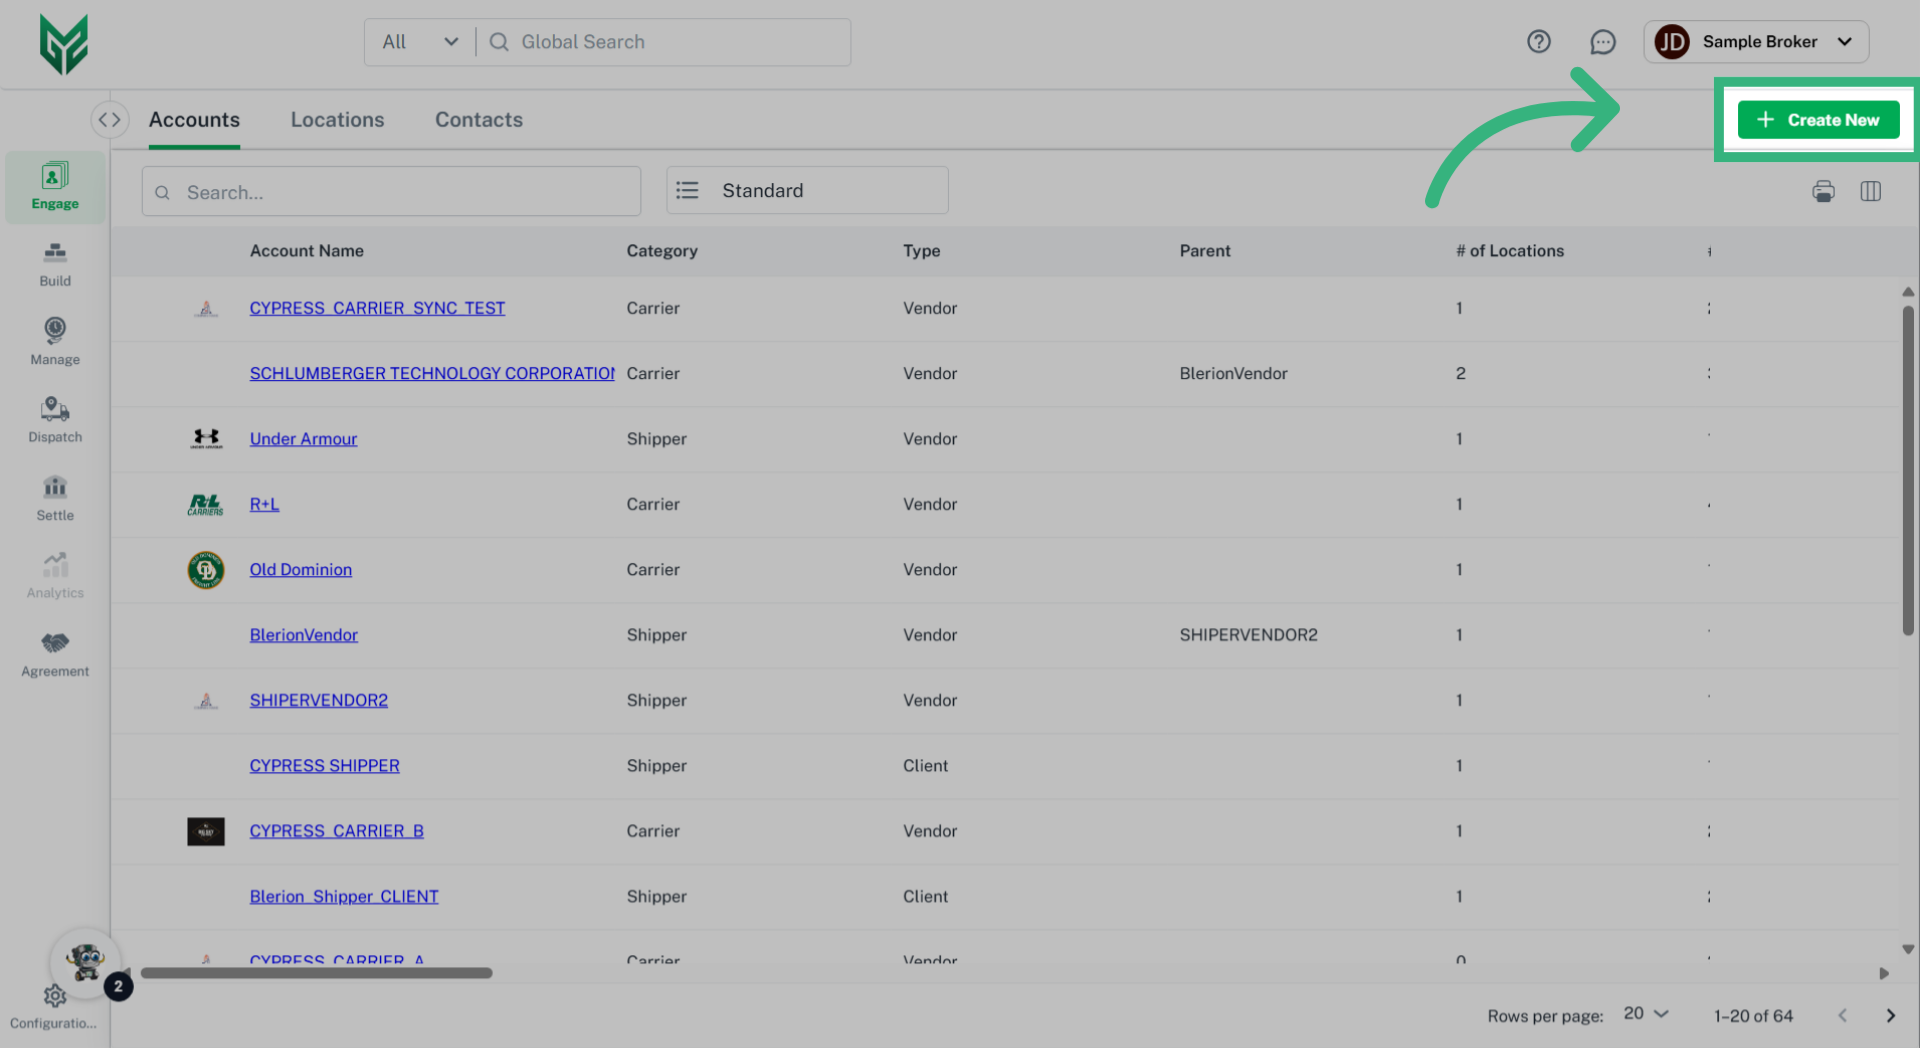
3. Click "Create New"
Select "Create New"
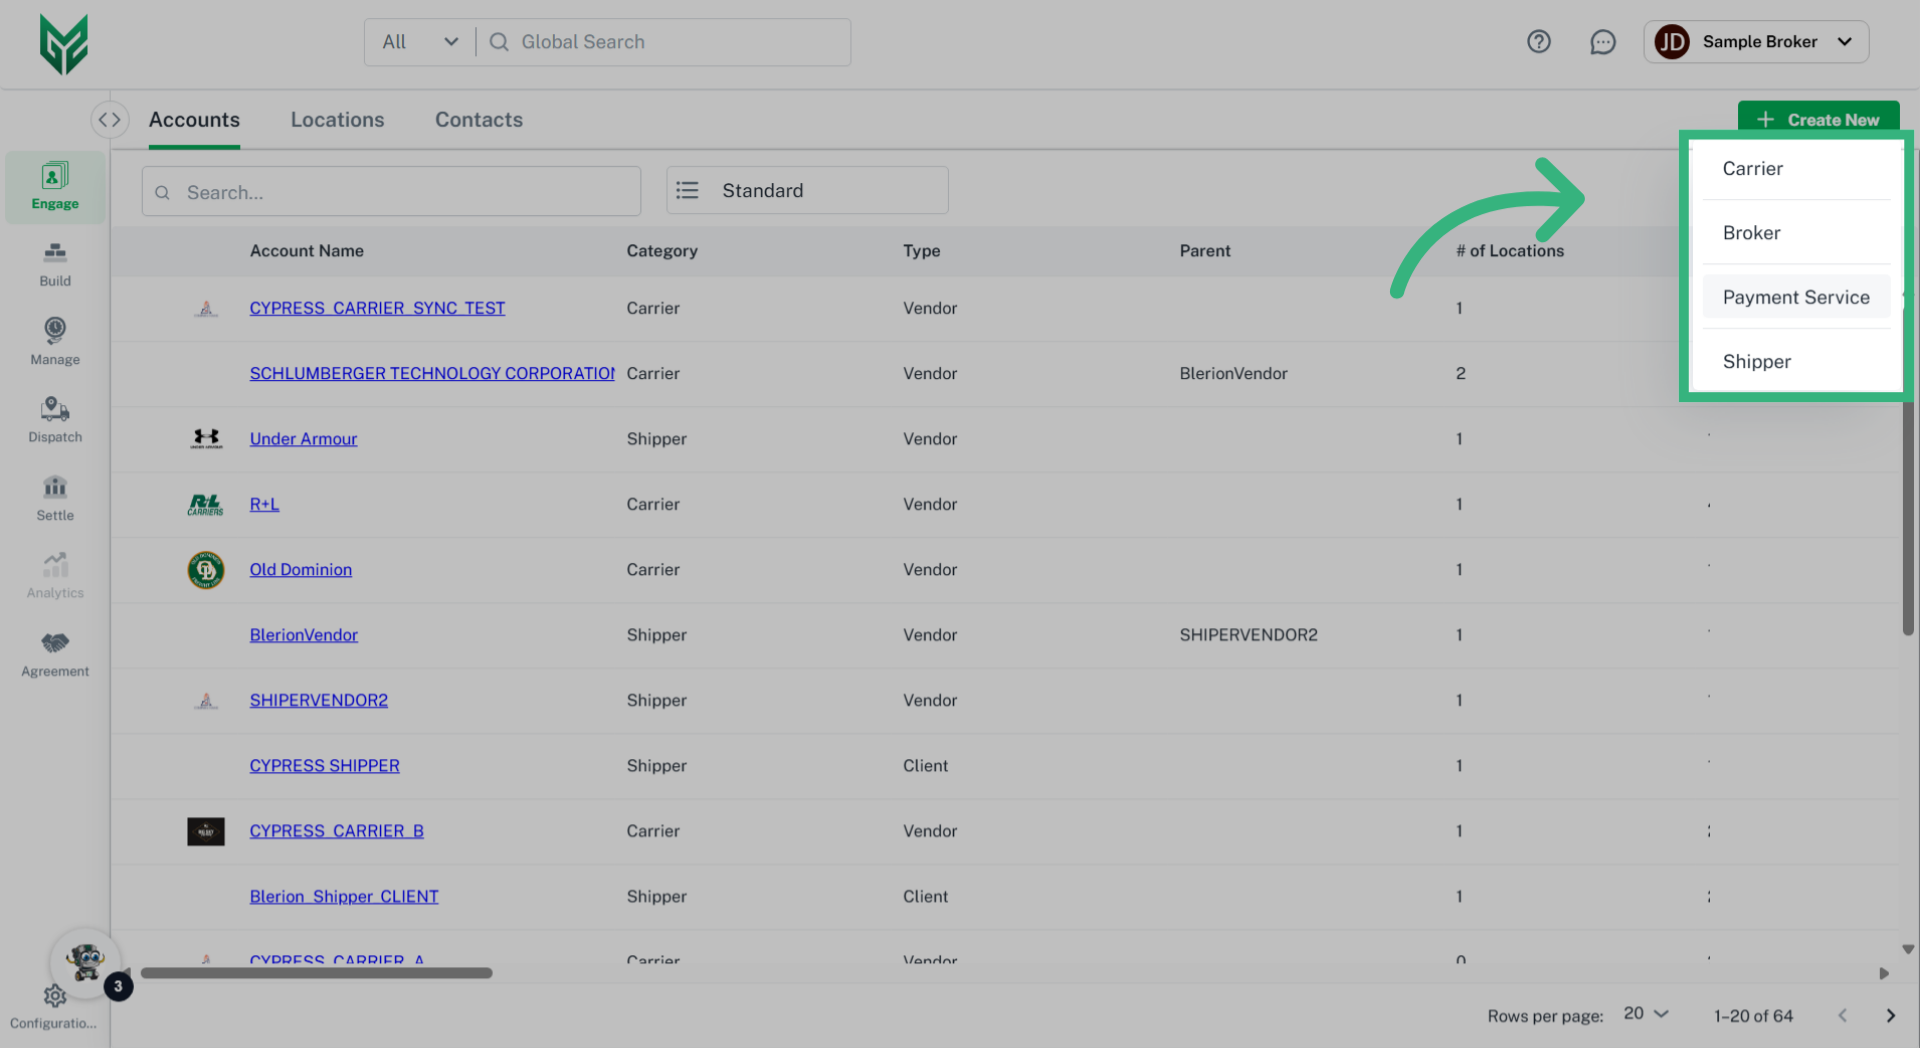
4. Select Persona
Select the persona of the Account that is being entered. Please note that Accounts are entered on the Company level. Setting options will differ based upon the selected persona.
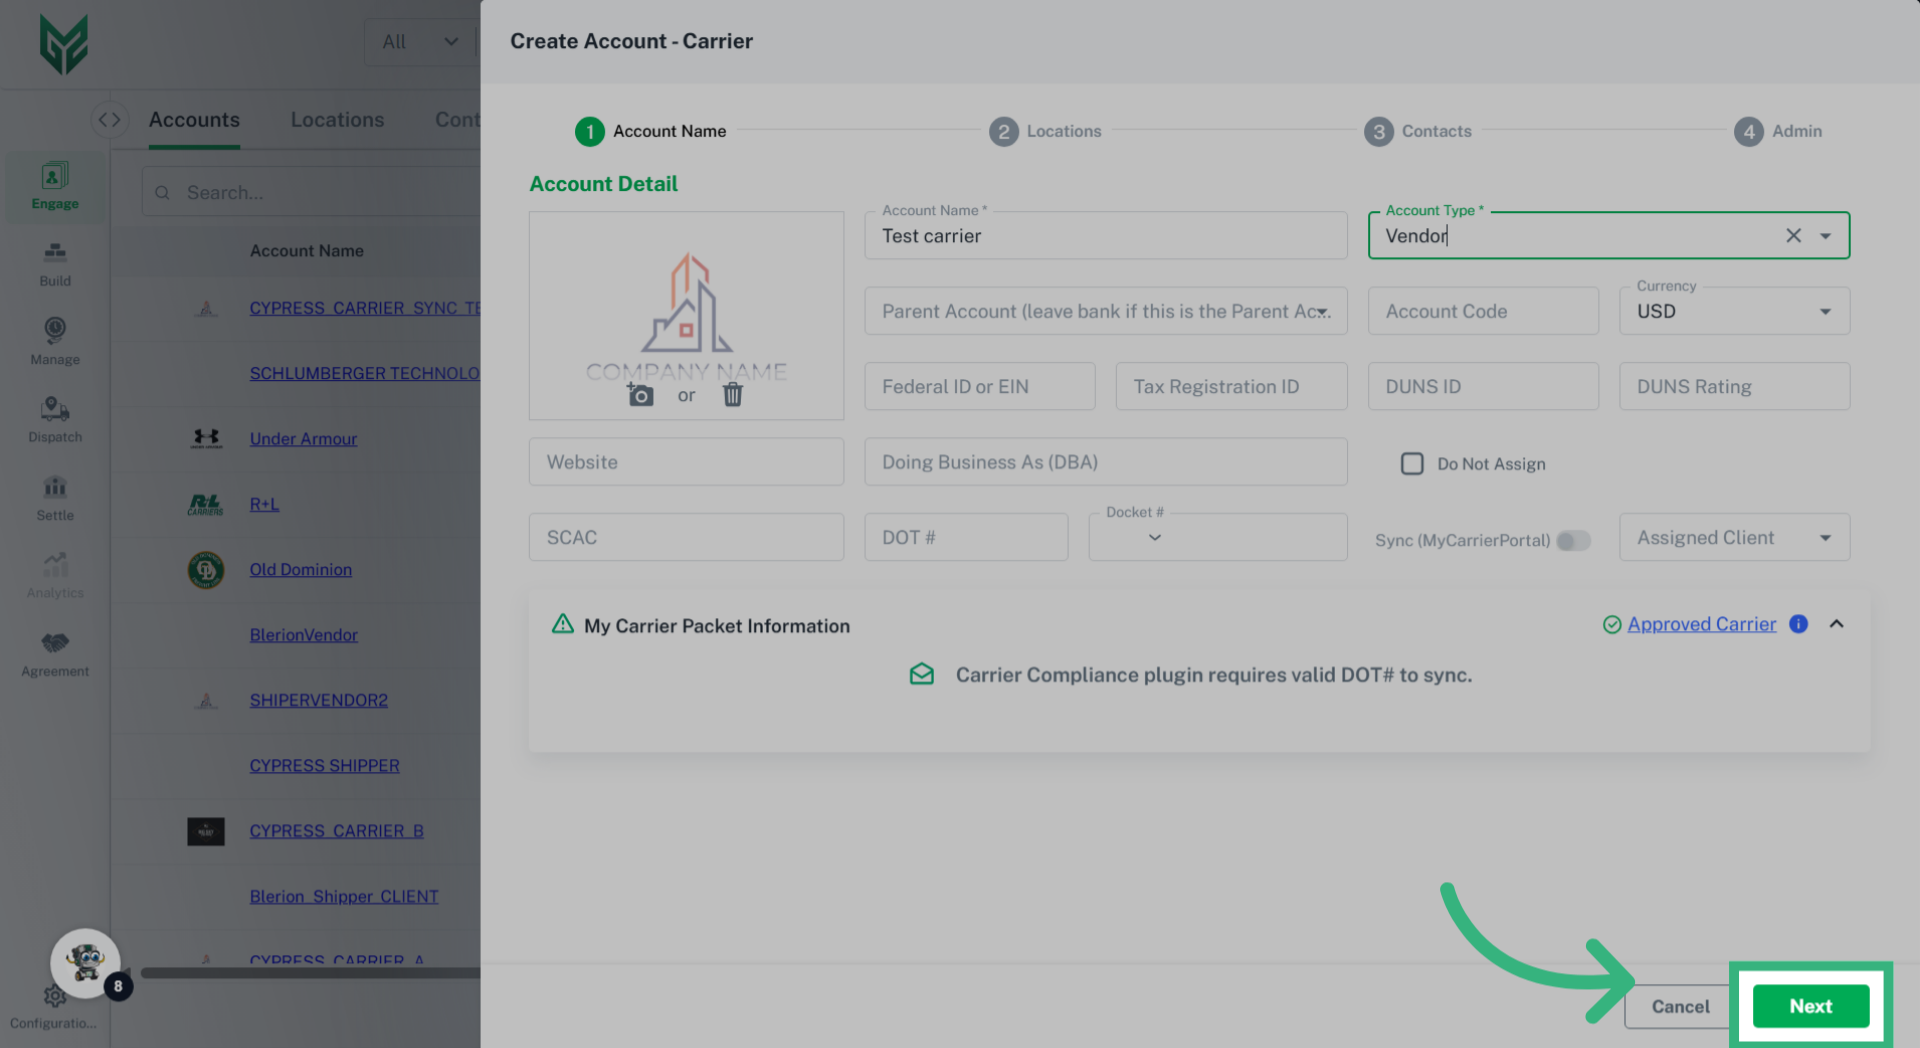
5. Enter "Account Details"
Enter the Account Details. For further definitions of each field, visit Engage Accounts: General.

6. Click "Next"
Once the information required, which is marked by an asterisk, is entered, click "Next". You can always fill additional information at a later date.
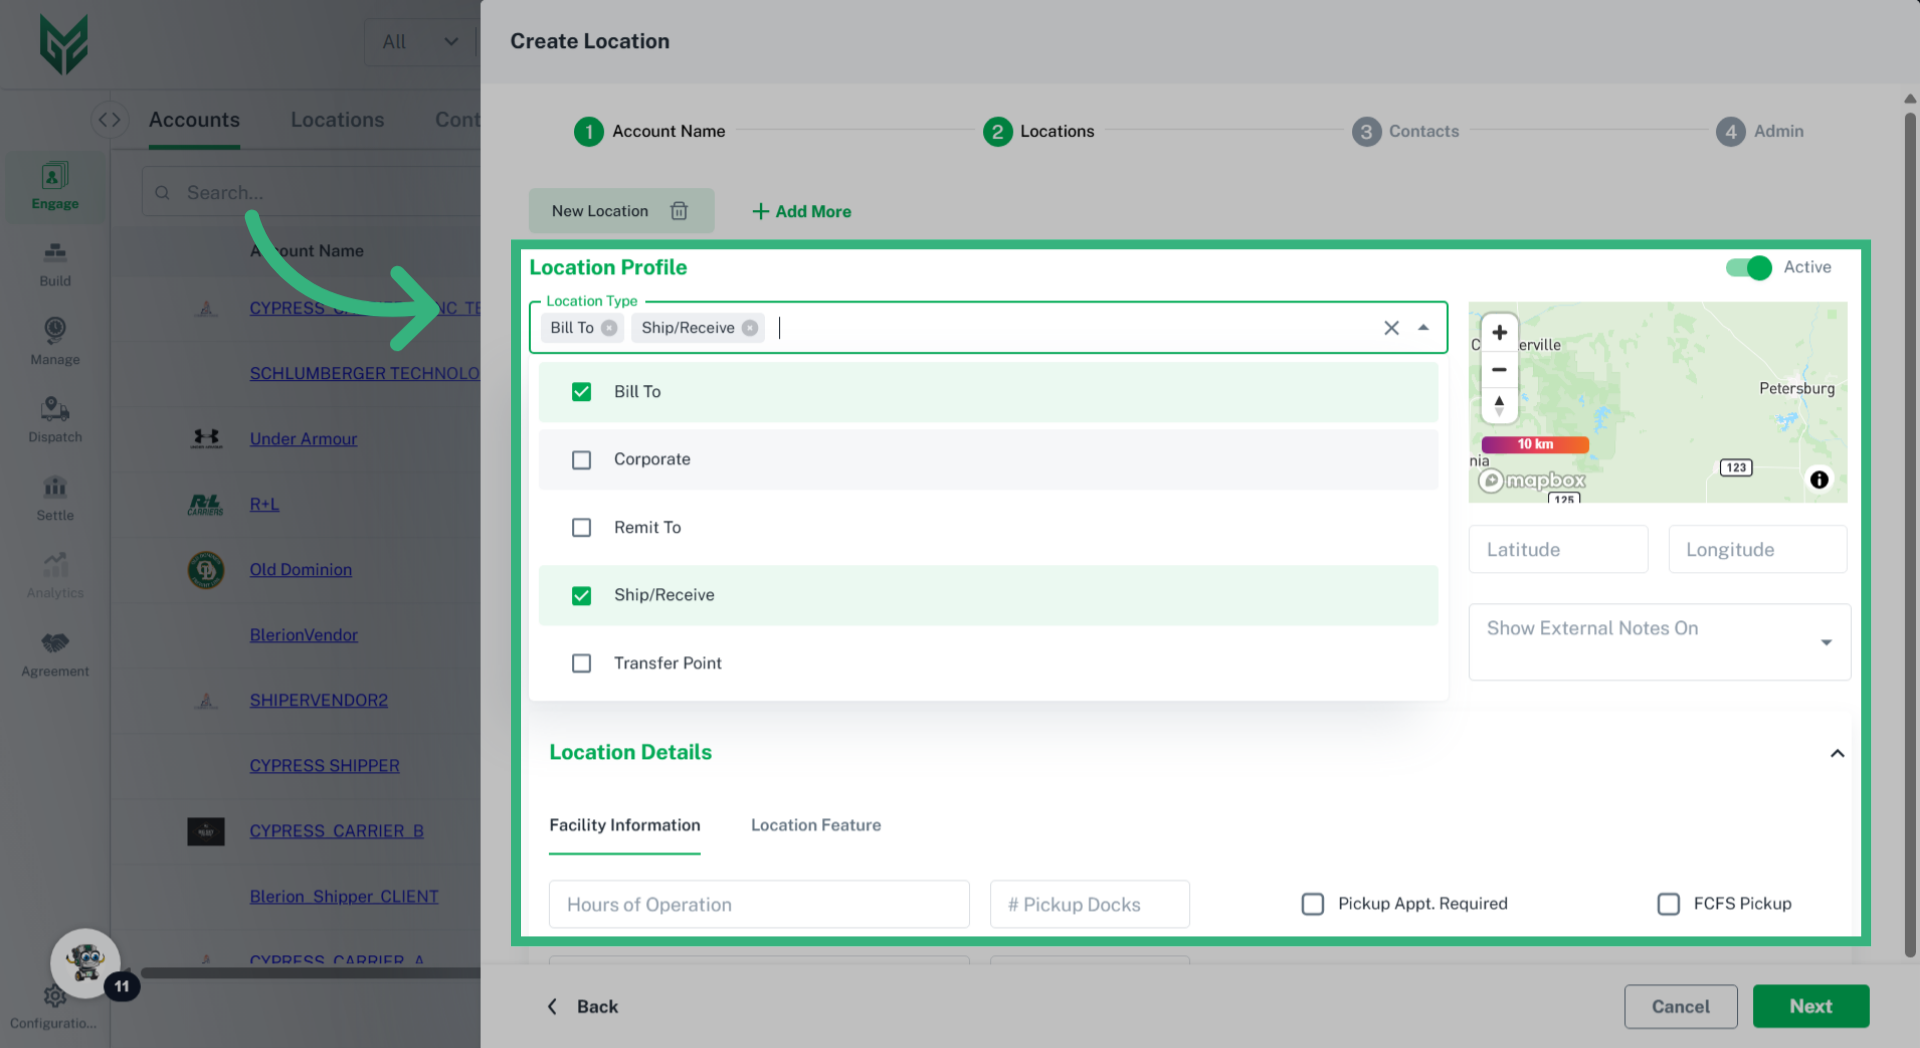
7. Enter "Location Type"
Location Type is a critical step allowing the Location to be accessed as a dropdown select option throughout the application. For example, designating the location as a Ship/Receive location will always prompt the user this option while creating a Quote or Shipment, avoiding the likelihood of error.
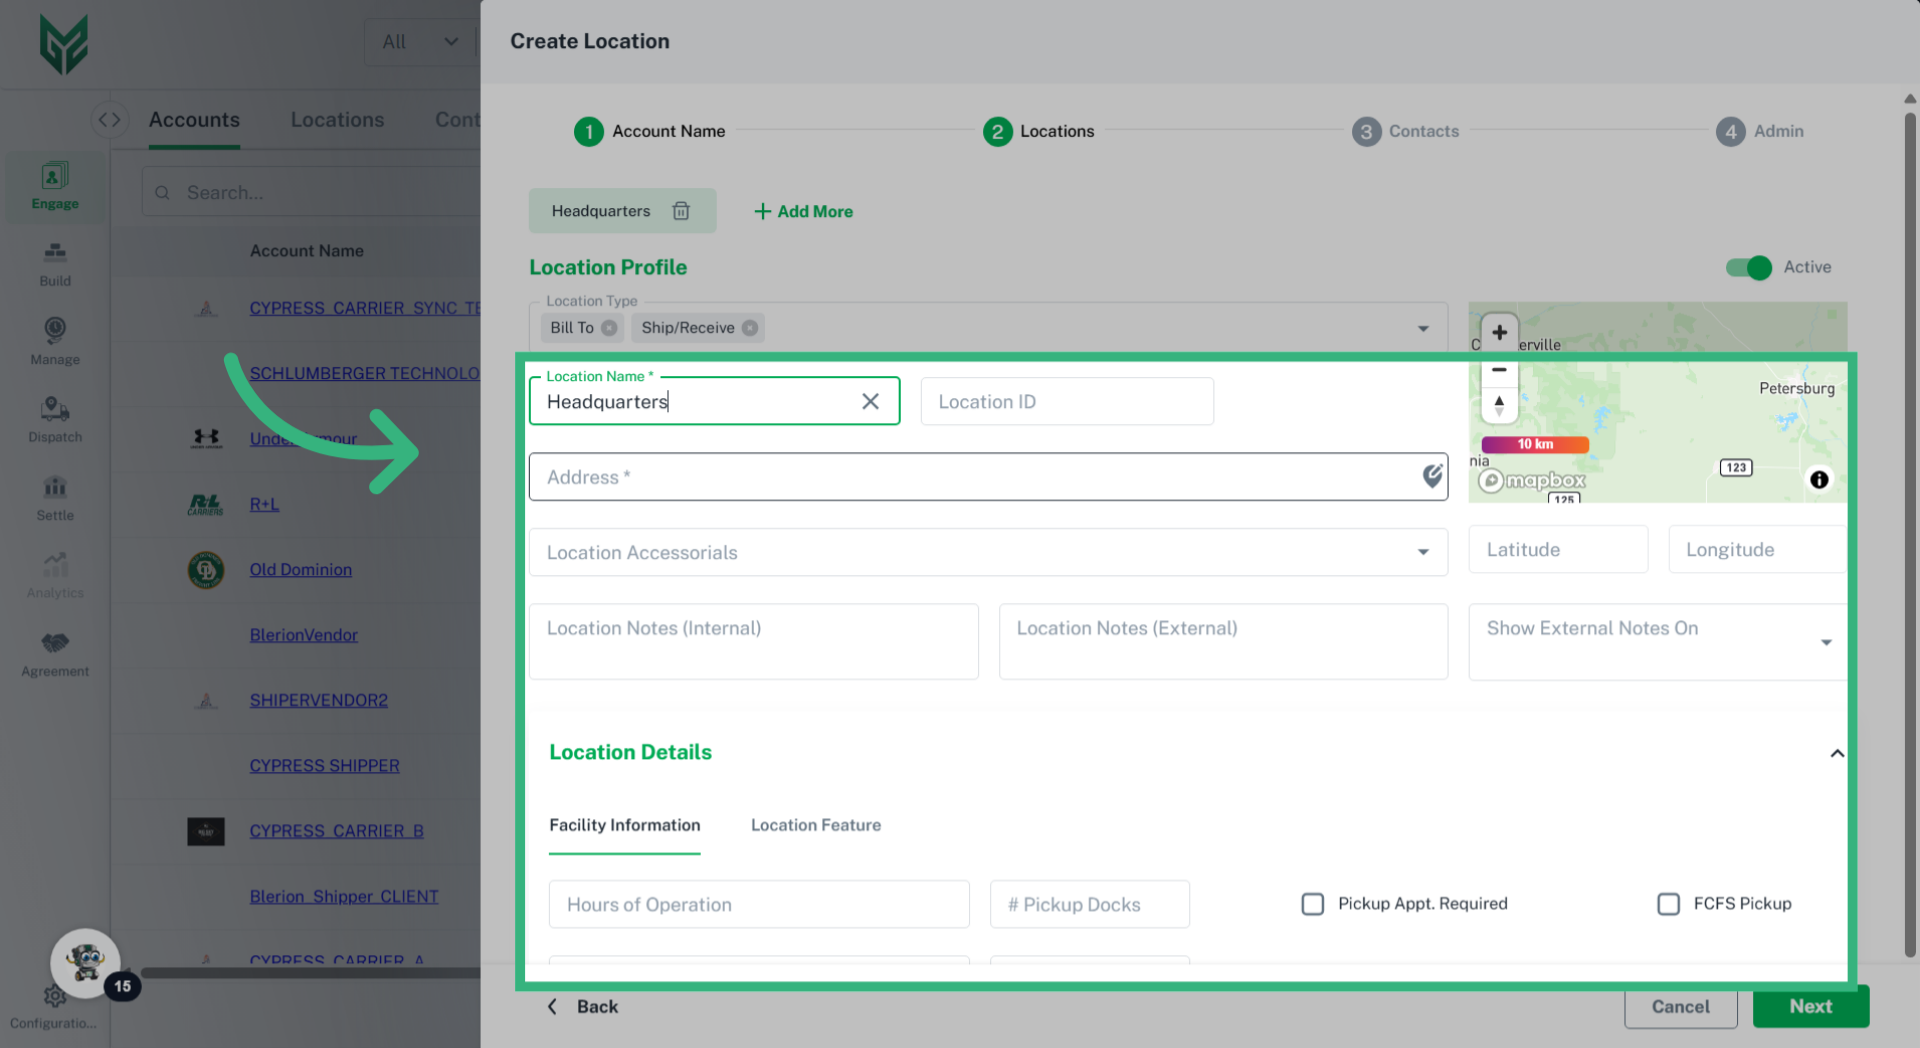
8. Enter "Location Profile" details
Fill the desired Location Profile Details. For more information regarding each specific field, visit Engage Accounts: Locations.
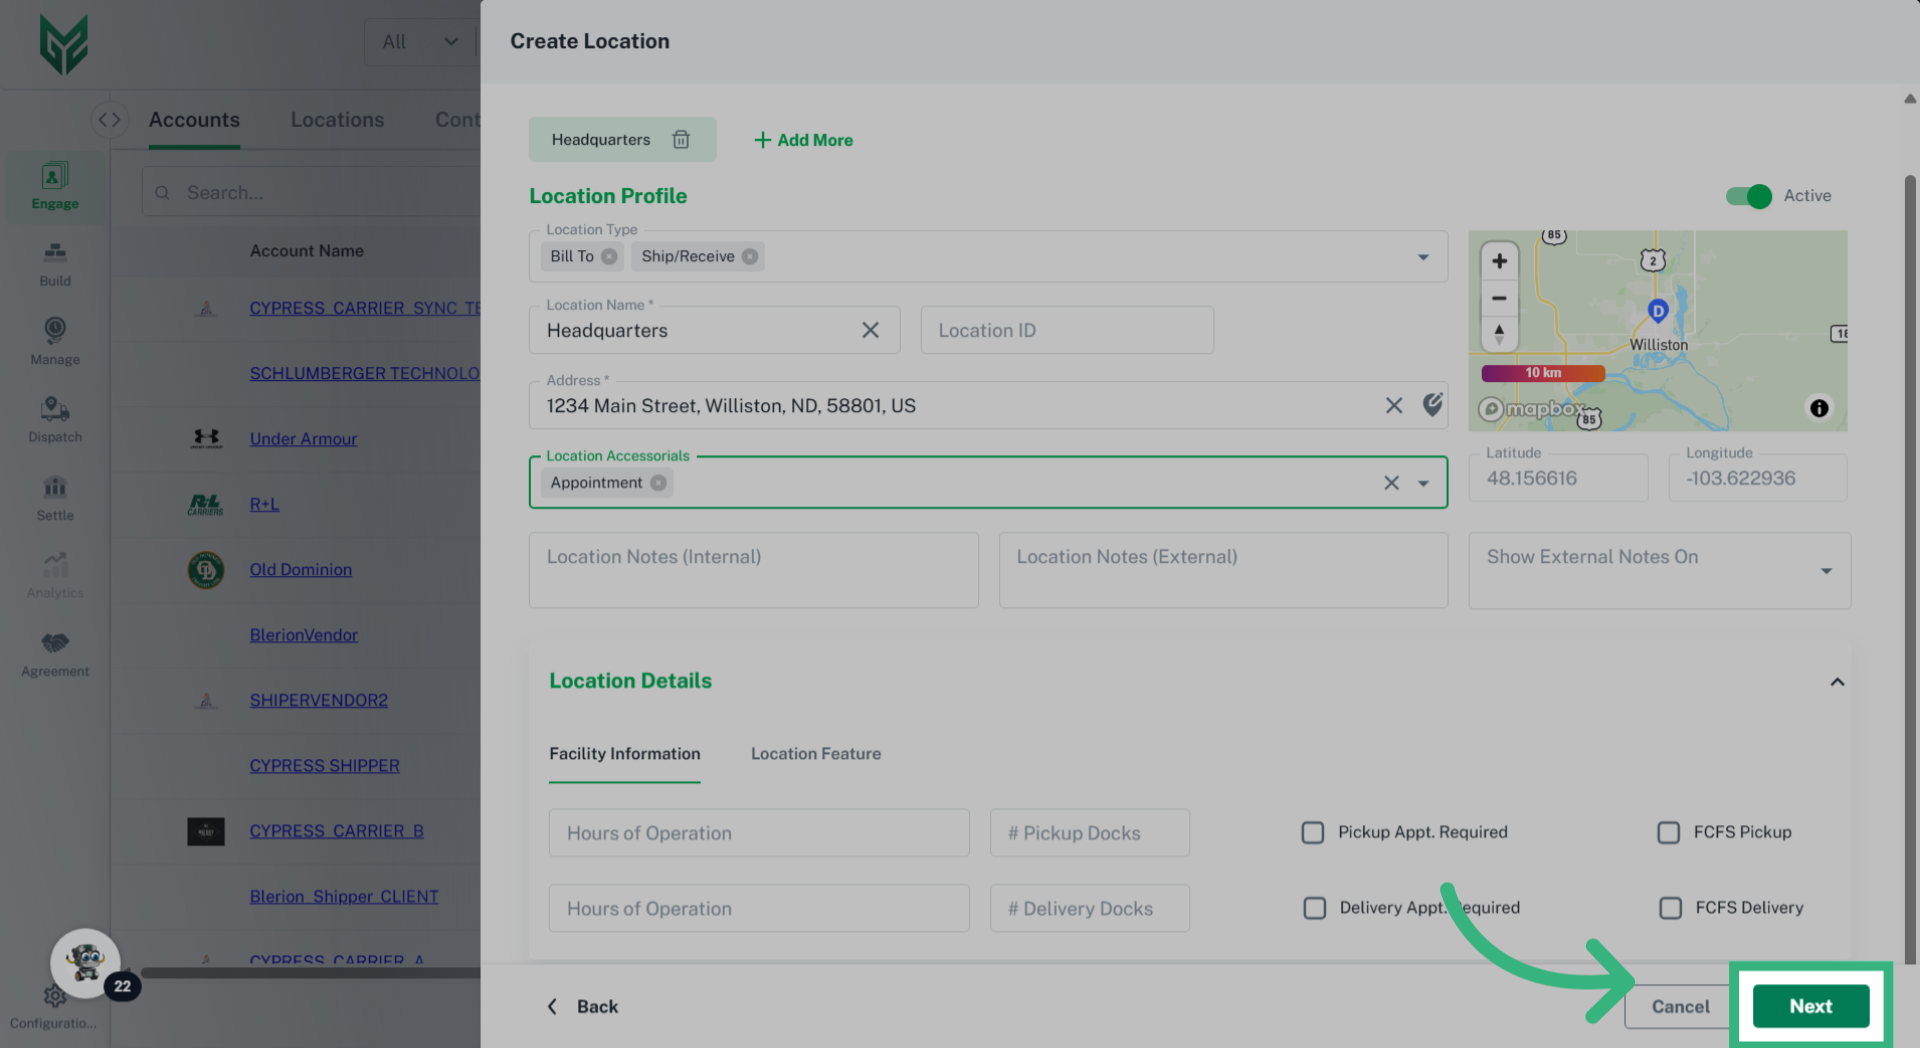
9. Click "Next"
Select "Next".
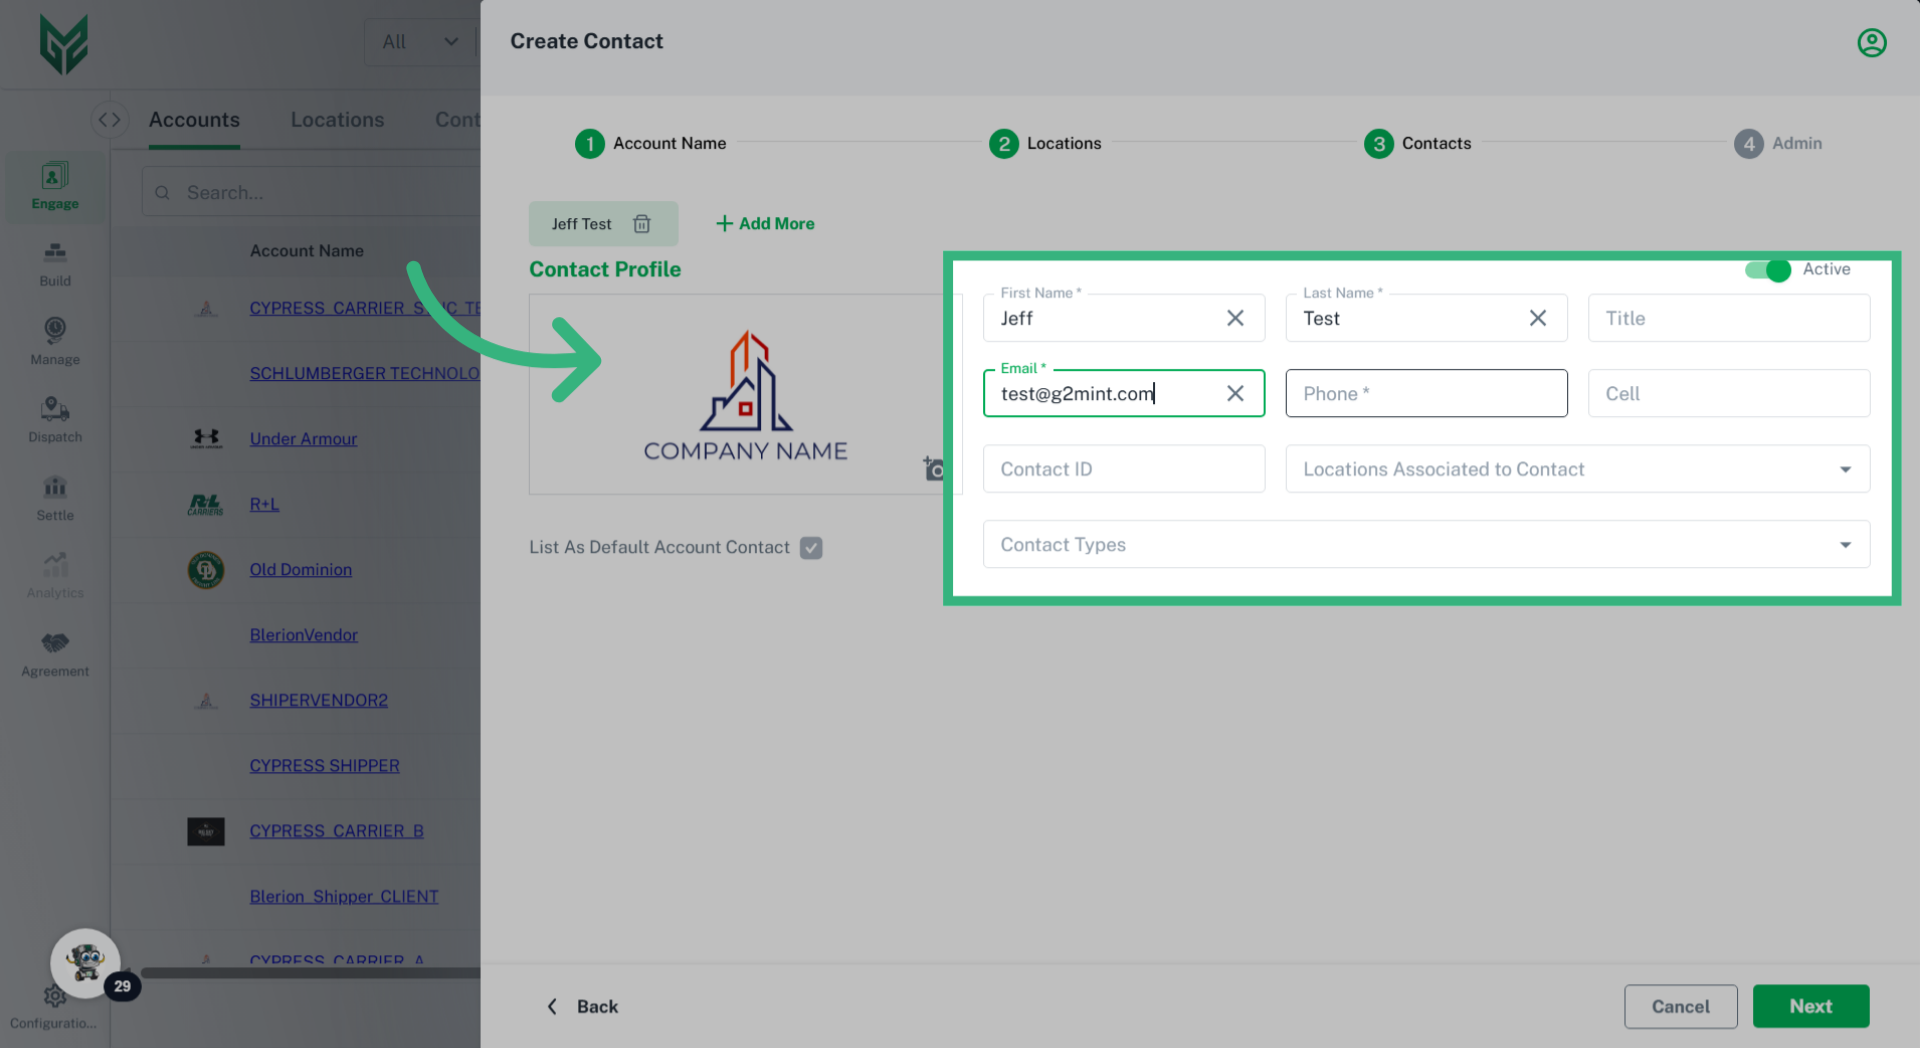
10. Enter "Contact Profile" details
Enter Contact Profile information. Required fields are marked with an asterisk. For further details regarding the individual fields, navigate to Engage Accounts: Contacts.
11. Default Contact
The initial Contact created for an Account is automatically assigned as the Default Contact. As additional Contacts are created, this checkbox will determine the Default Contact.

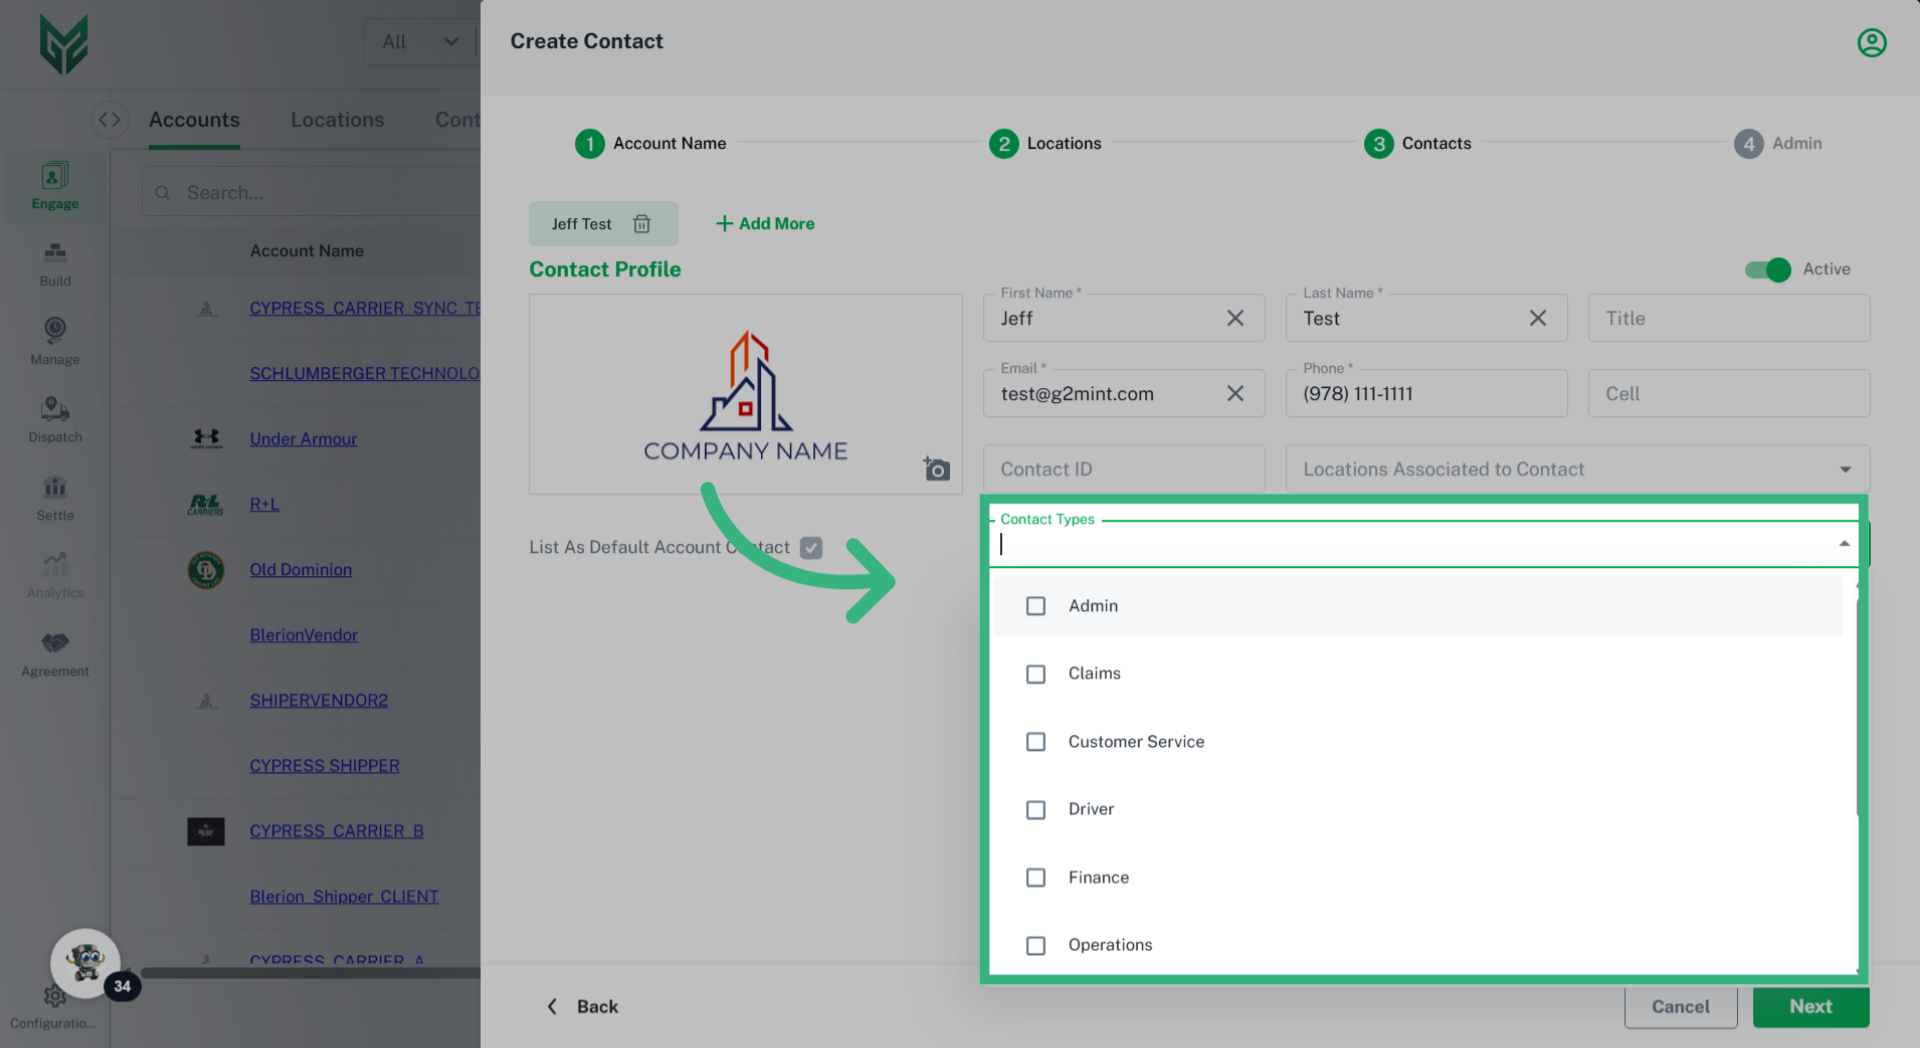
12. Select "Contact Types"
"Contact Types" helps to assign Contacts to specific correspondences, including emails and commissions.
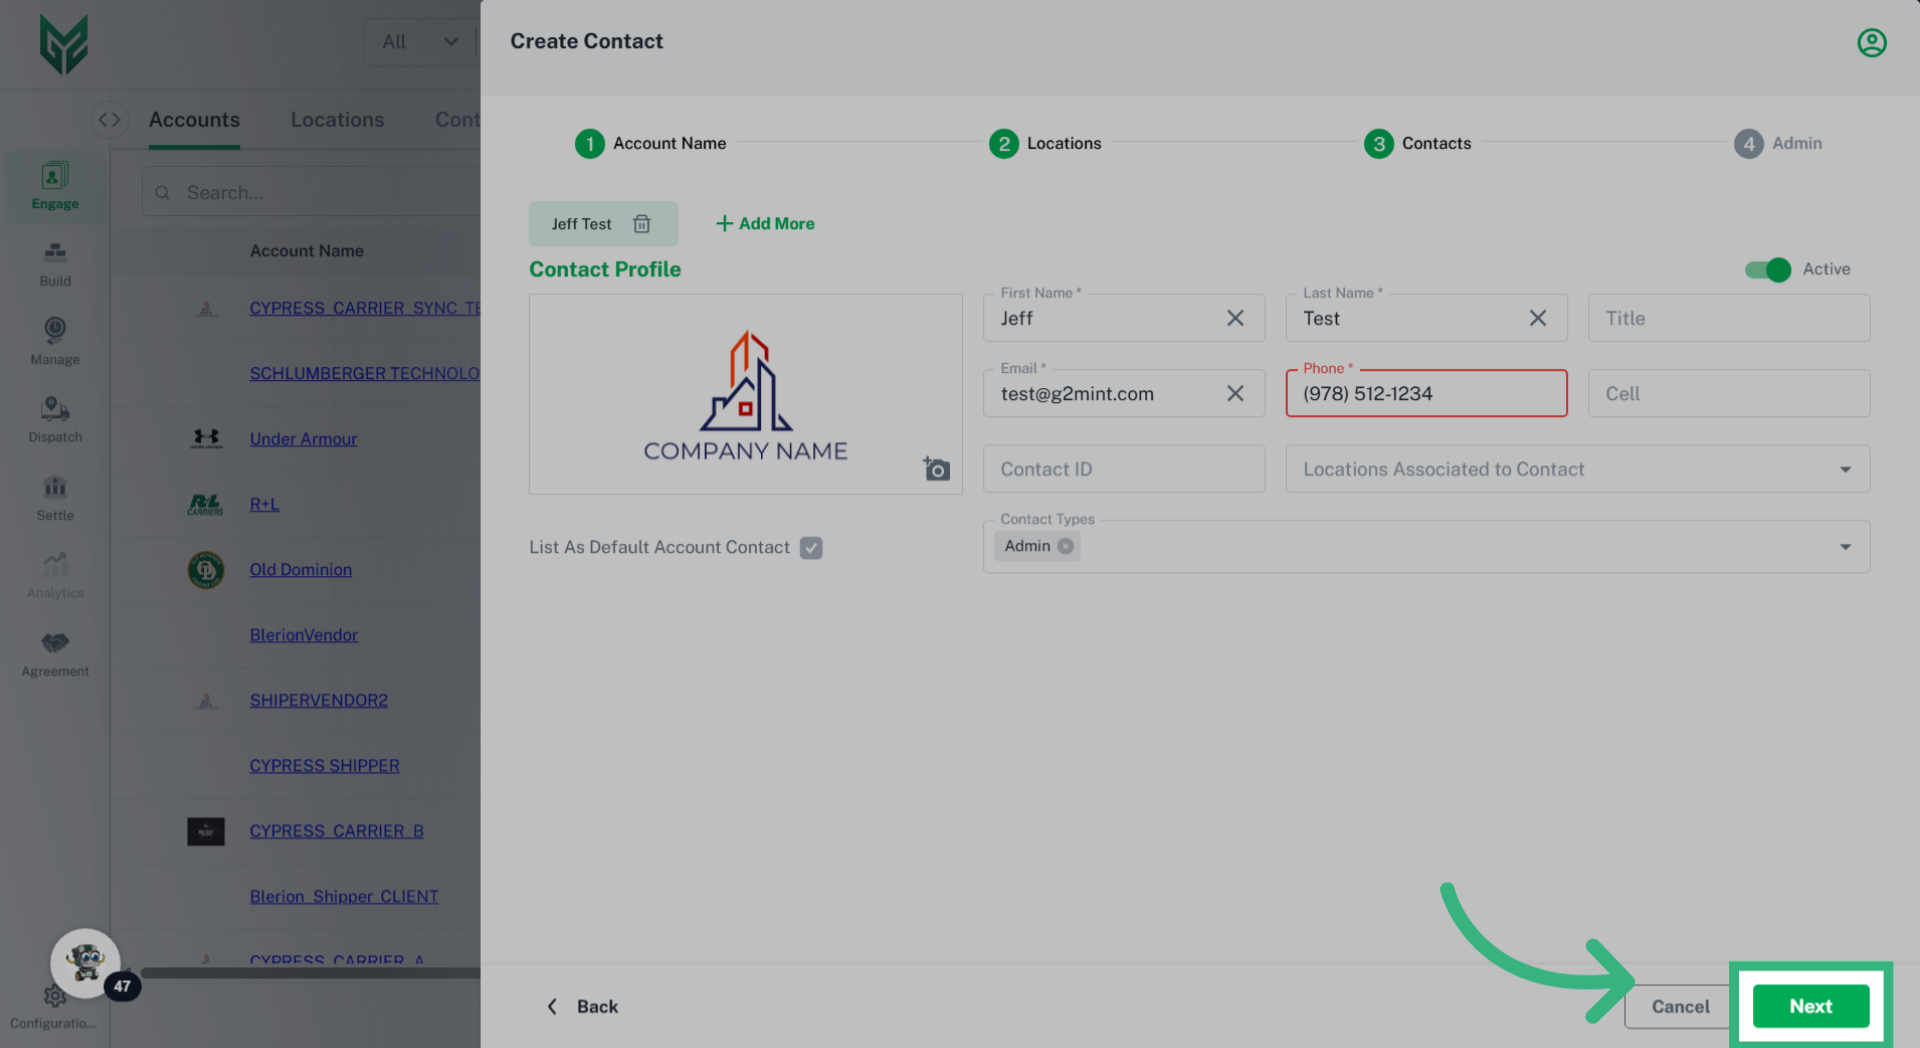
13. Click "Next"
Select "Next".
14. Enter additional Account details
Additional Account details will vary based upon the persona of the Account, whether it is a Broker, Shipper or Carrier Account.
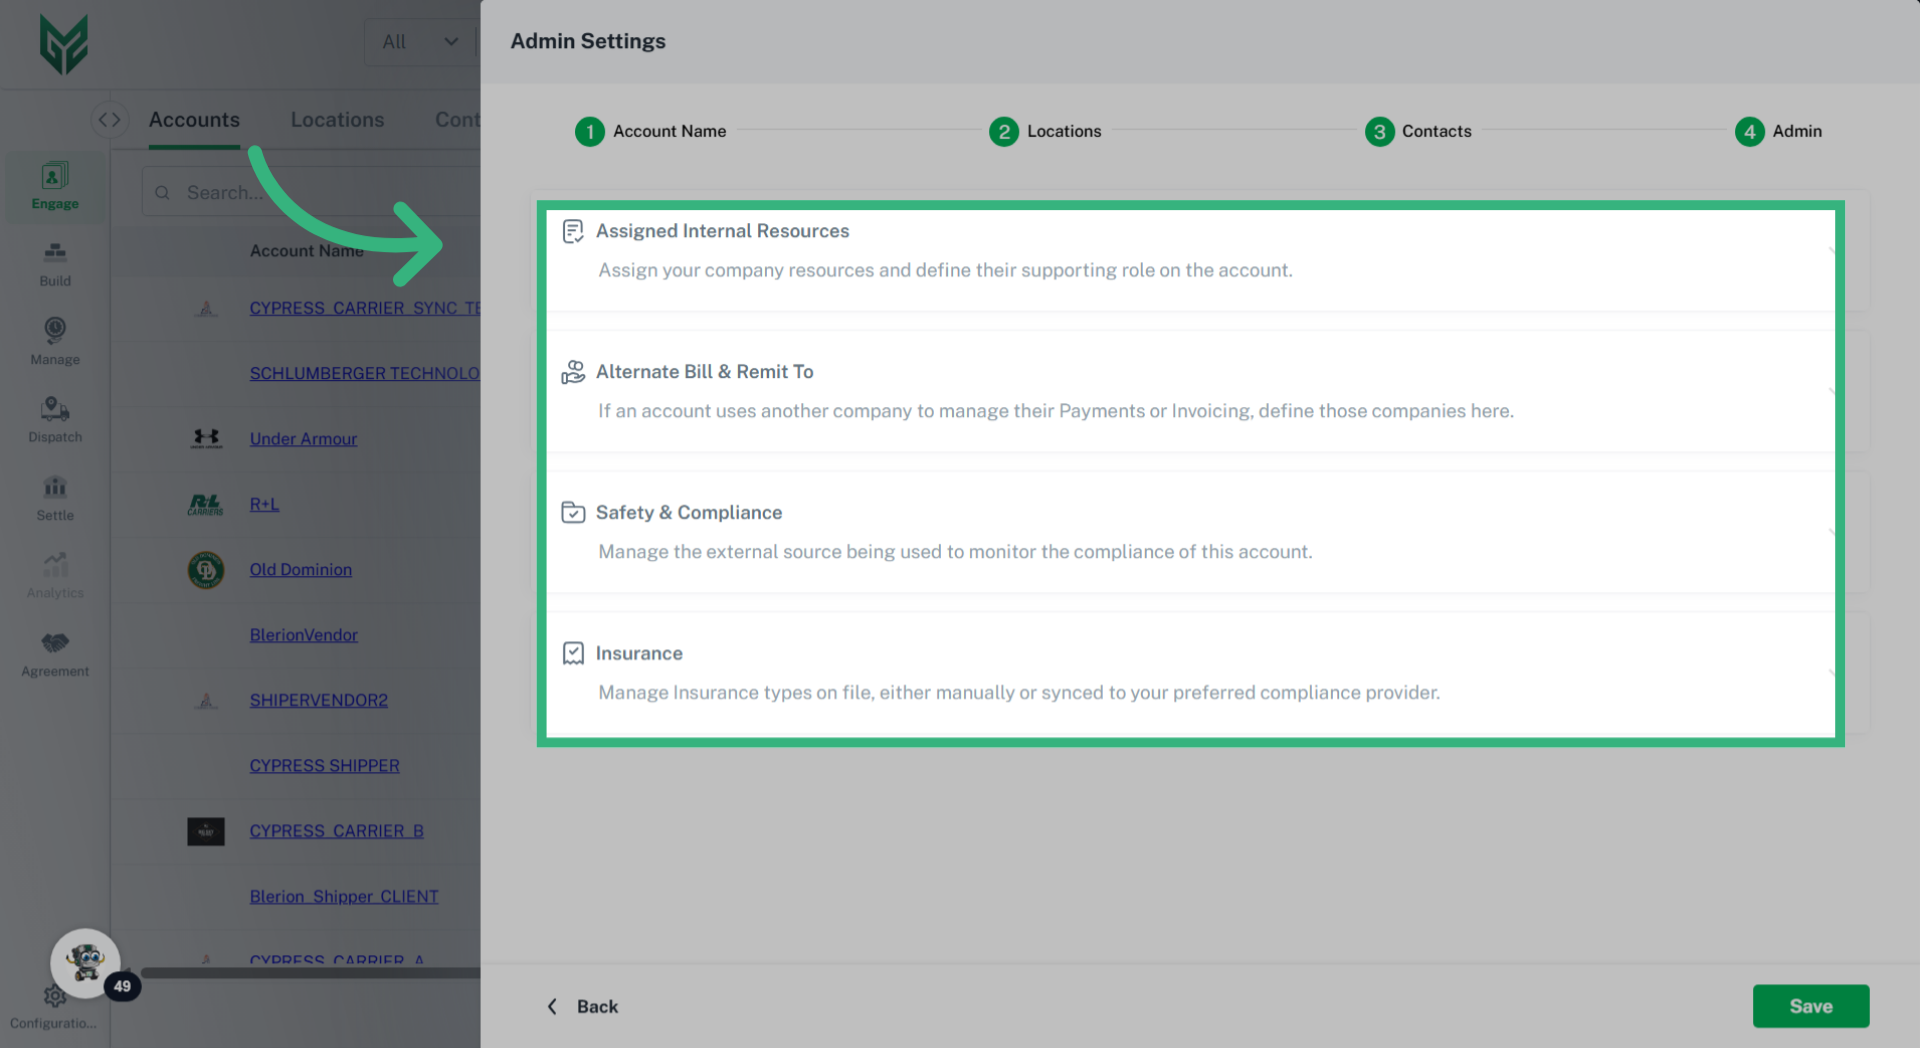
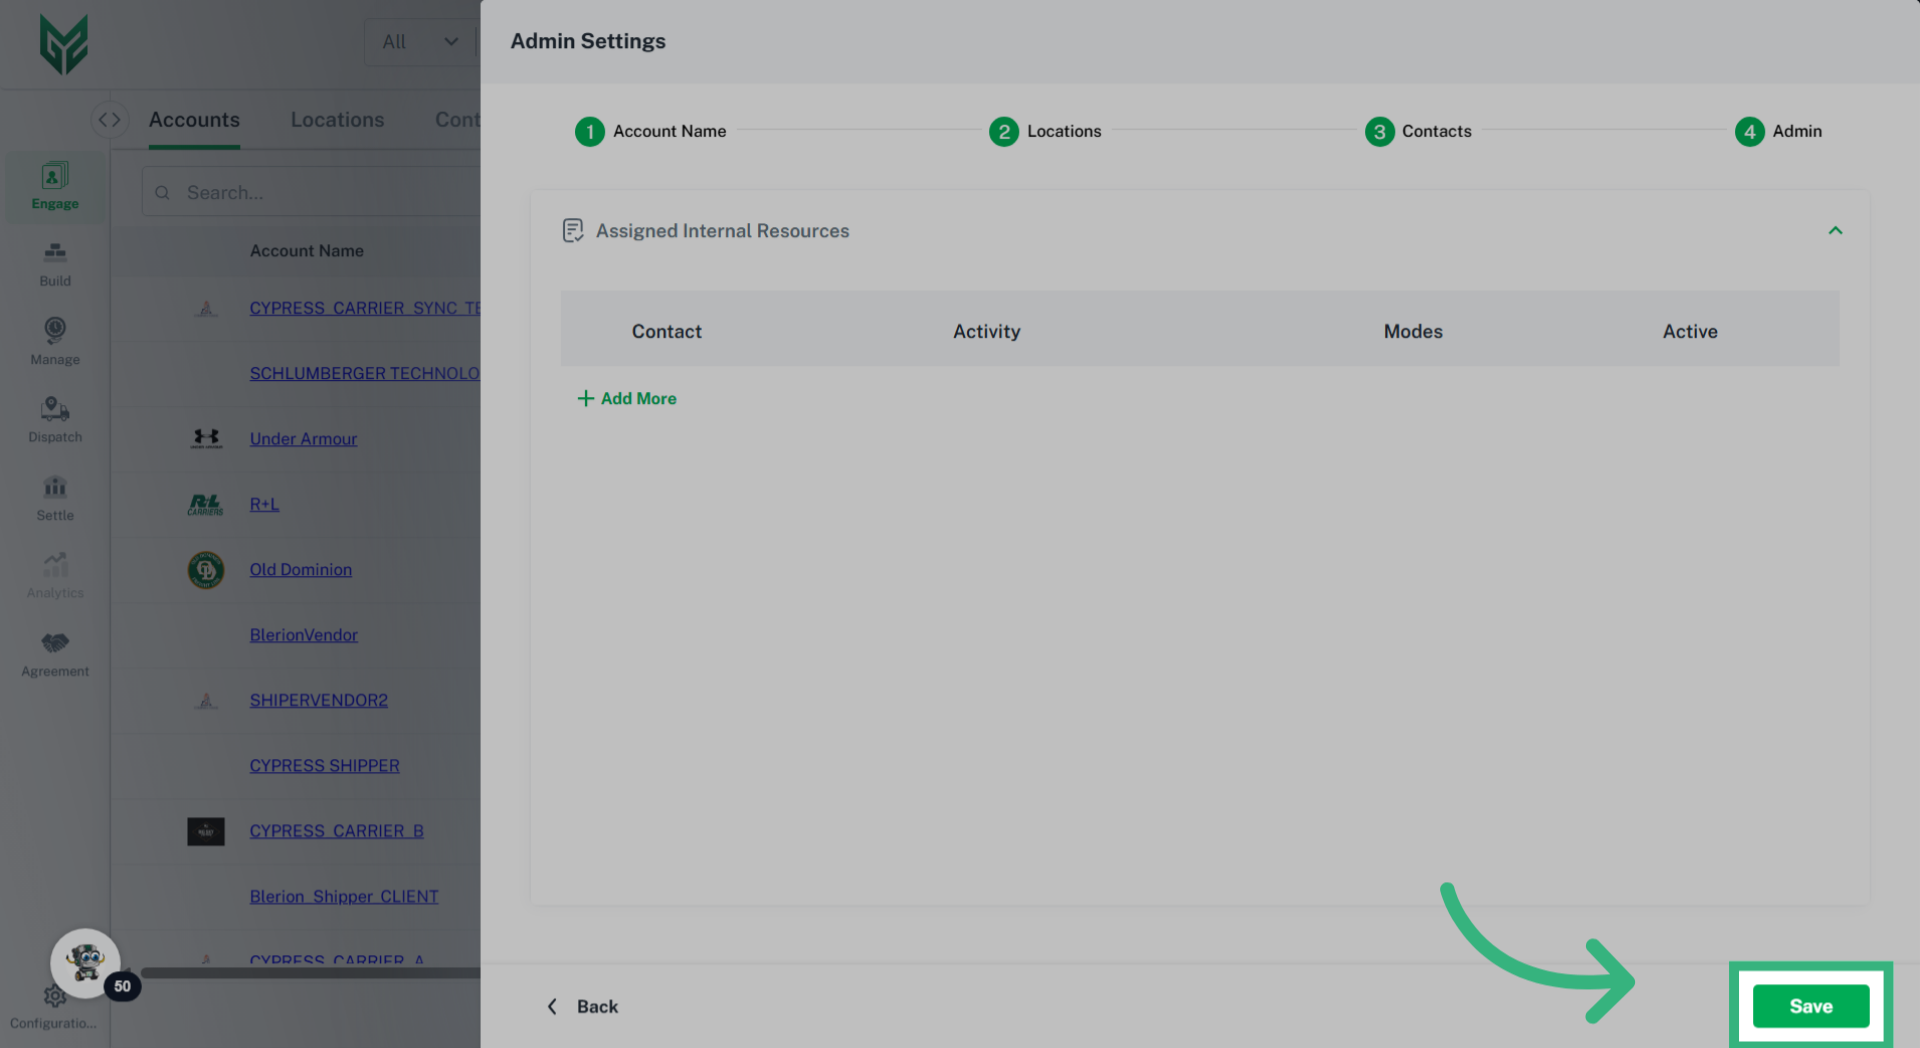
15. Click "Save"
Select "Save".
For further information, please contact us at support@G2Mint.com.