Skip to content
English
  • There are no suggestions because the search field is empty.

How to utilize our Guest Portal

The Guest Portal provides controlled access to your Clients 

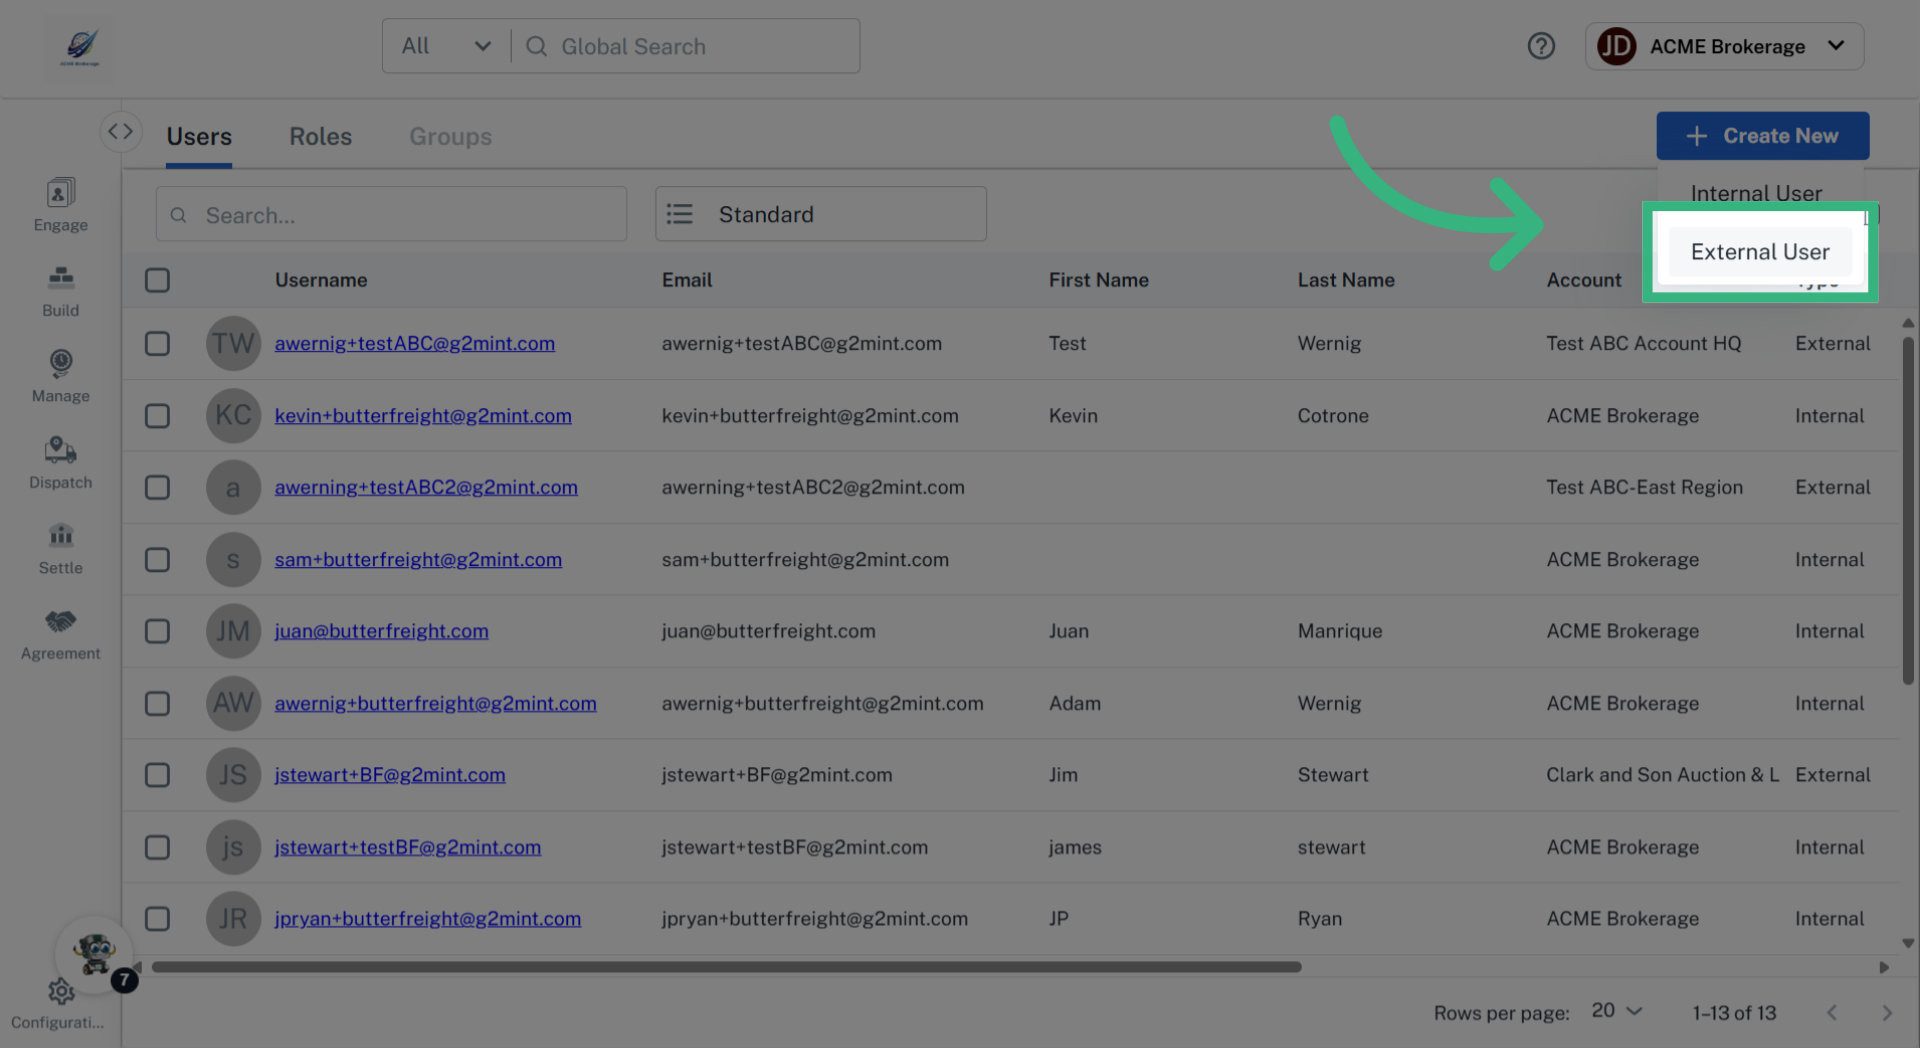
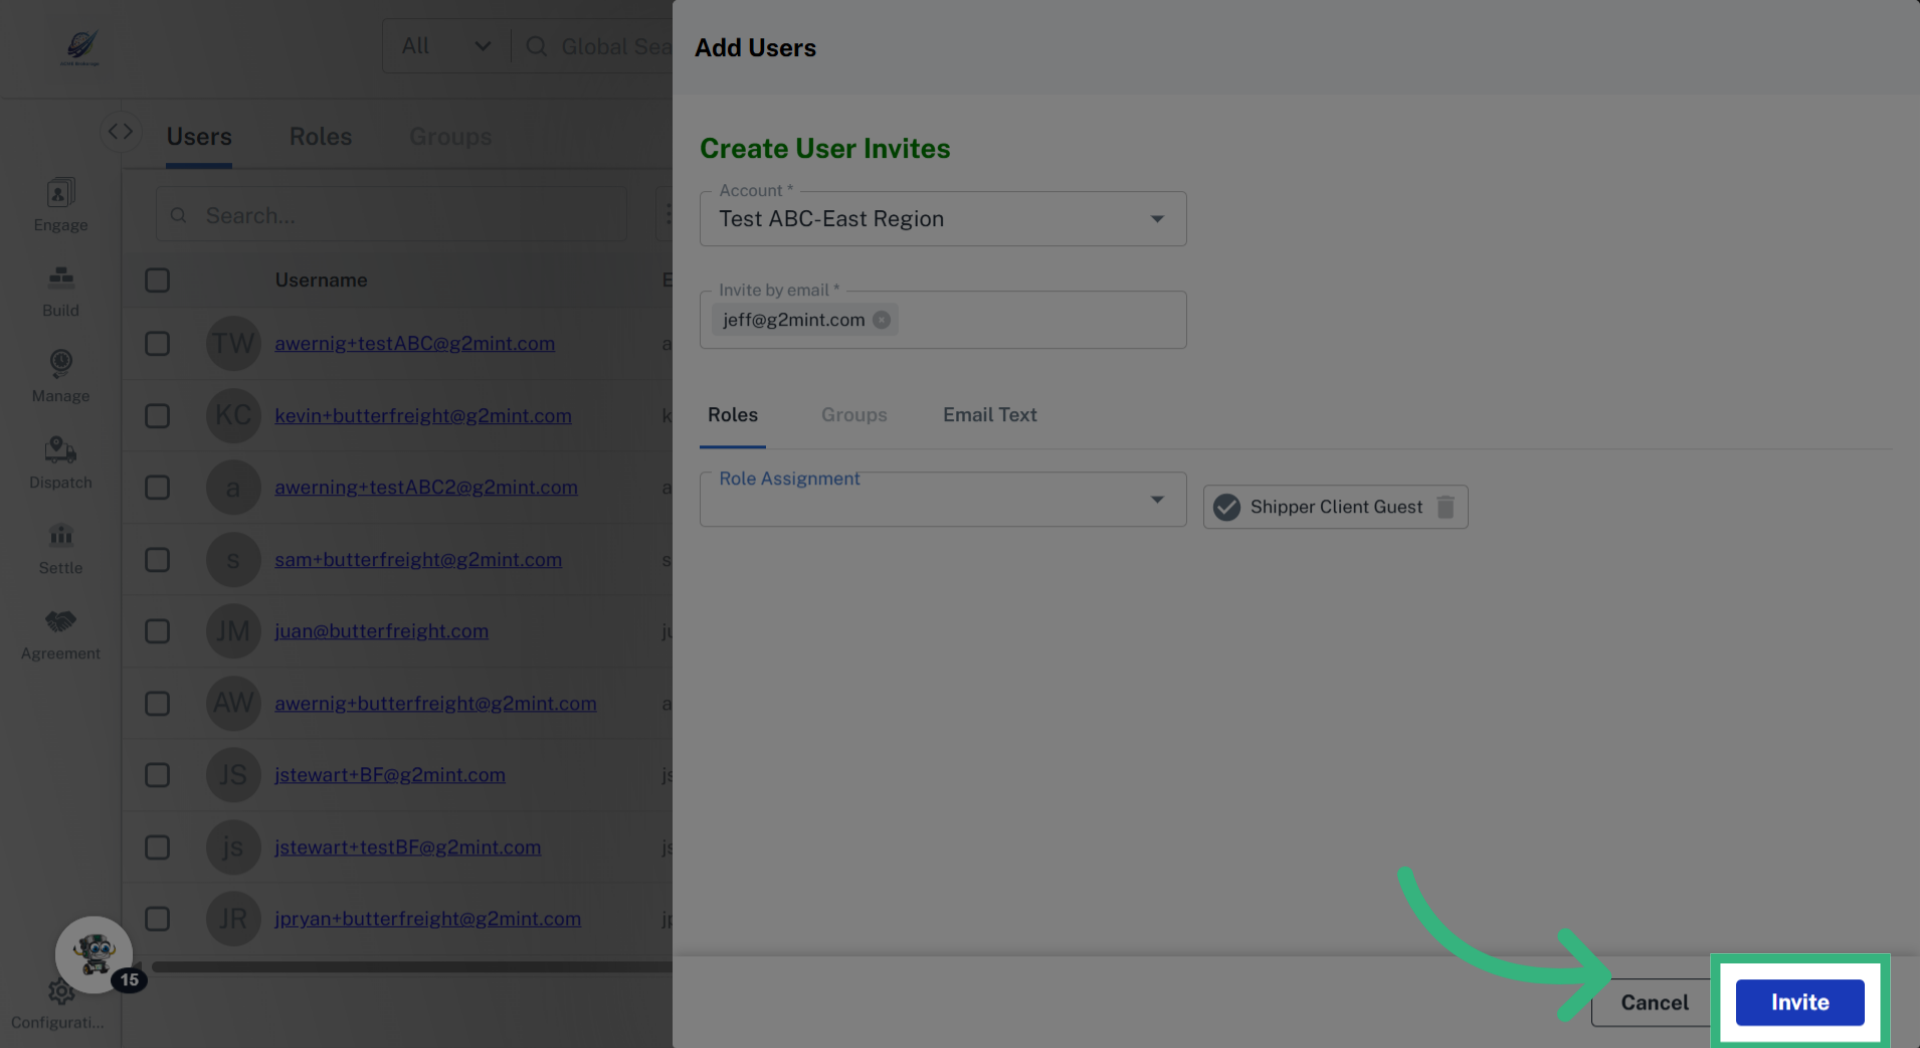
The Guest Portal can give your Clients/ Vendors the ability to Quote, Tender, view Tracking updates, Settle, Add/View Documents, as well as view their own Analytics Dashboard.

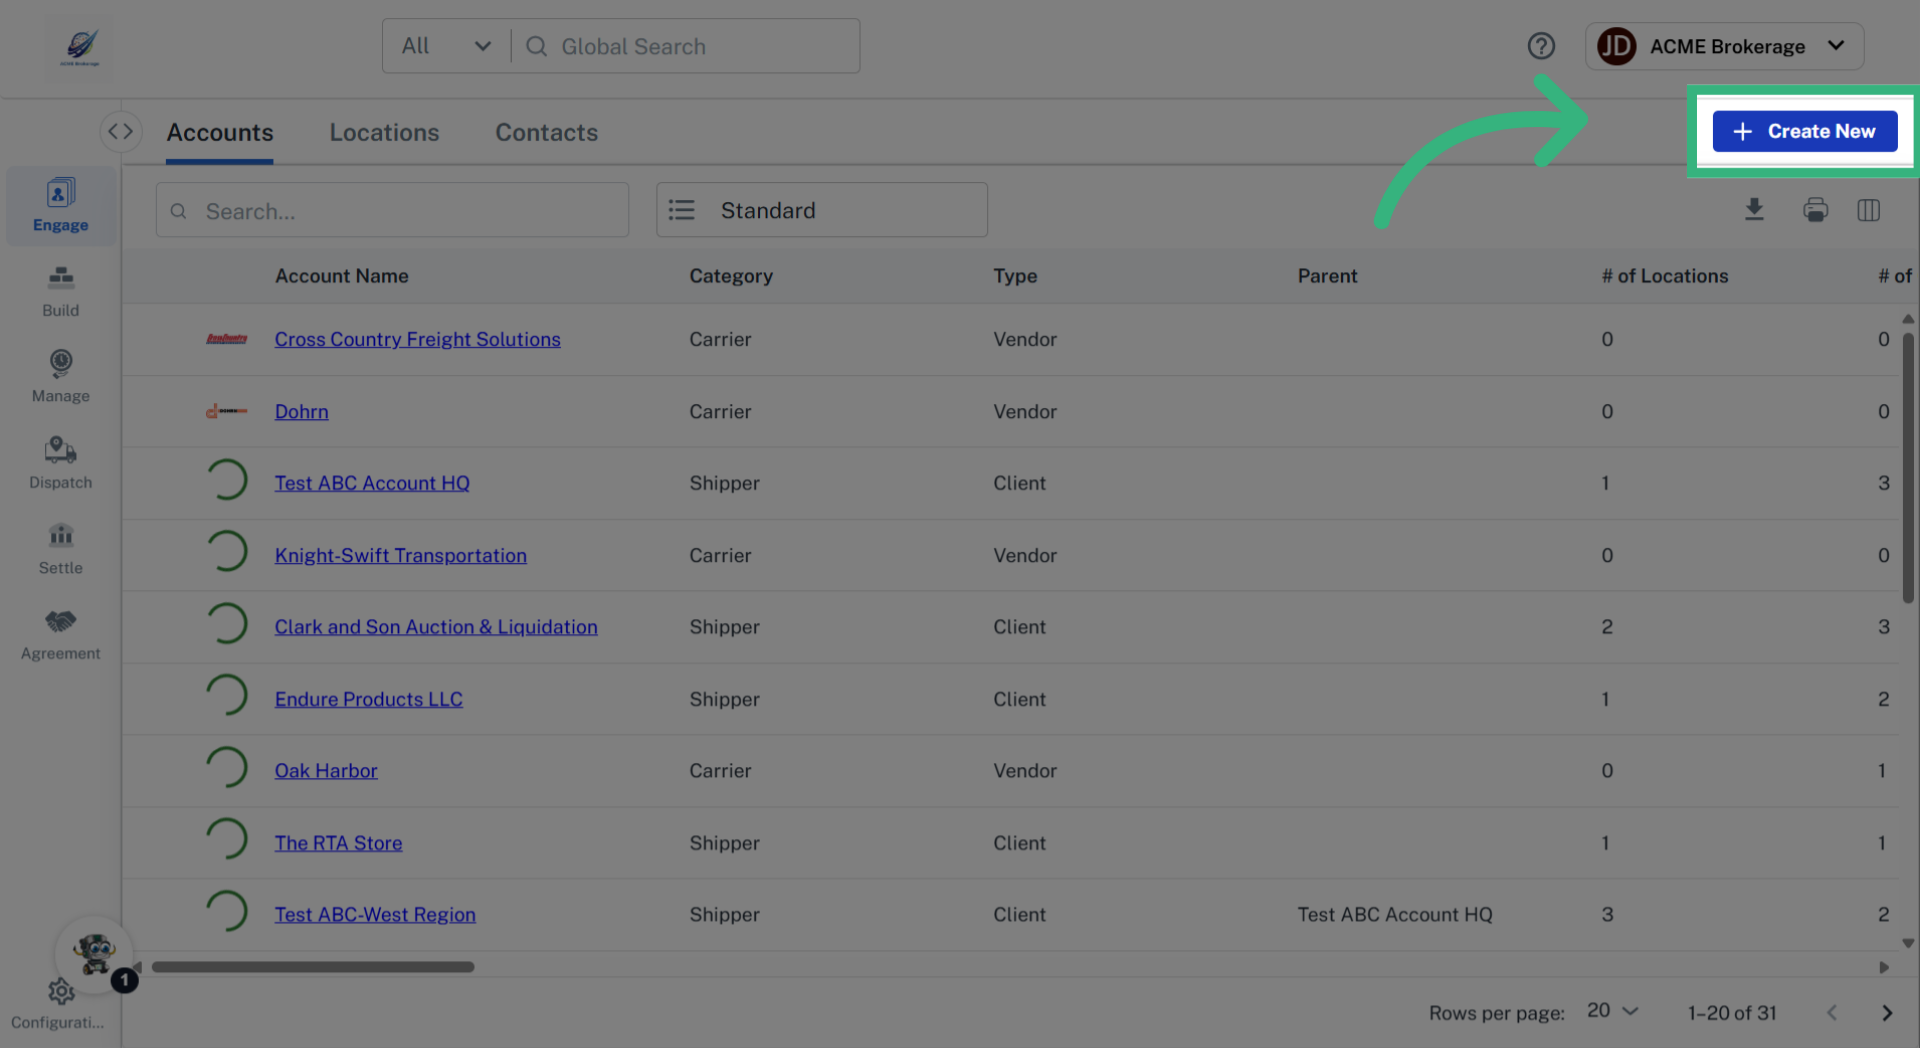
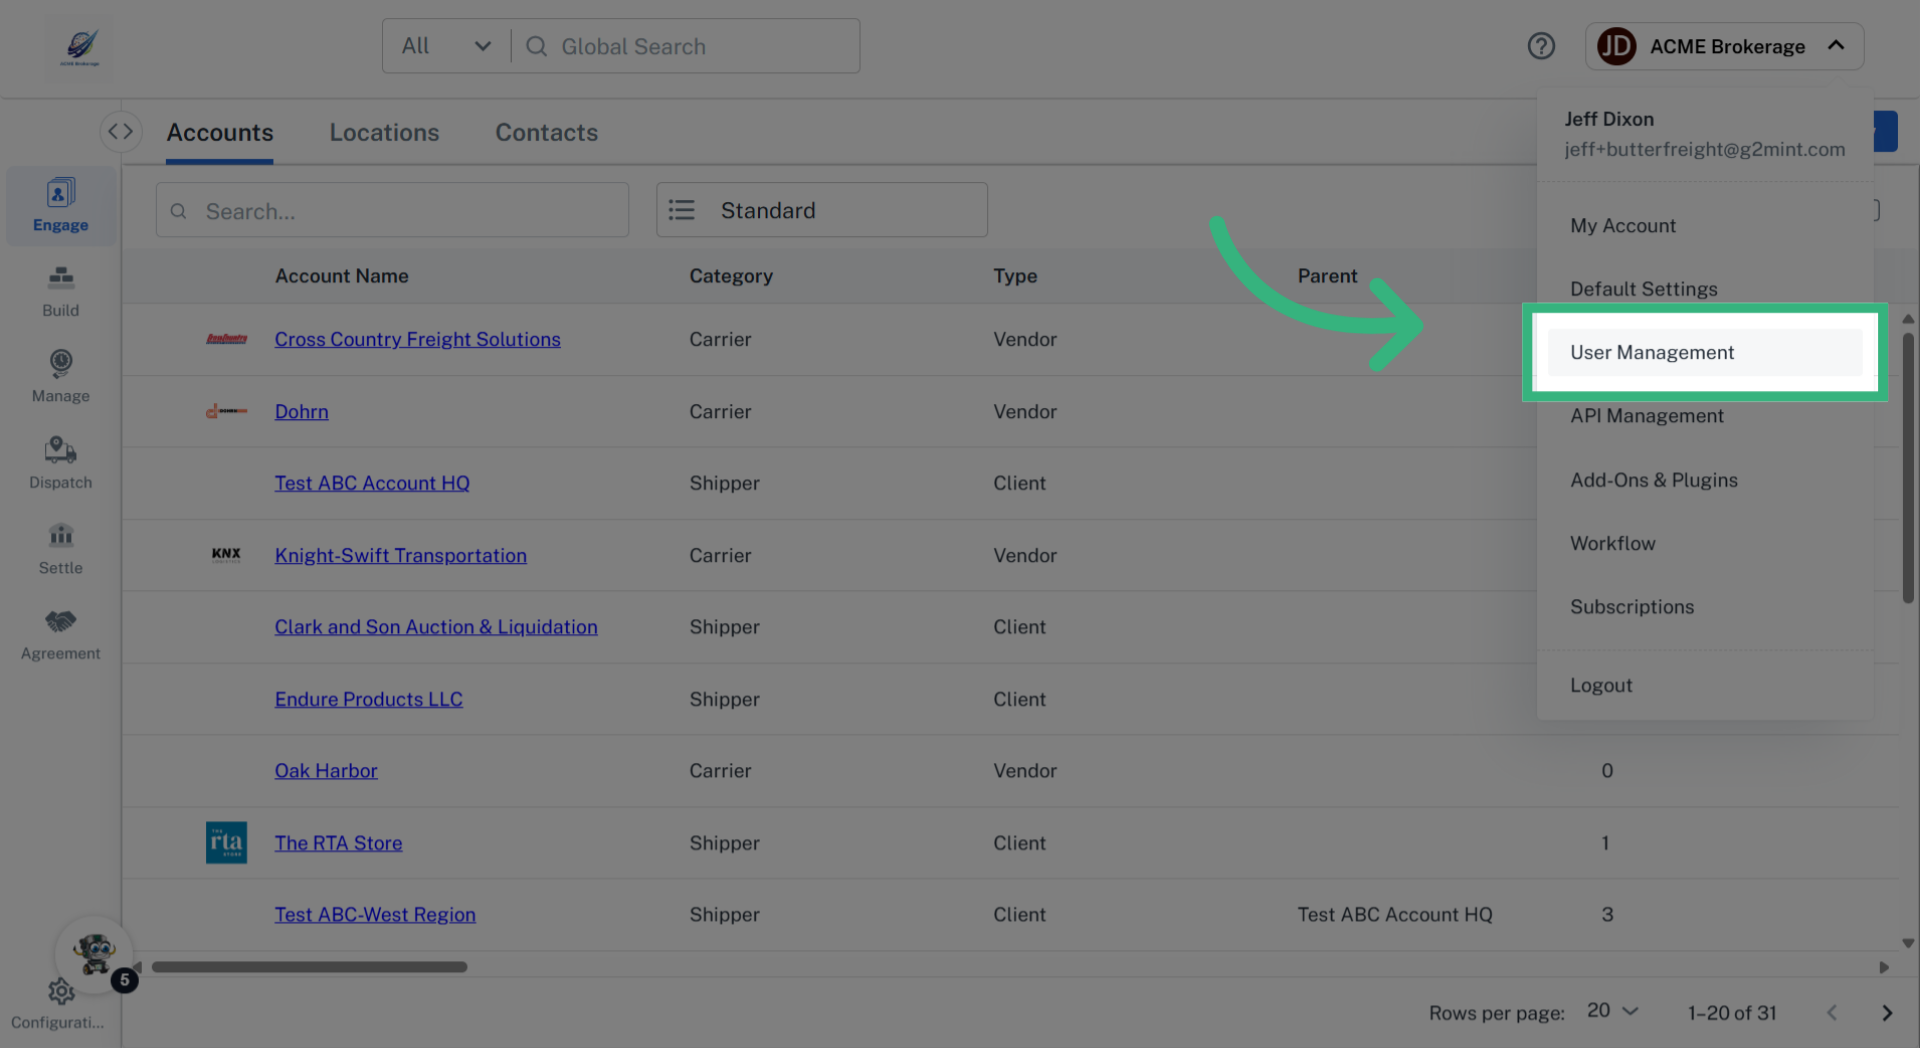
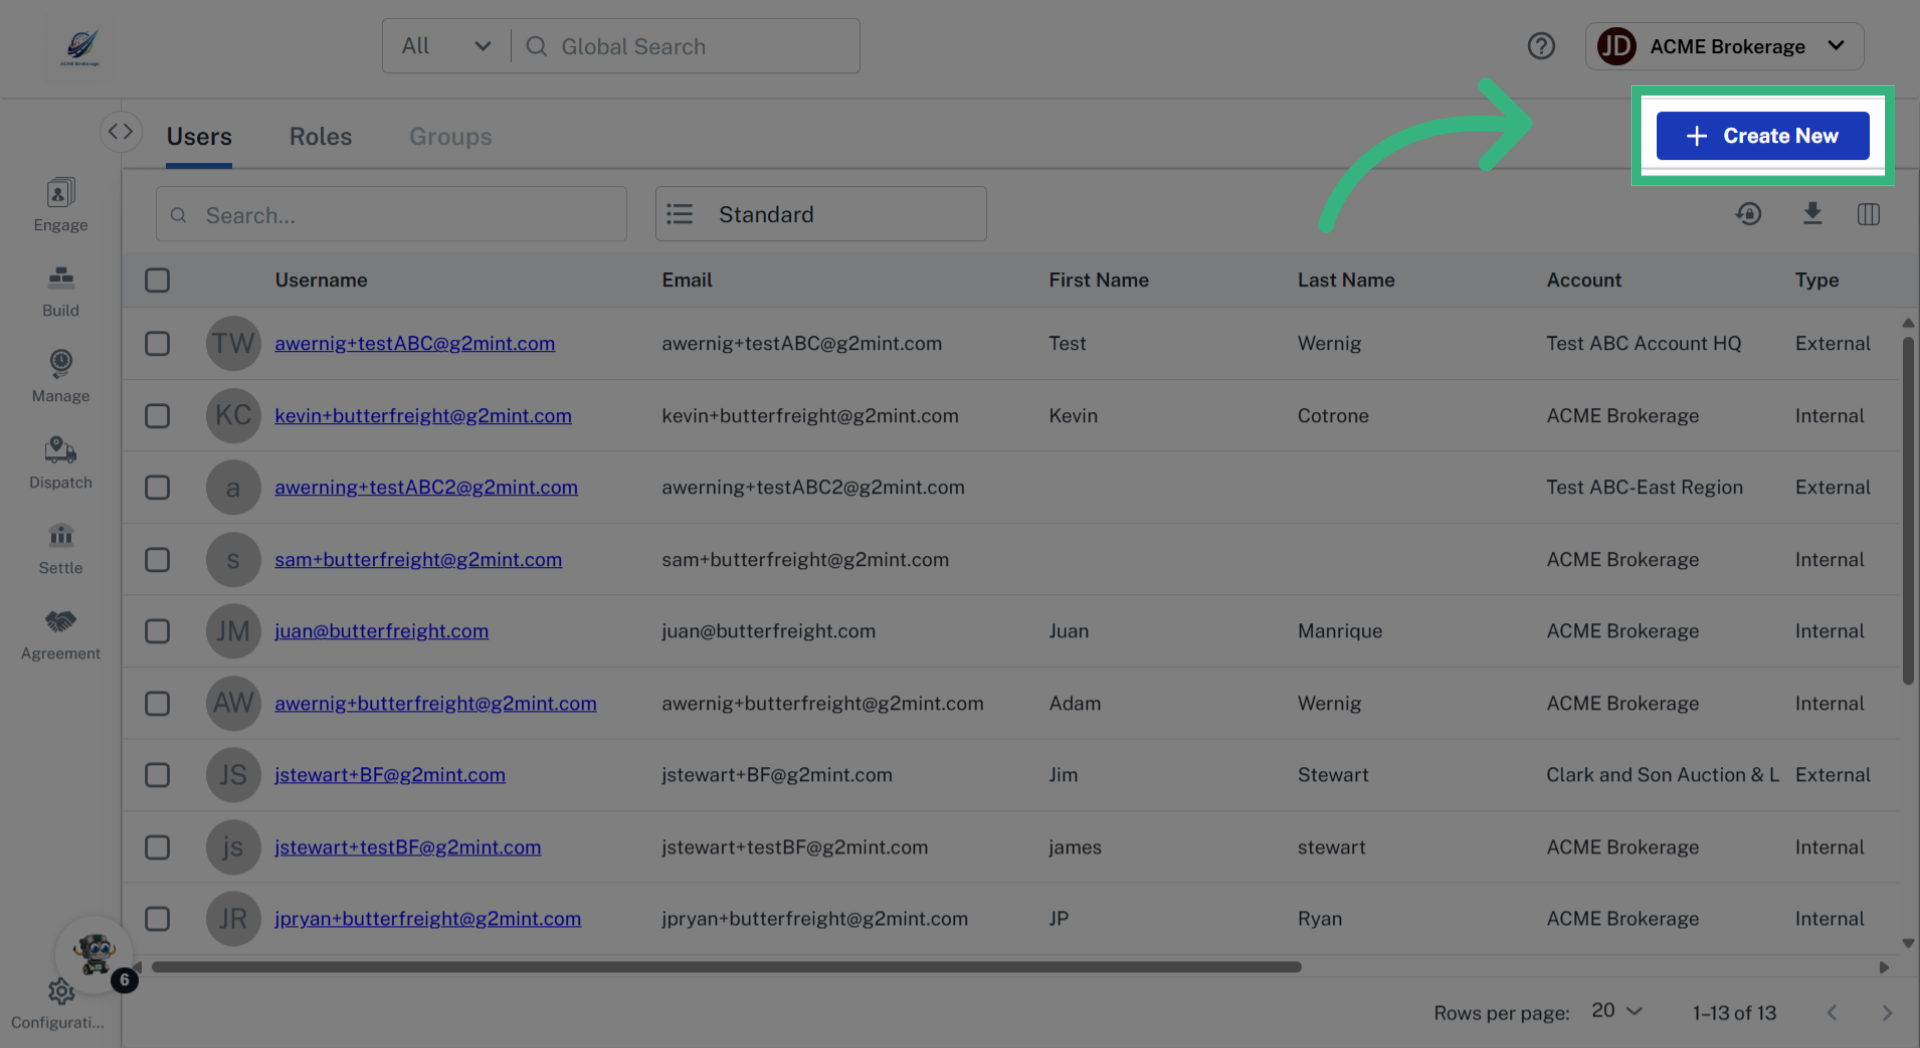
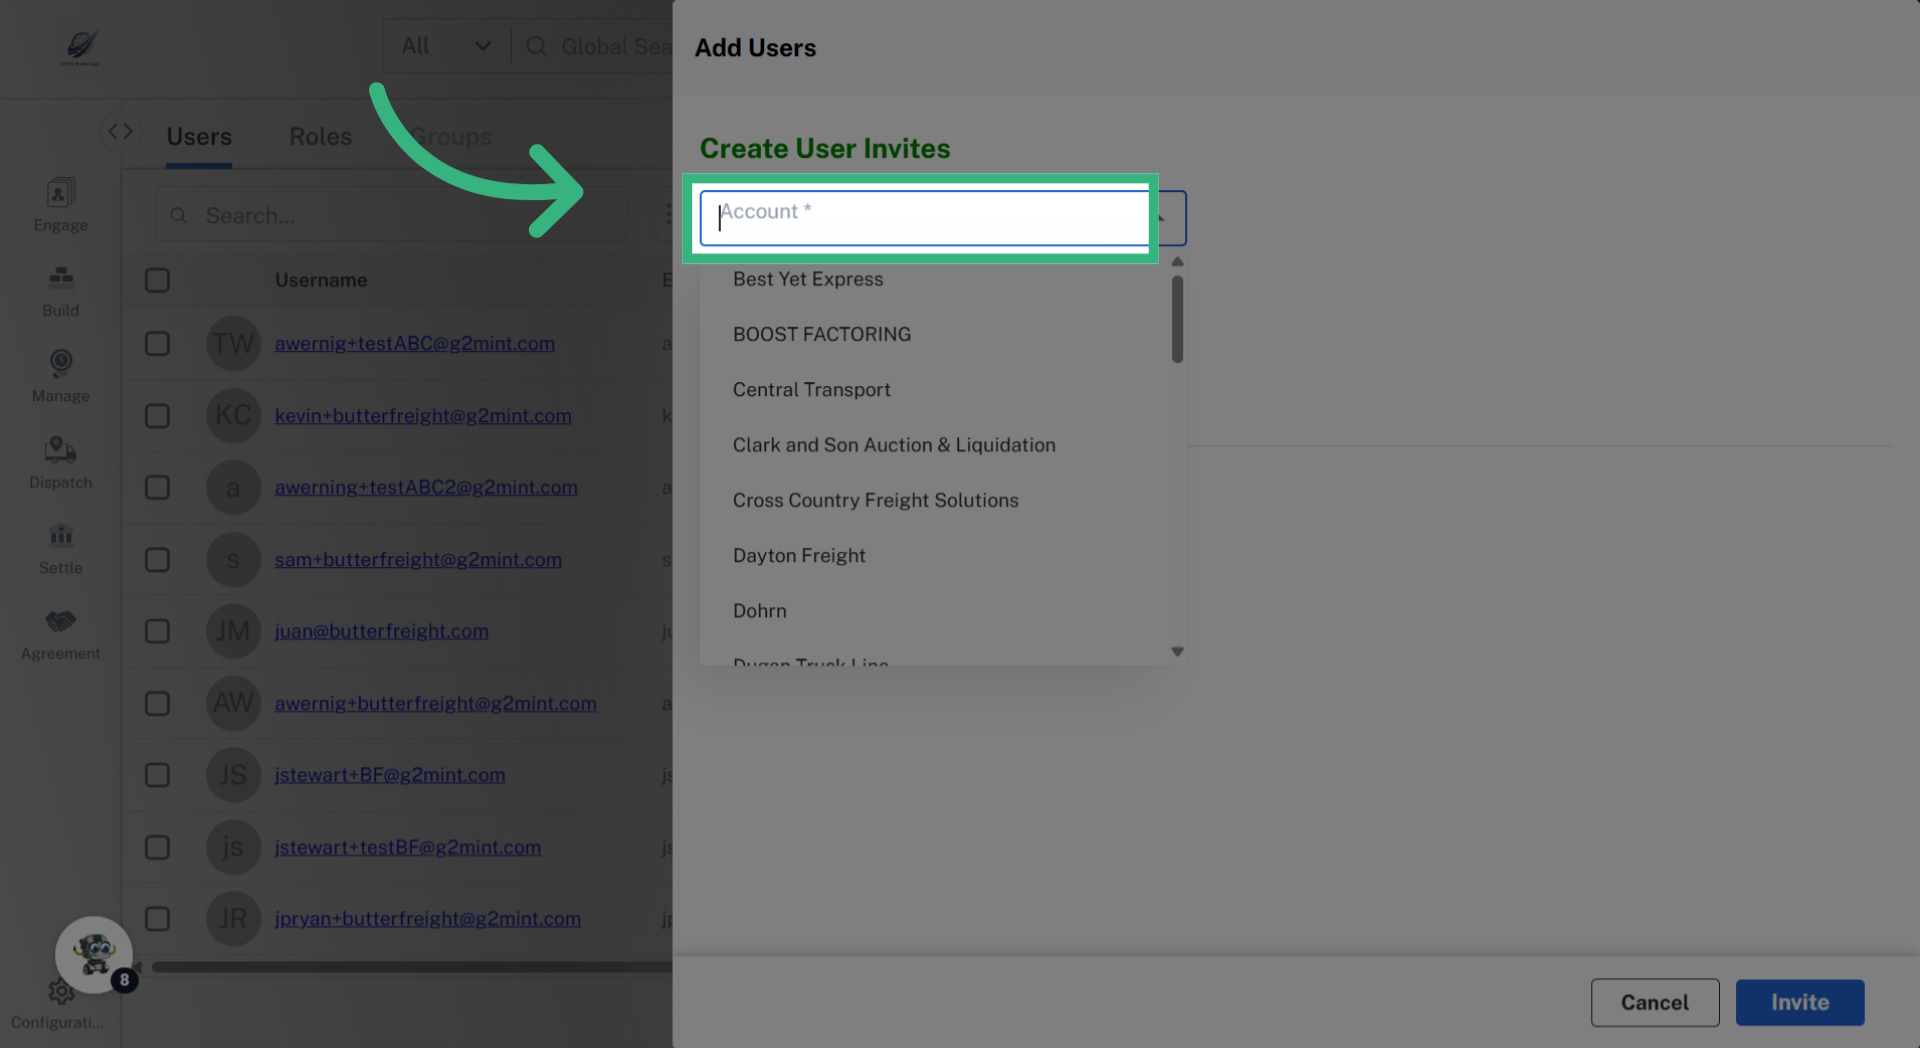
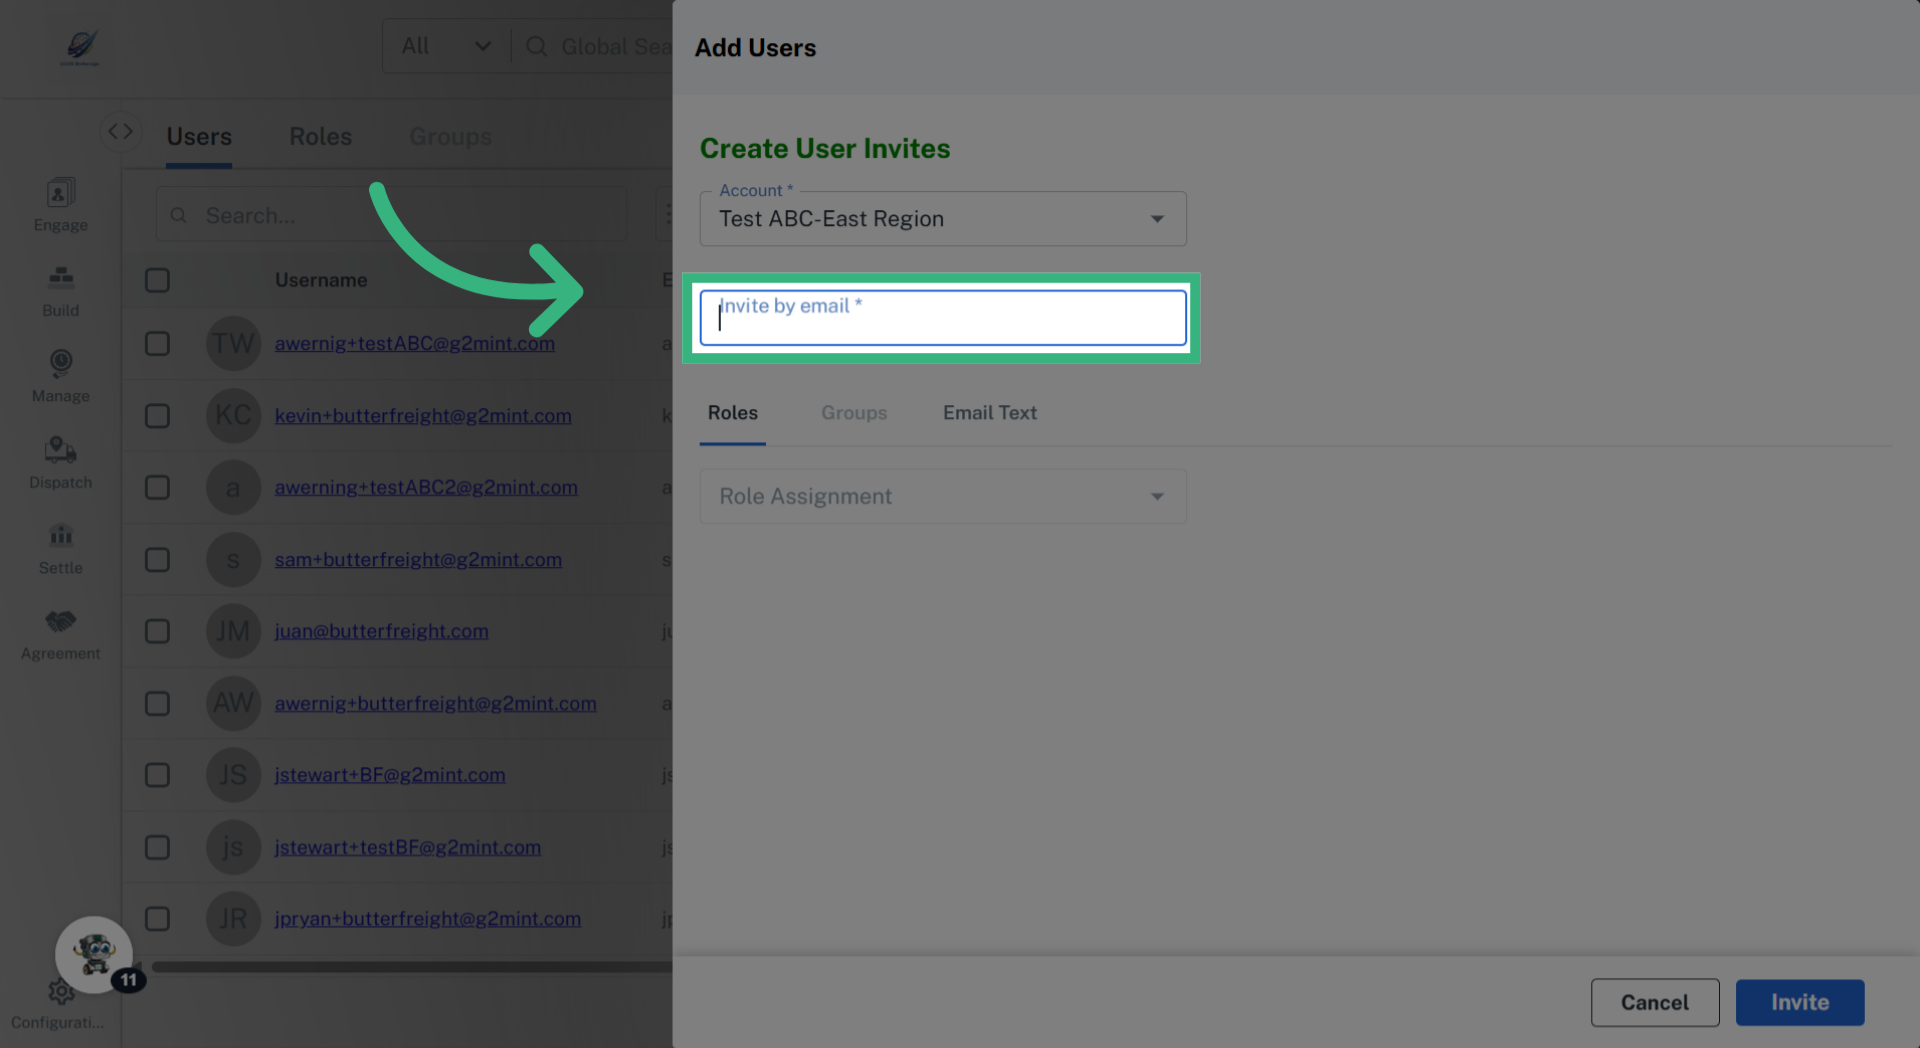
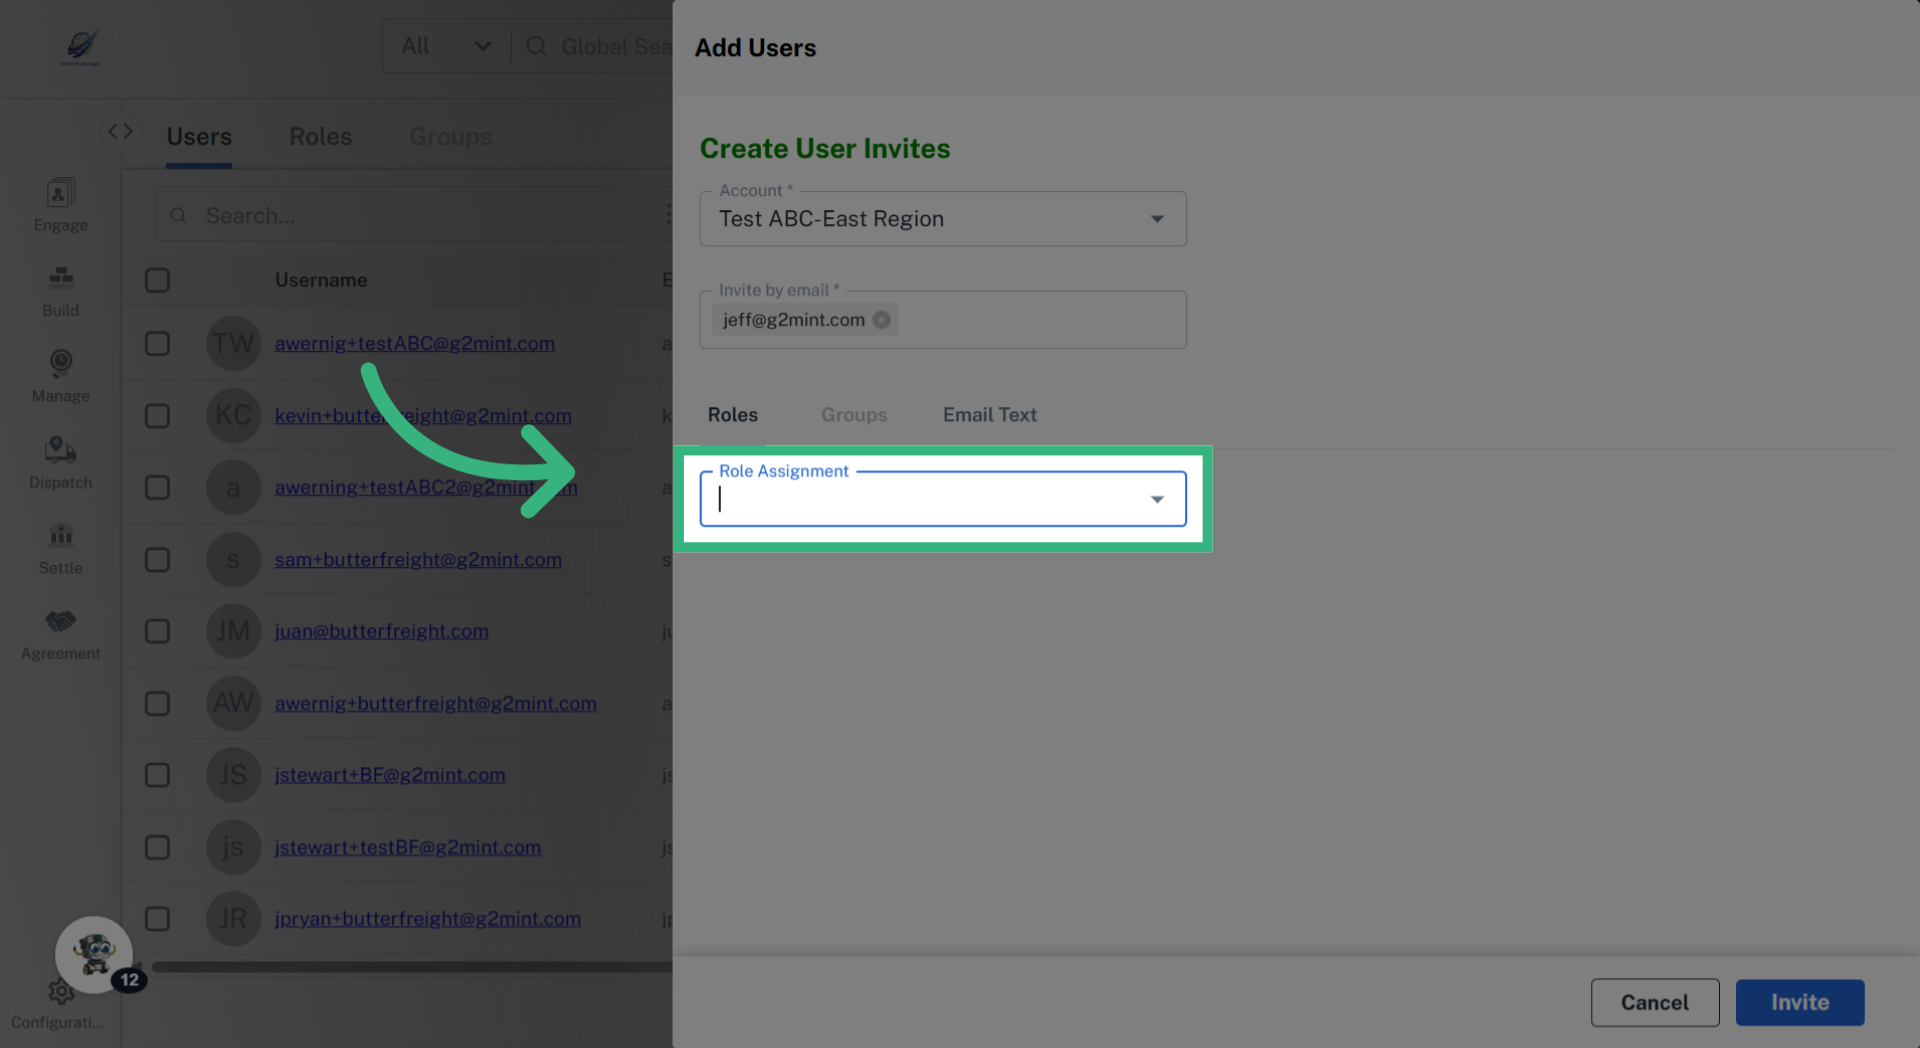
External users—such as Clients and Vendors—can receive secure, role-based Portal Access to account information. Brokers may invite Carriers and Shippers, while Shippers may grant access to their Carriers. Each user sees only relevant data: Brokers access both Shipment Costs and Charges, Shipper Clients see only their Charges, and Carrier Vendors view only the Costs for their services. Importantly, Shipper Clients are restricted to "Charges" and do not see underlying Costs (charge visibility depends on a Mark-up Agreement tied to the Rate, as the mark-up defines the difference between Carrier Cost and Shipper Charge).

  • To Invite an External User into G2Mint, access User Management and select "+ Create New."
In this tutorial, you will learn how to invite a guest user with portal access in G2mint

Go to app.g2mint.com

1. Click "Create New"

Ensure the user has an account in Engage. If not, click "Create New" to create a new account, and enter required information.
Click 'Create New'

2. Click "ACME Brokerage"

Click the My Account icon to access User Management.
Click 'ACME Brokerage'

3. Click "User Management"

Click "User Management".
Click 'User Management'

4. Click "Create New"

Click "Create New" to add a new external user.
Click 'Create New'

5. Click "External User"

Click "External User" to provide access to the guest portal. Note: An Internal User would be used to invite someone within your own company.
Click 'External User'

6. Click "Account"

Click the Engage "Account" field to specify the account that the guest user is associated with.
Click 'Account'

7. Click "Invite by email"

Click "Invite by email" to enter the guest's email address.
Click 'Invite by email'

8. Click "Role Assignment"

Click "Role Assignment" to assign permissions, like "Shipper Client Guest." Select the "Email Text" tab to edit the invitation email that your guest will receive.
Click 'Role Assignment'

9. Click "Invite"

Click "Invite" to send the invitation to the guest user. The link sent will expire after 72 hours.
Click 'Invite'

10. Click "Status"

View "Status" to check the invitation status. Once the status is Active for an External User, you can access their view by selecting the Account and clicking "Impersonate."
Click 'Status'
To Edit the access that your guest users can see, visit our User Management section.