Skip to content
English
  • There are no suggestions because the search field is empty.

Agreements- Compliance Header

Compliance Agreements help to simplify violation compliance for specific clients, or a group of clients.

Last Updated: April 19, 2025

Applies to:

Shippers, Brokers, Carriers, and Partners

Solution Overview:

Compliance Agreements are designed to streamline the management of compliance violations for individual clients or as a comprehensive solution for a group of clients. These agreements facilitate the tracking of issues such as Broken Pallets and other violations, providing the Accounting team with the necessary data to make invoice deductions when required. Additionally, our system allows for the application of an Admin Fee to specific violations. You can use the provided editable default Compliance Agreement or create a custom agreement tailored to your needs.

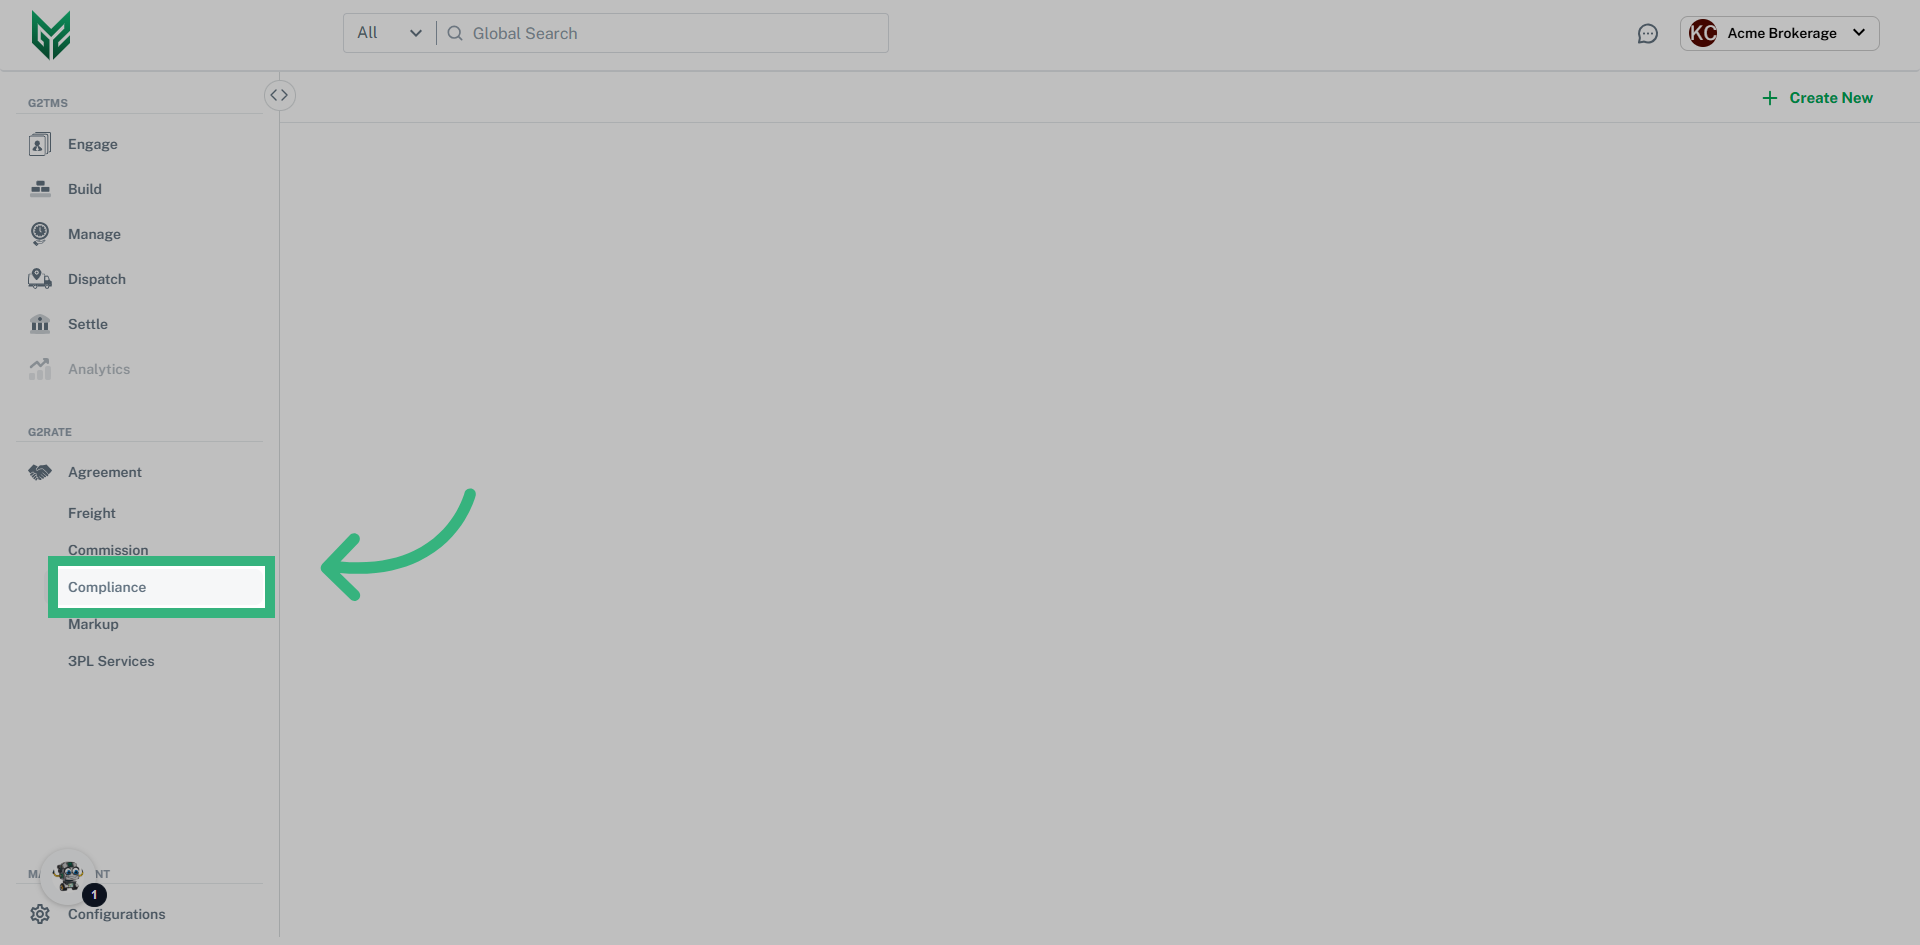
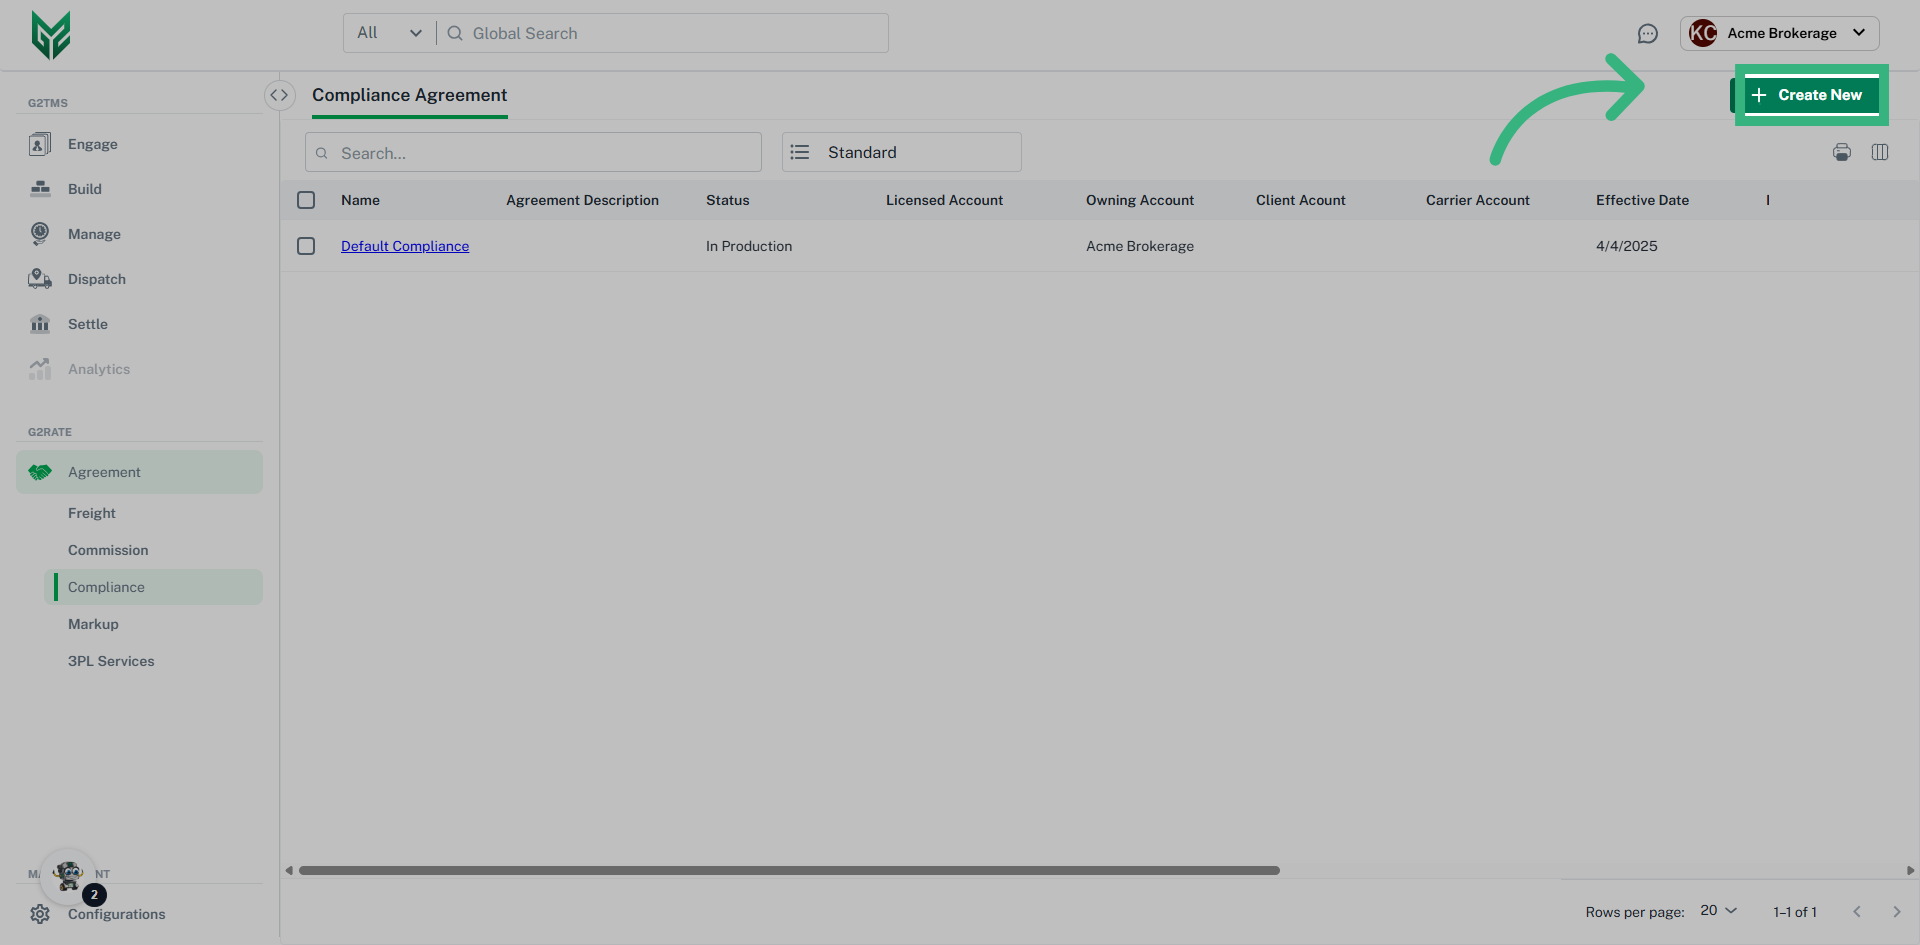
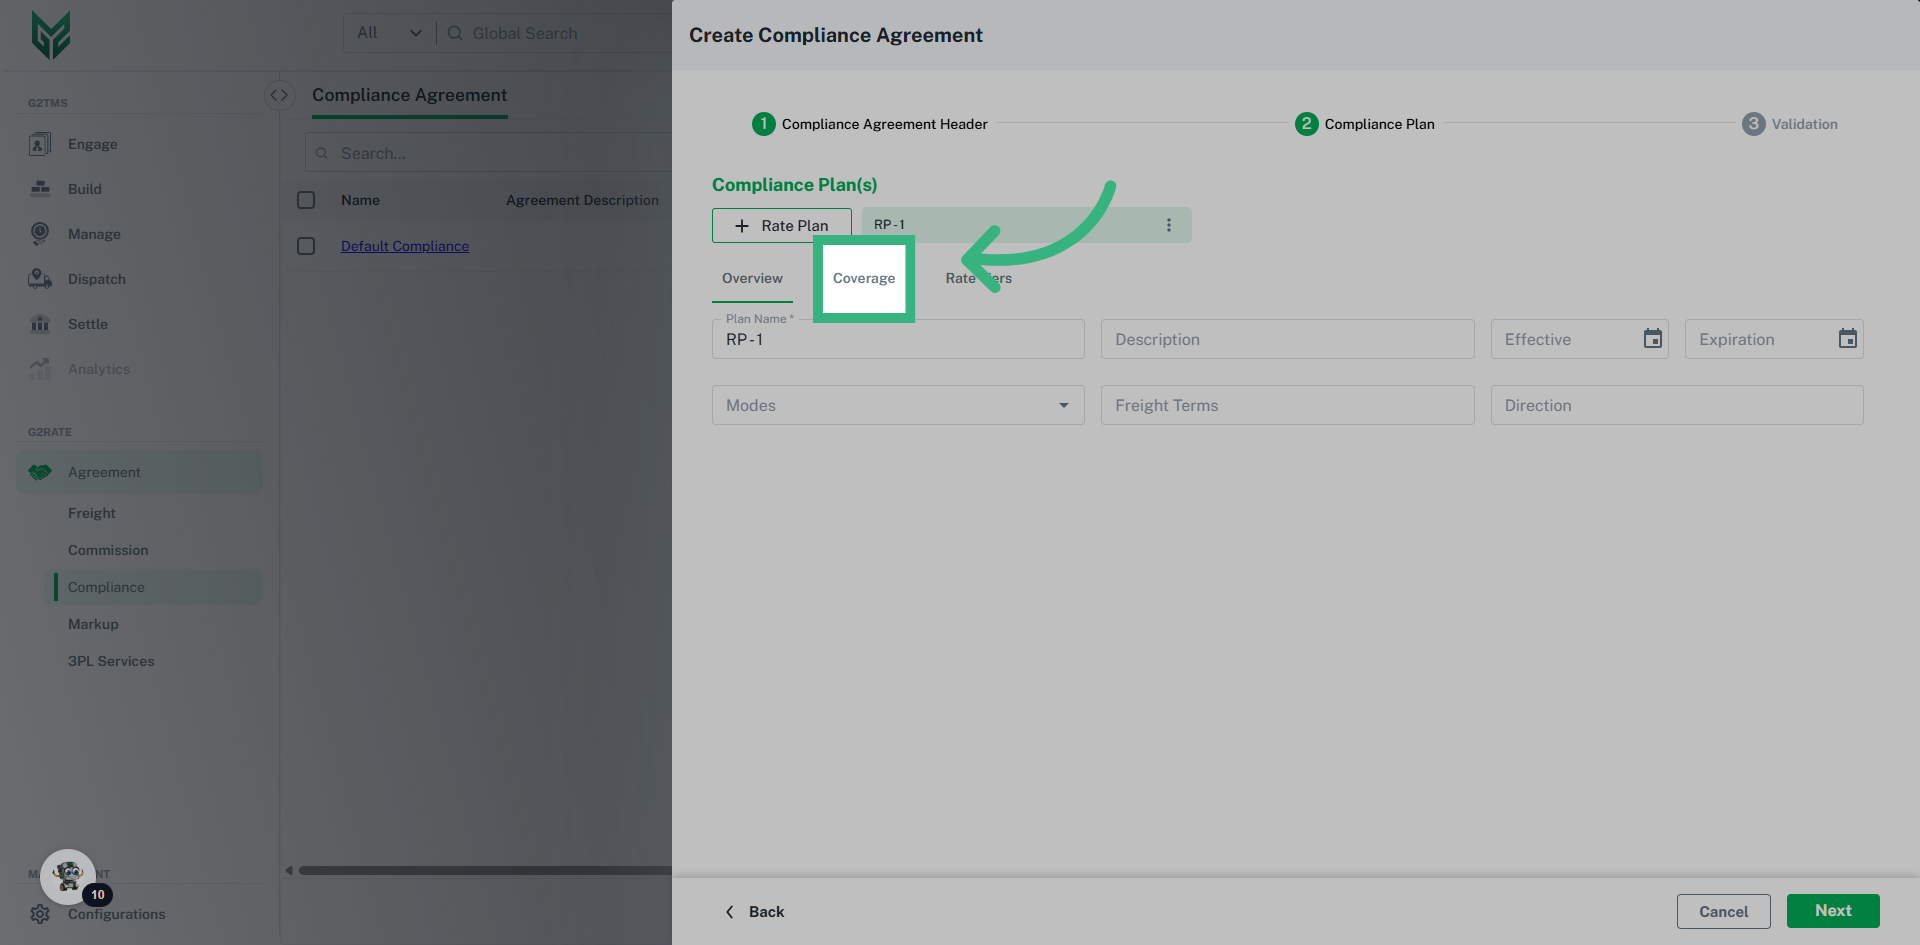
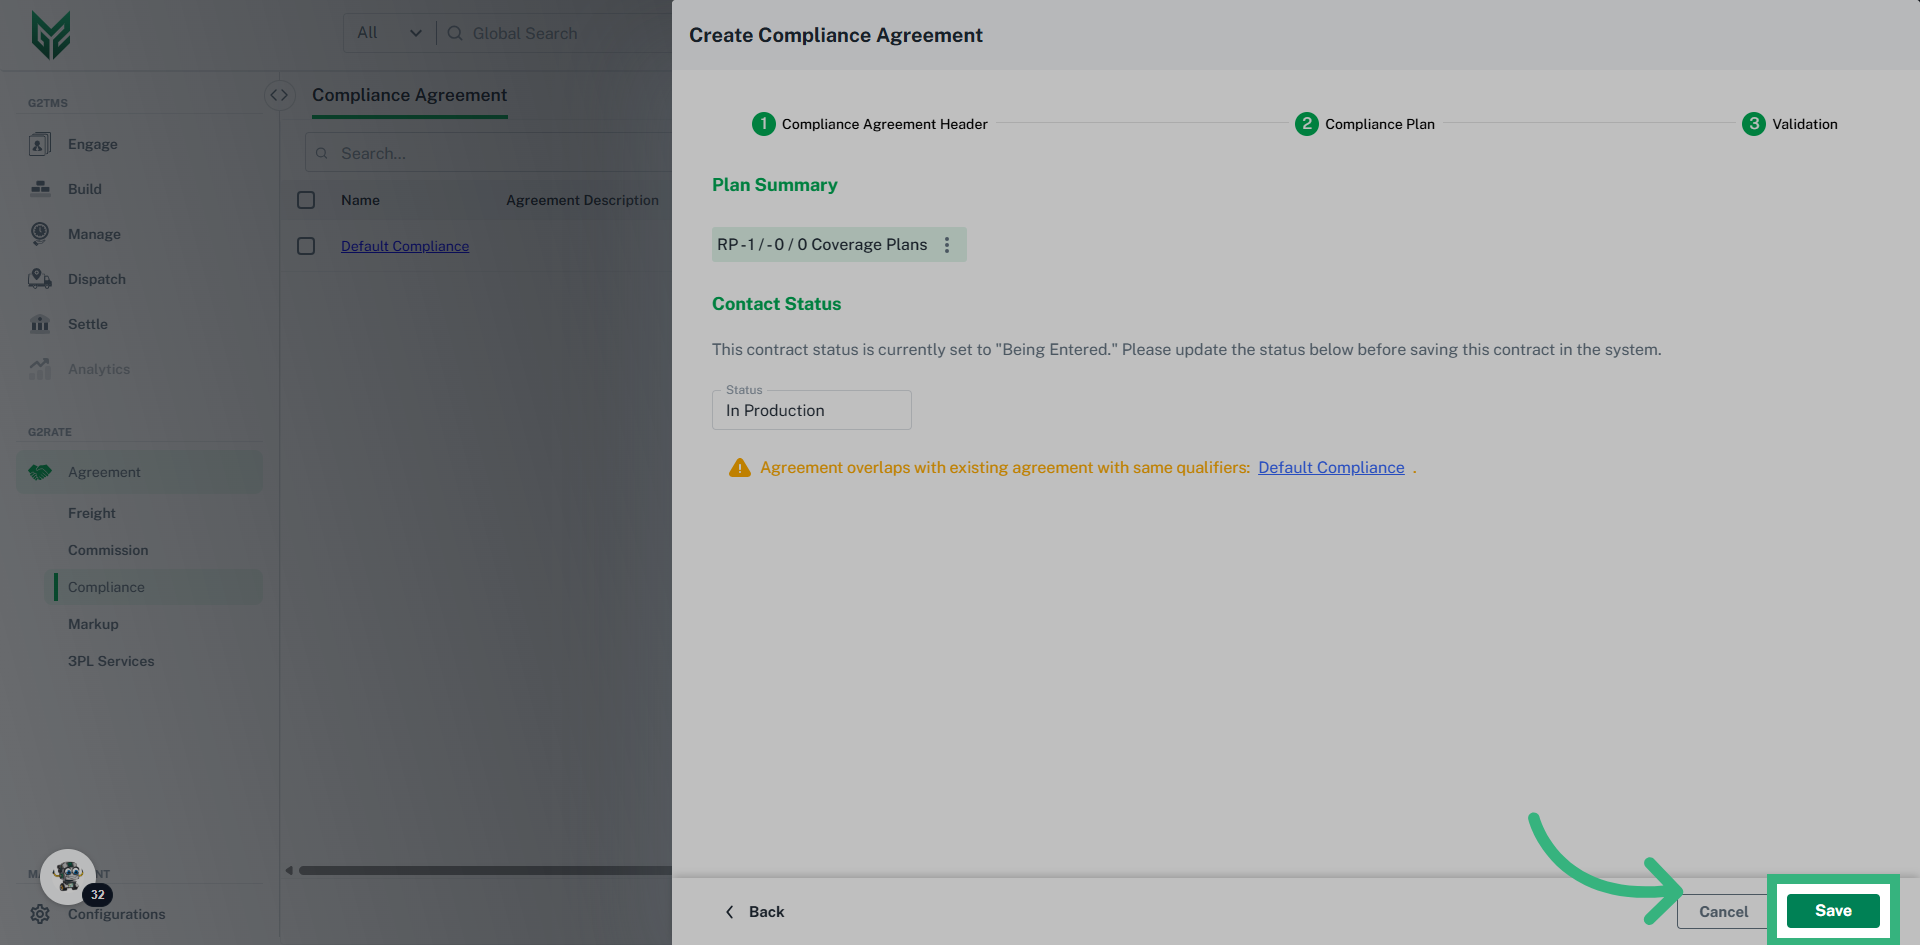
How to create a Compliance Agreement

This guide will walk you through creating a Compliance Agreement using G2mint

1. Click "Agreement" then "Compliance"

Choose "Compliance" by first clicking on the "Agreement" header.
Click 'Agreement' then 'Compliance'

2. Click "Create New."

Simply click the green "Create New" button in the top right hand corner of your screen to create a new agreement, or click on the pencil icon next to an existing agreement to edit an existing one.
Click 'Create New.'

3. Enter Header Information

Enter the agreement type, name, and owning account, click "Next" to proceed.
Enter Header Information

4. Click "Coverage"

Select "Coverage."
Click 'Coverage'

5. Enter your coverage area if needed, then click "Rate Tiers"

If you would like this compliance agreement applied to specific areas, you can enter them here. Leaving the areas blank will allow them to be applied to any shipments regardless of area. Once finished, click "Rate Tiers"
Enter your coverage area if needed, then click 'Rate Tiers'

6. Fill the Category Name

Enter the category name in the free text field. In this example, we will enter "Handling Units" but you can enter whatever type of compliance agreement you would like. Click the small green plus icon next to the text to save the changes.
Fill the Category Name

7. Fill the code field

Fill in the text box with "HU-1" to signify we are creating a record for handling unit violation type 1.
Fill the code field

8. Fill the description field

Enter the desired text. We will use code "HU-1" to signify a broken pallet violation.
Fill the description field

9. Click "Fixed - Amount"

Choose "Fixed - Amount" or "Fixed-Percentage" depending on how you would like to charge the violation.
Click 'Fixed - Amount'

10. Click "Per Violation"

Select "Per Violation" or "Per Qty"
Click 'Per Violation'

11. Fill in the "Amount" field

Input the fee for each violation in the "Amount" field. In this case, we will enter $5.
Fill in the 'Amount' field

12. Click "Next"

Proceed by selecting "Next."
Click 'Next'

13. Update the status then click "Save"

Set the status to "In Production" then click save.
Update the status then click 'Save'
This guide covered the process of creating a Compliance Agreement in G2mint.

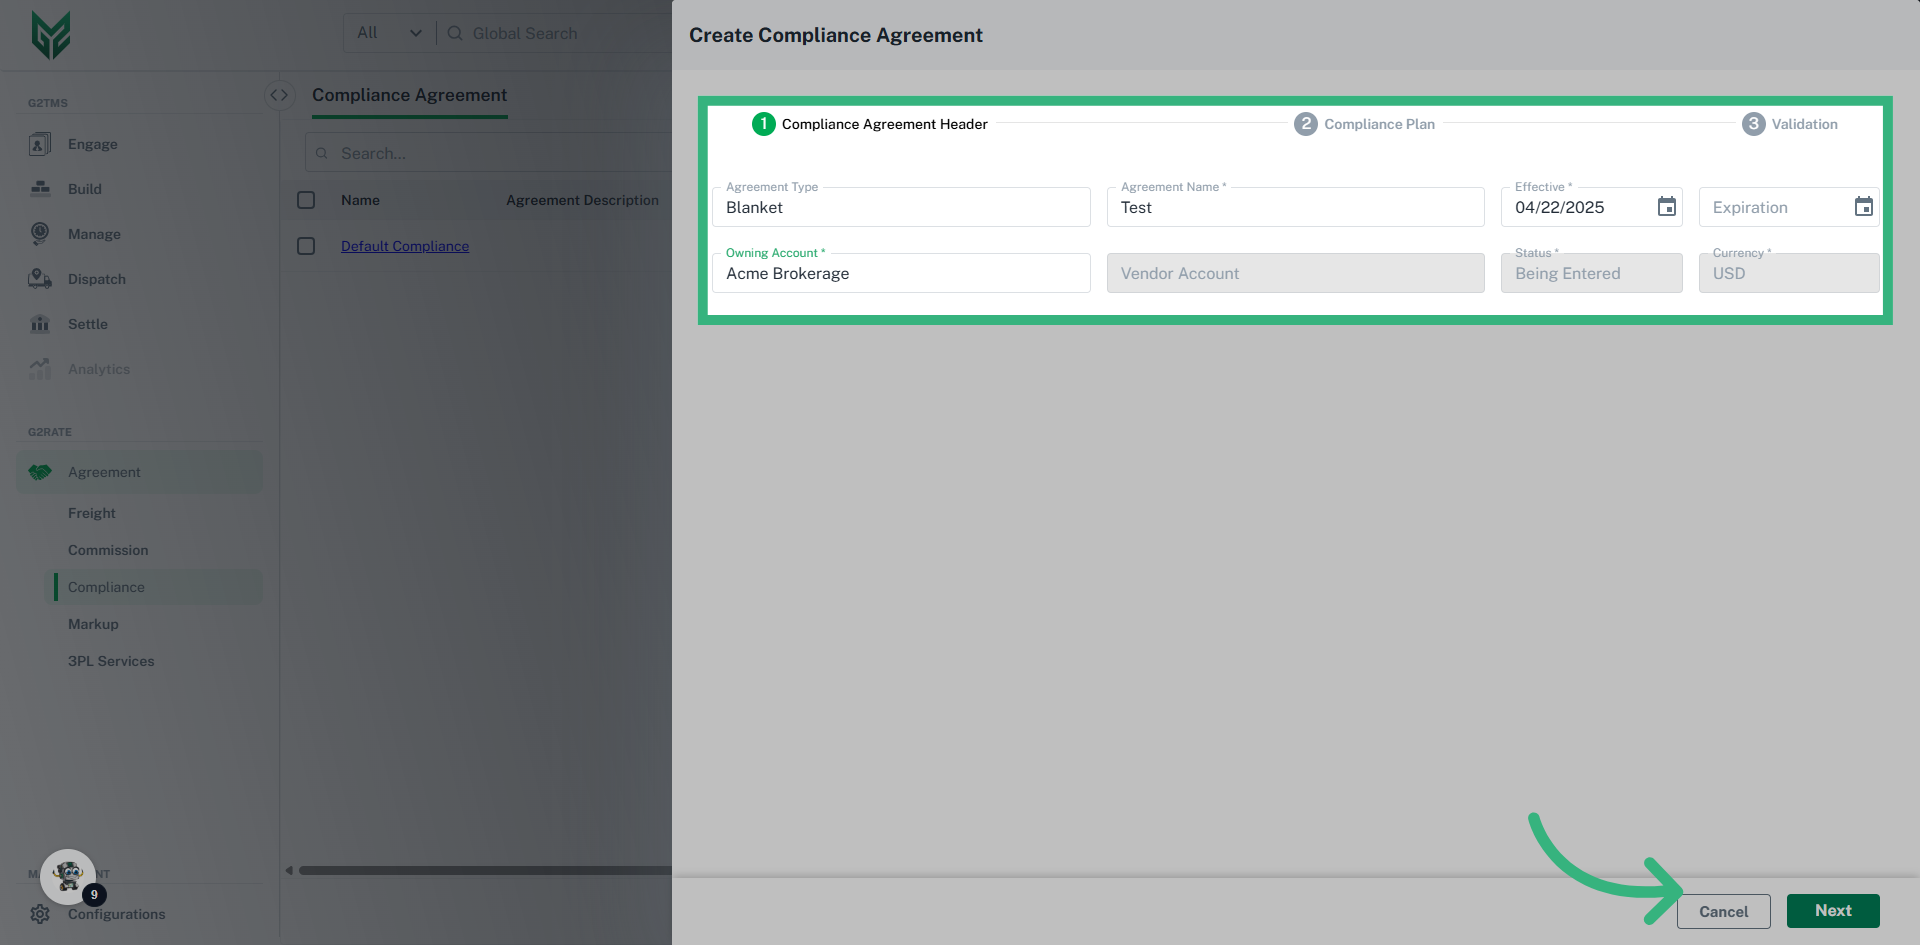
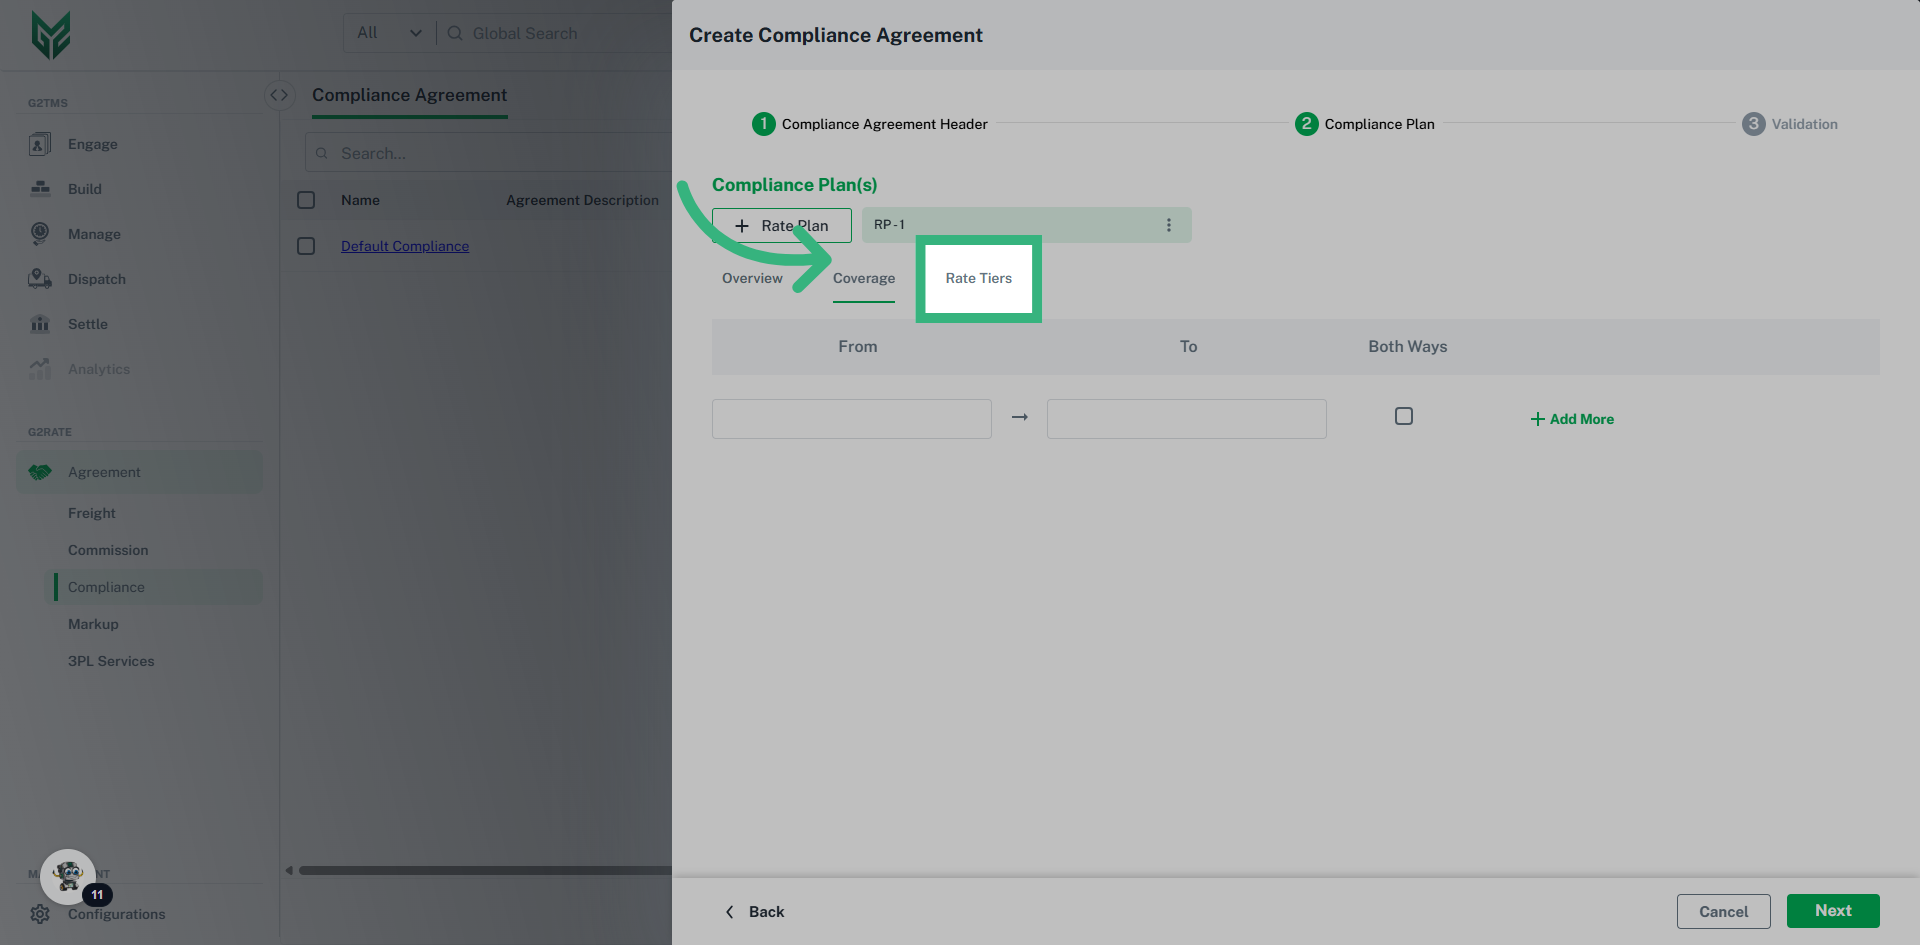
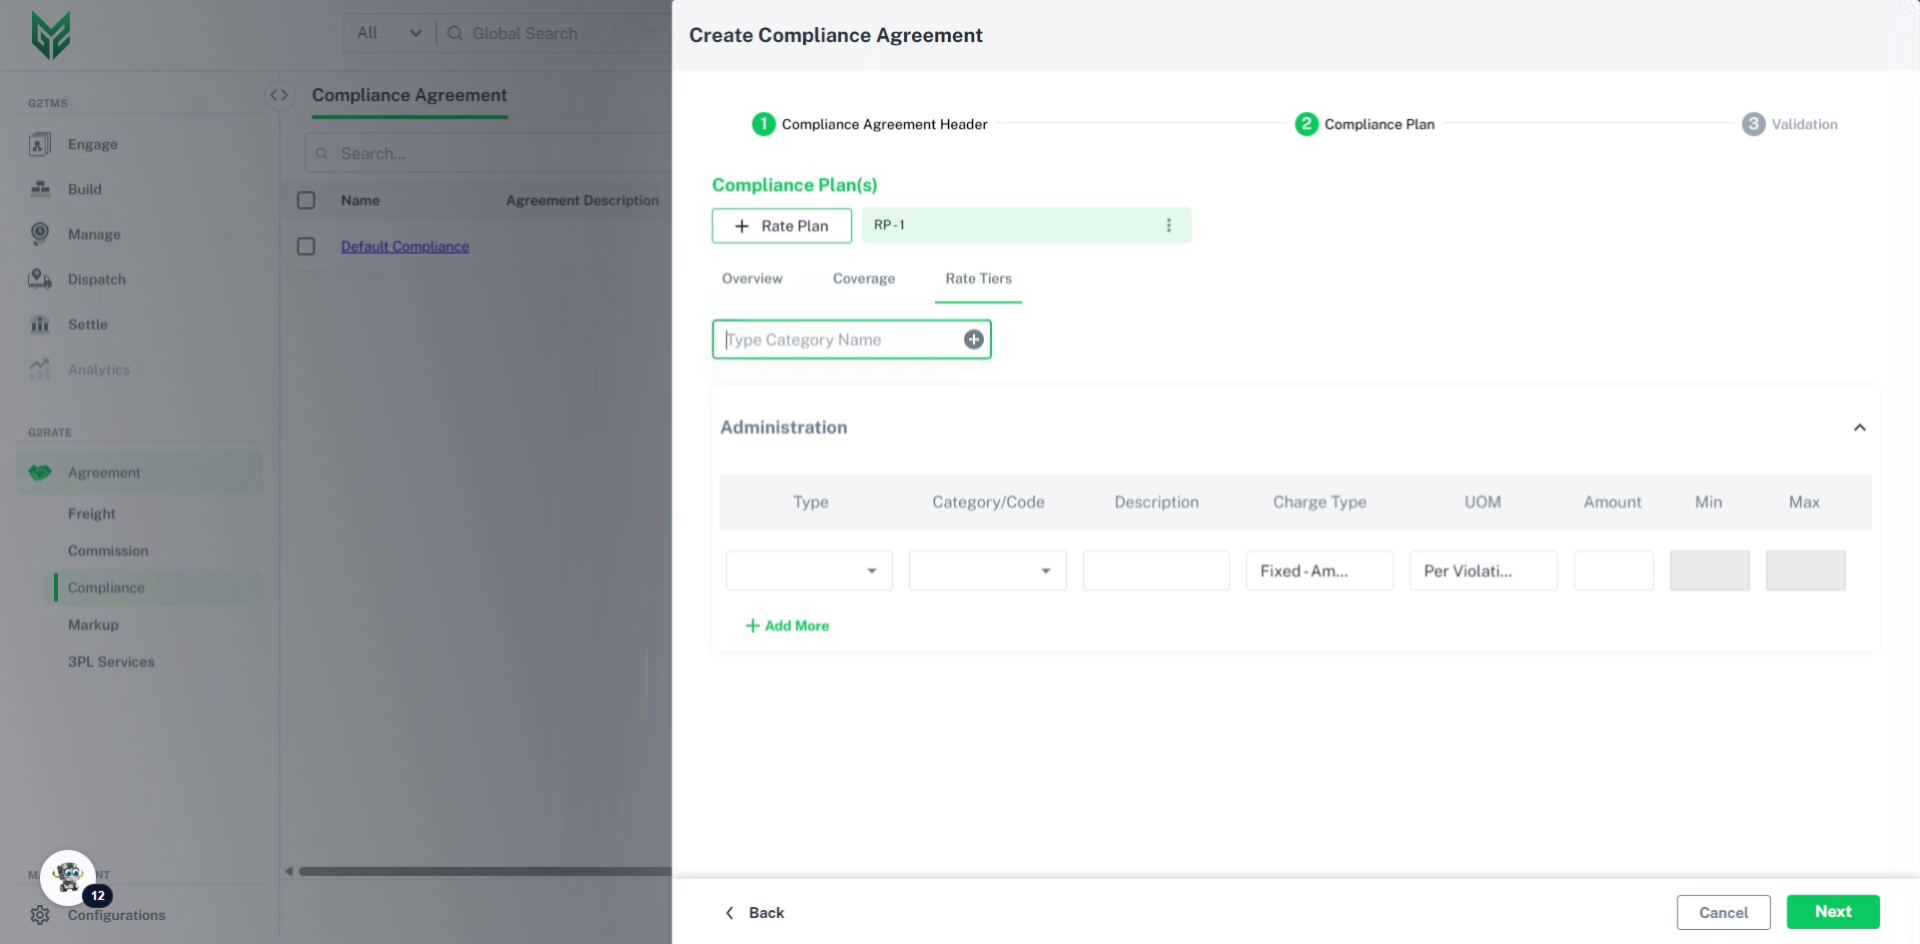
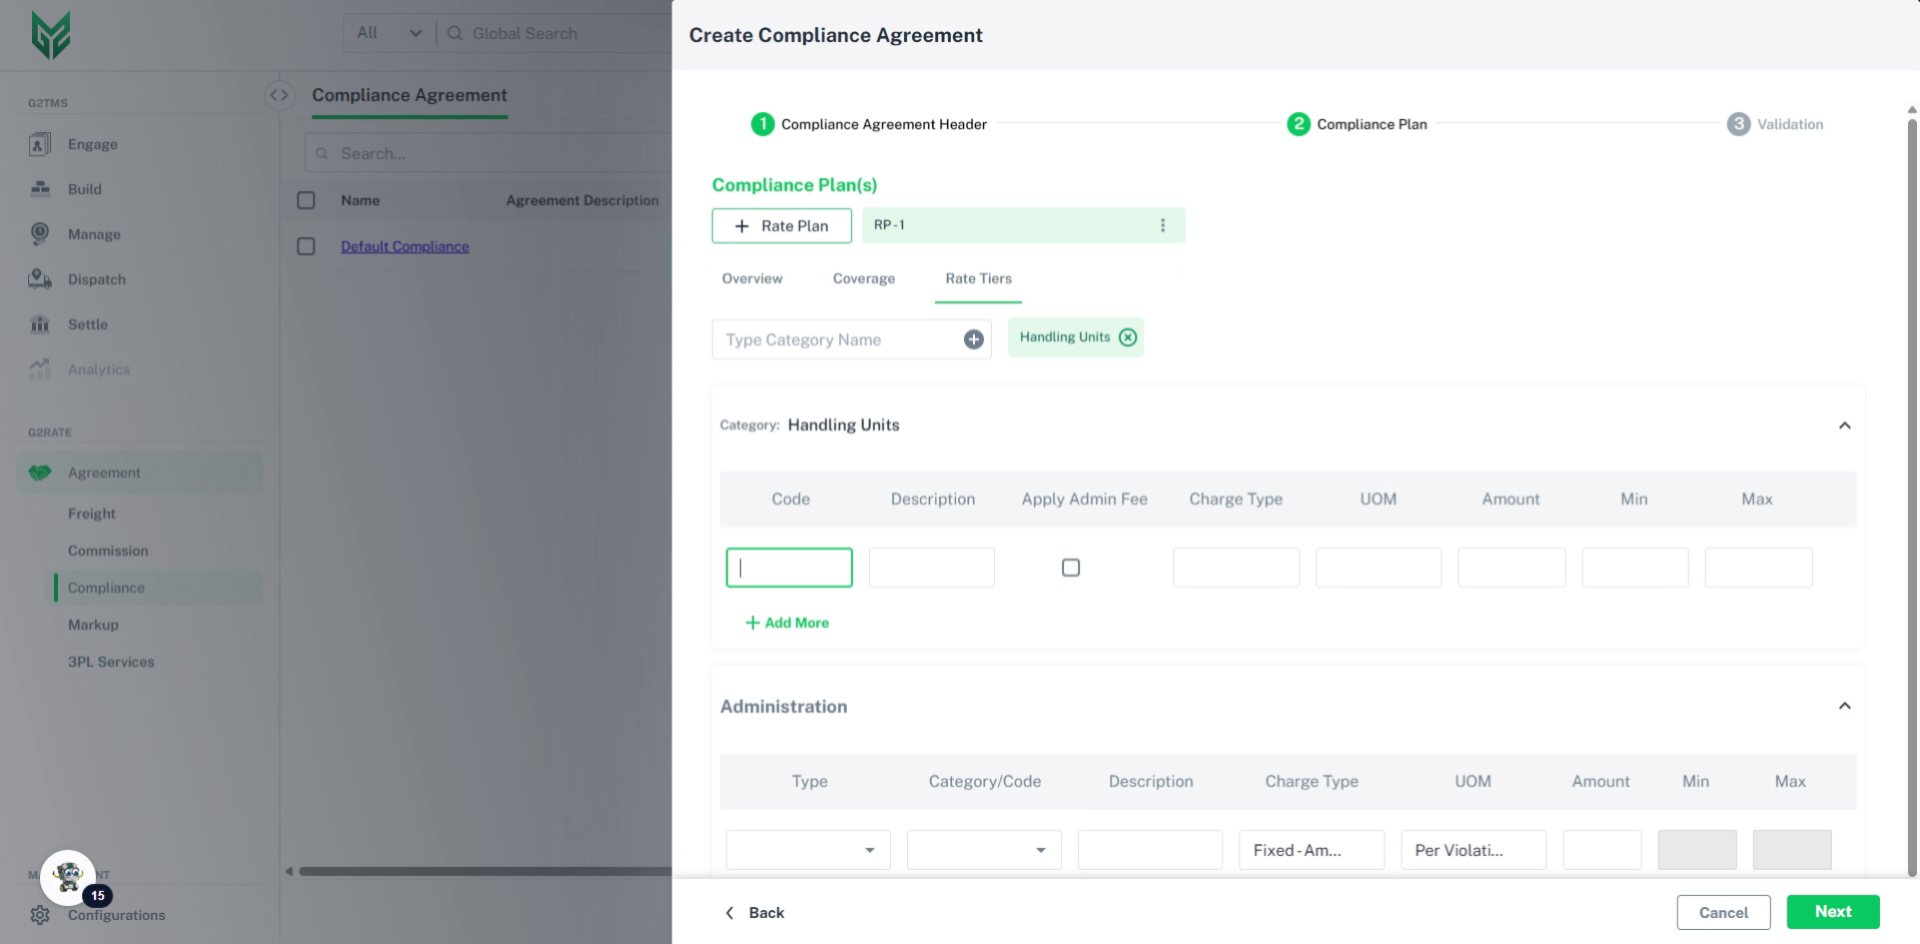
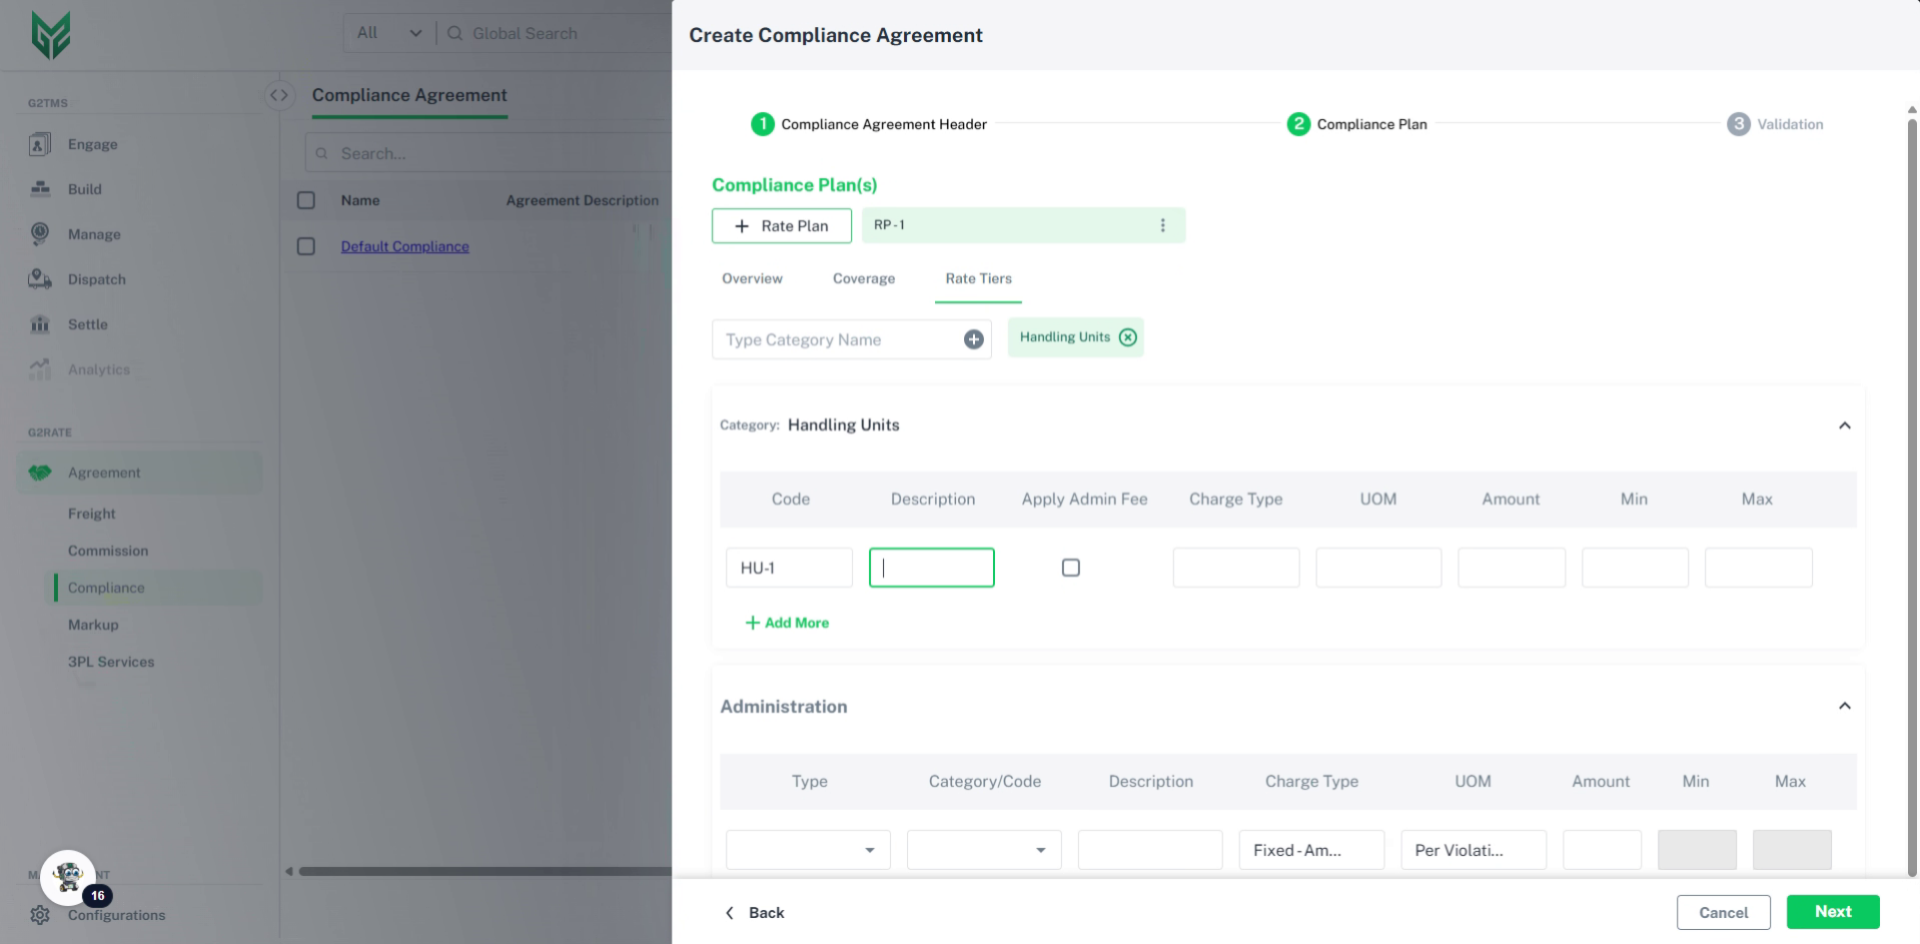
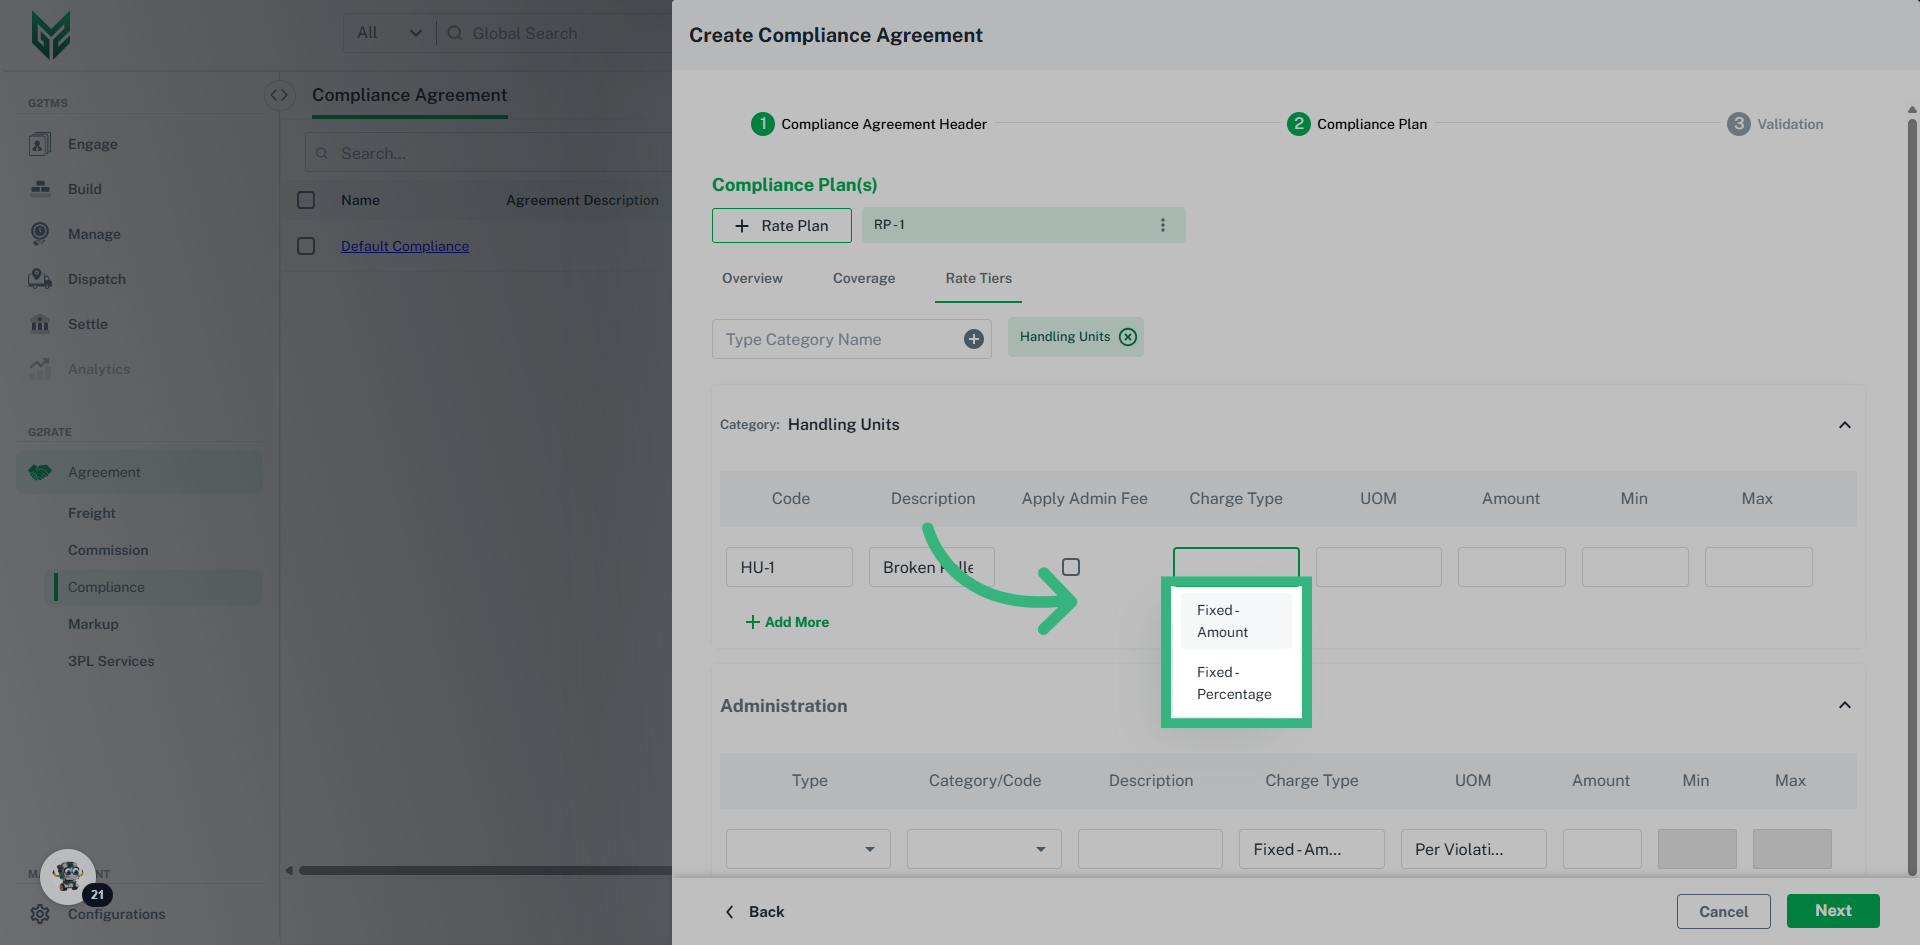
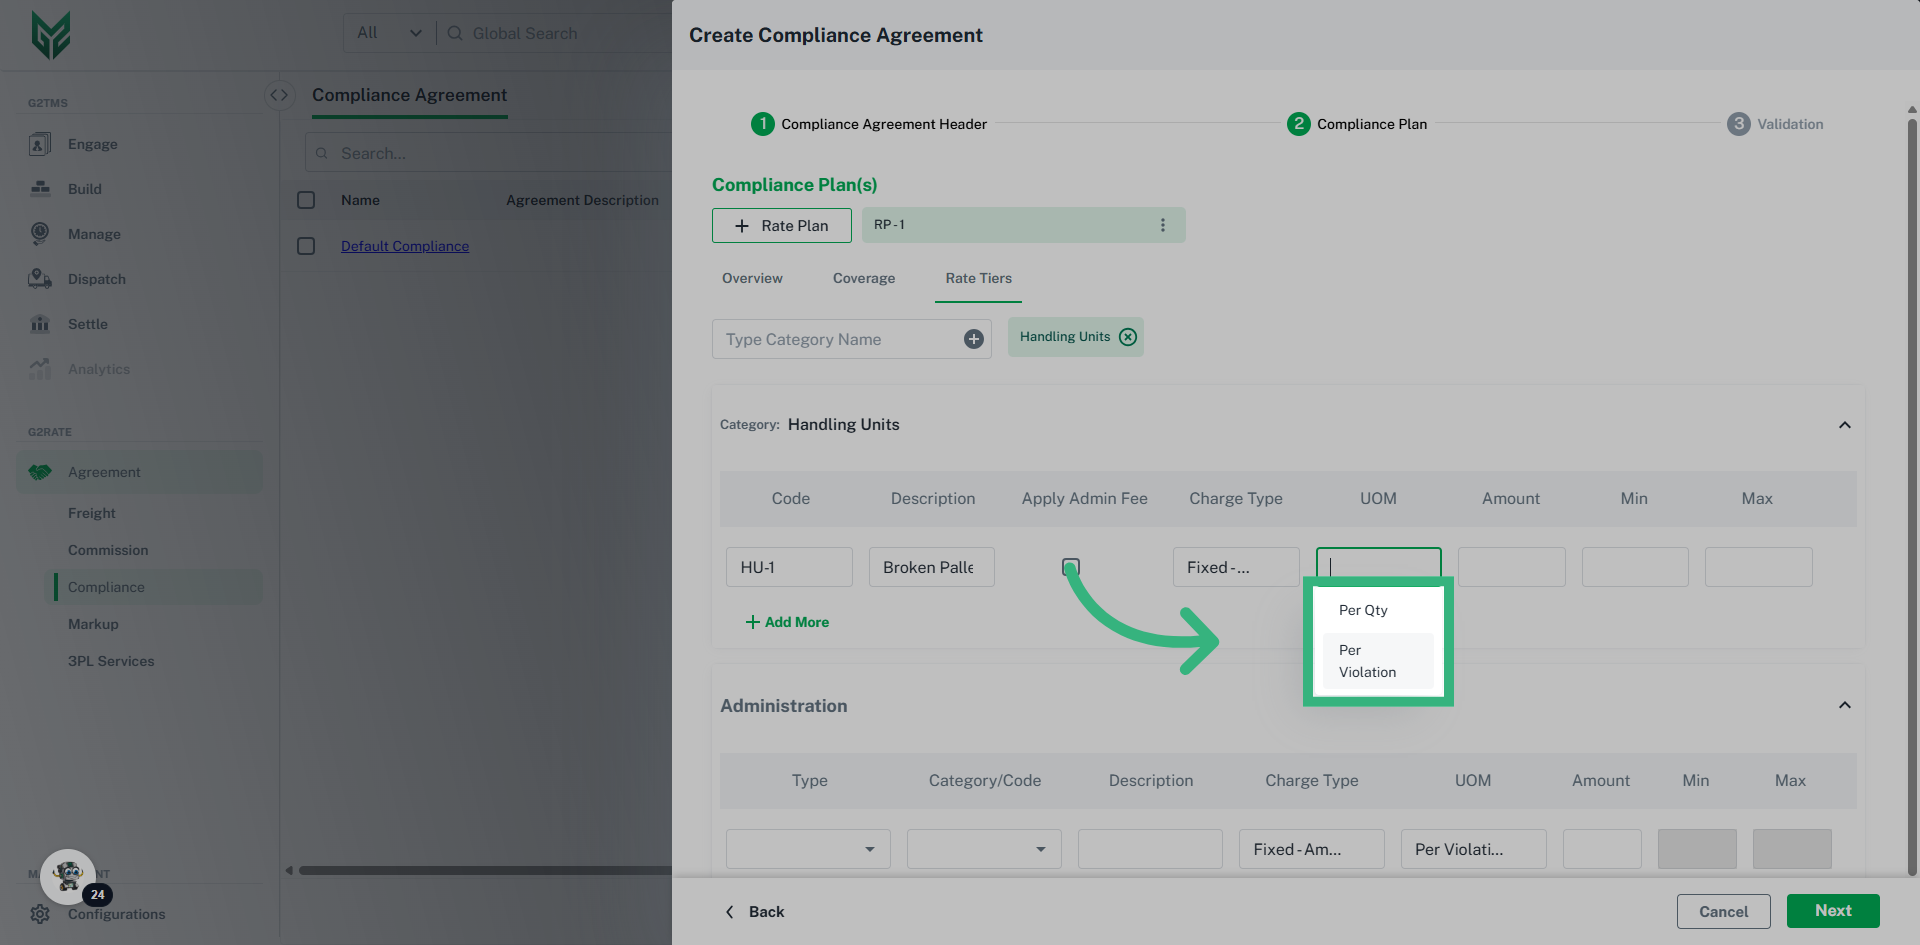
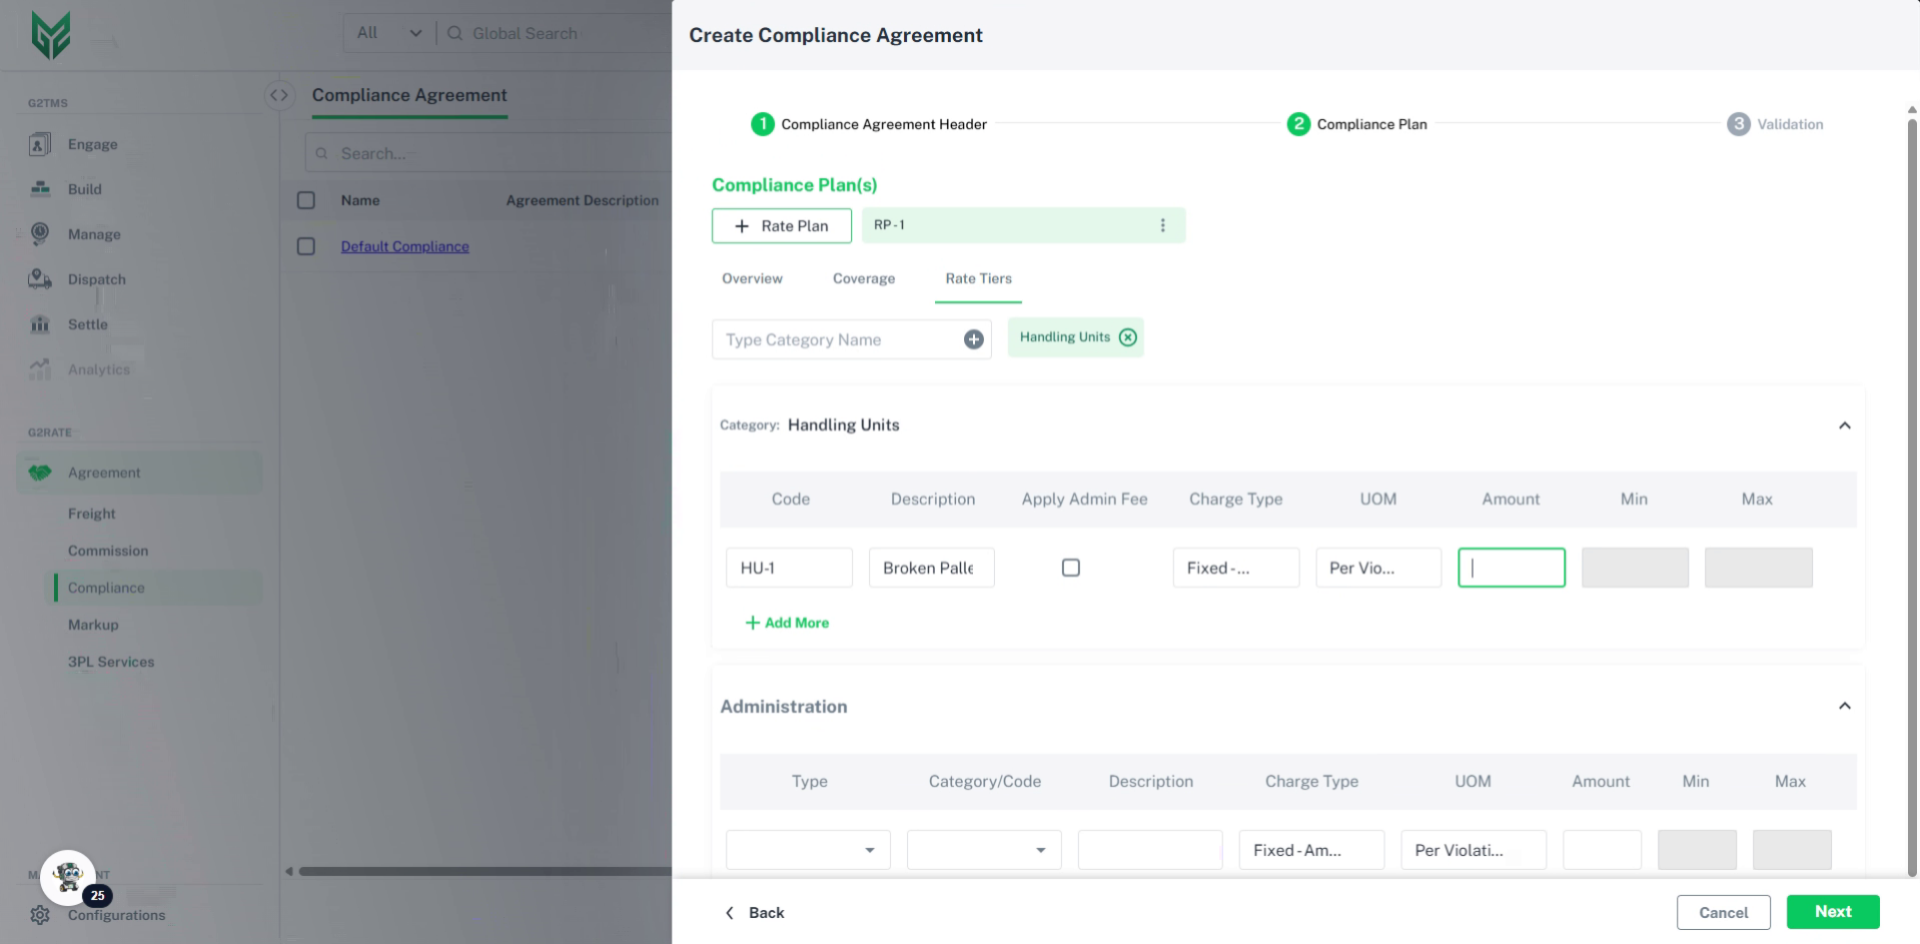
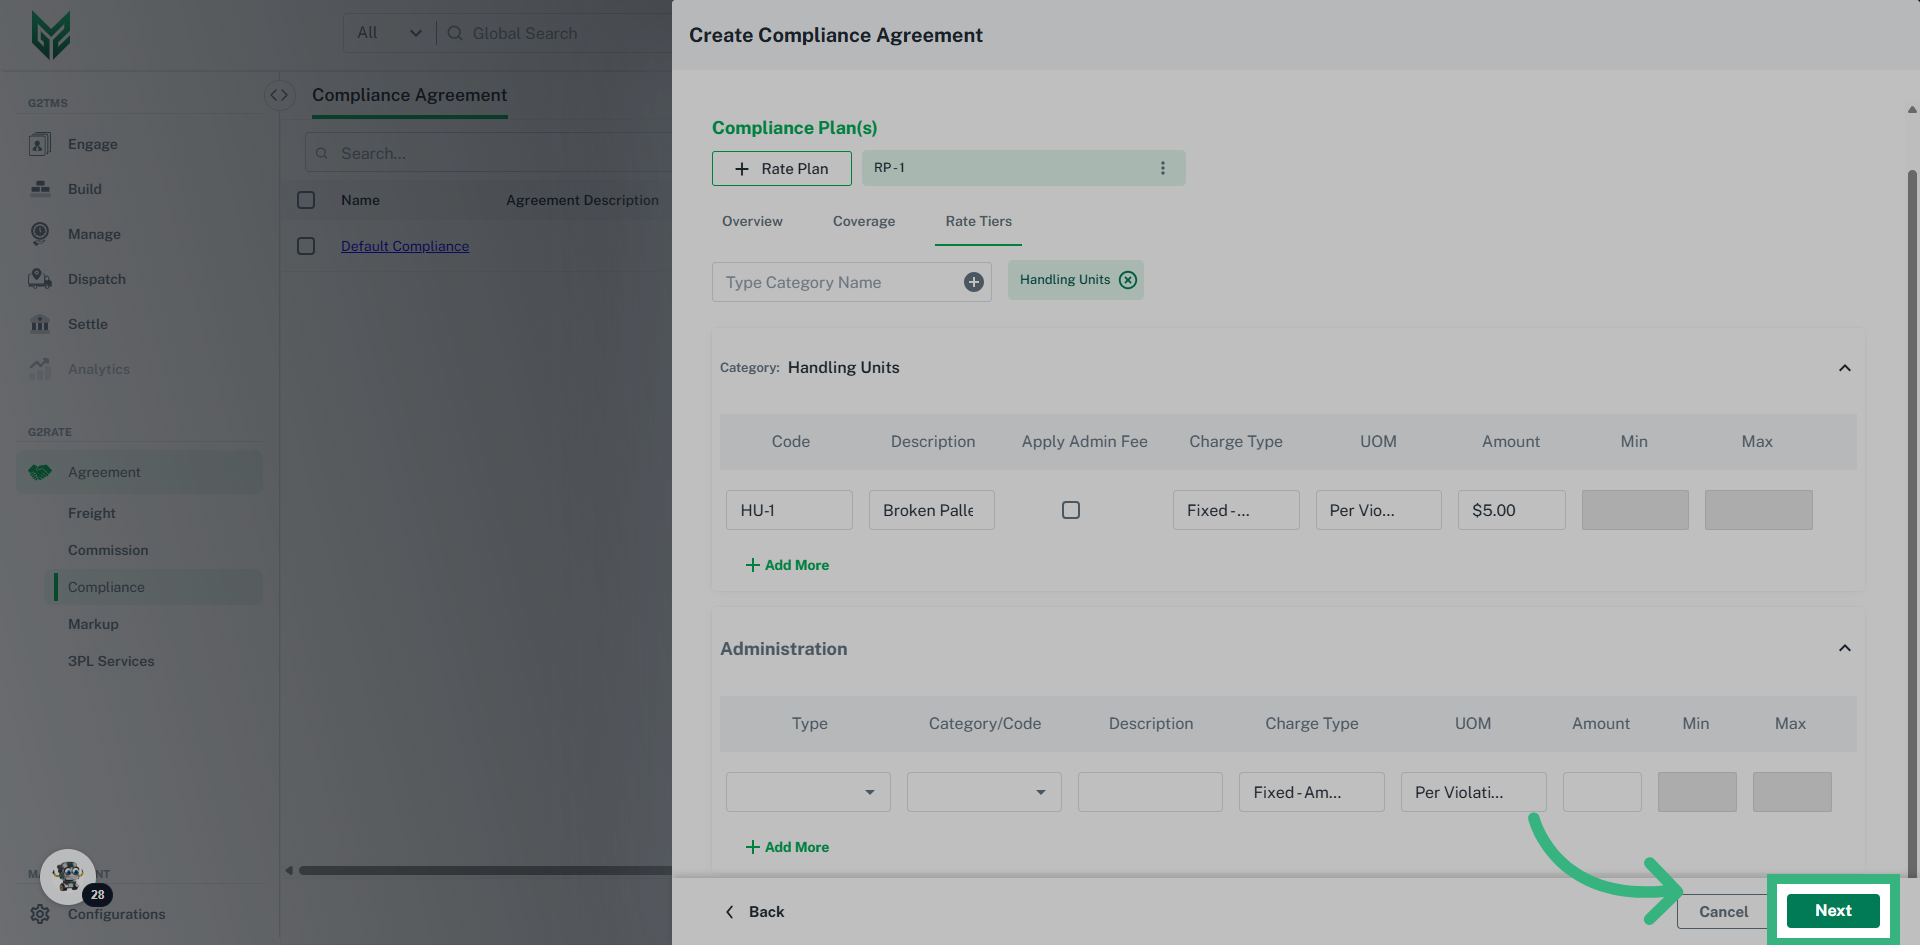
Compliance Agreement Header terms:

  • Agreement Type:  A compliance agreement can be Blanket (available for anyone) or Vendor specific.  Specify that type here from the dropdown. 
  • Agreement Name: Utilize a unique name that easily clarifies the function of this agreement.
  • Effective Date: Effective Date is required, while Expiration Date is optional.
  • Owning Account: Owning Account would be the parent account, or owner, of this agreement.
  • Vendor Account: Select a Vendor Account if the Compliance Agreement is account specific.  If Agreement Type was Blanket, this field becomes unable to edit.
  • Status: In Production is "Active." This can also be edited in Validation.
  • Currency: Defaults to US Dollars