Skip to content
English
  • There are no suggestions because the search field is empty.

User Management Users

Invite and assign Users into roles that dictate the permissions and access 

Last Updated: April 11, 2025

Applies to:

Shippers, Brokers, Carriers, and Partners

Common Scenario(s)/Challenge (s):

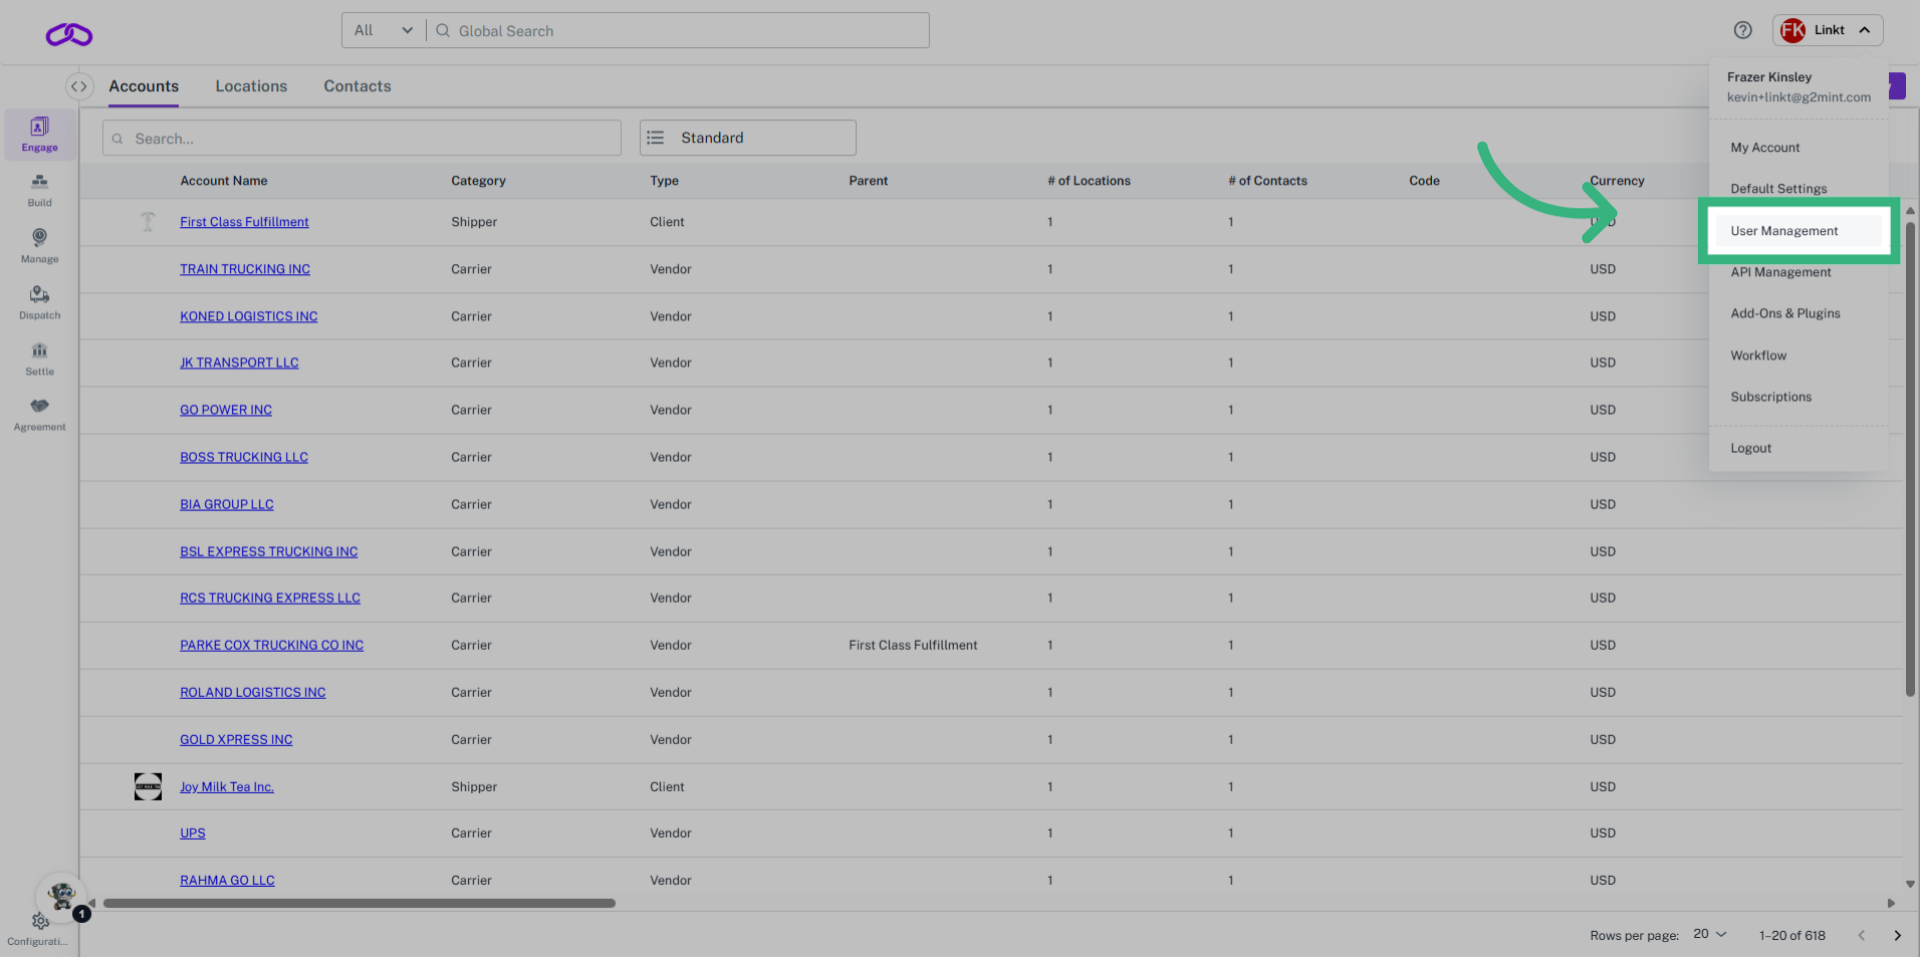
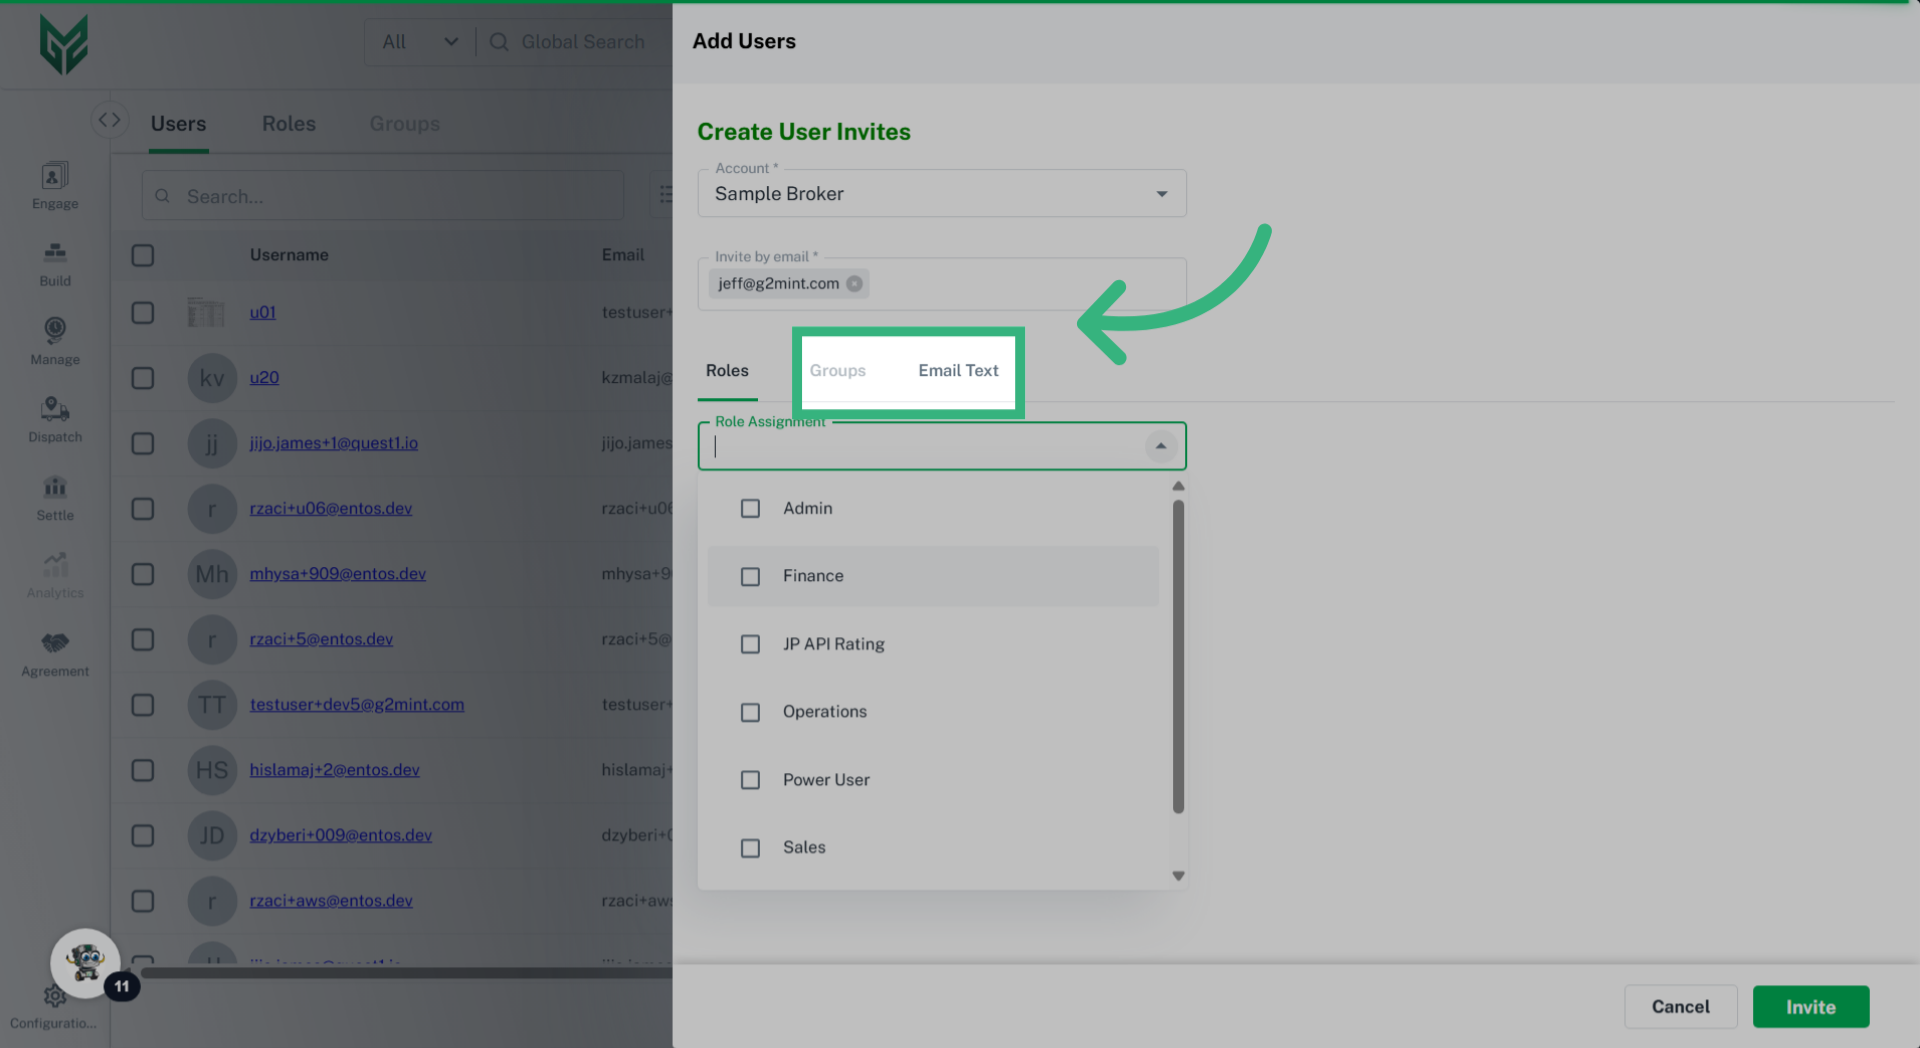
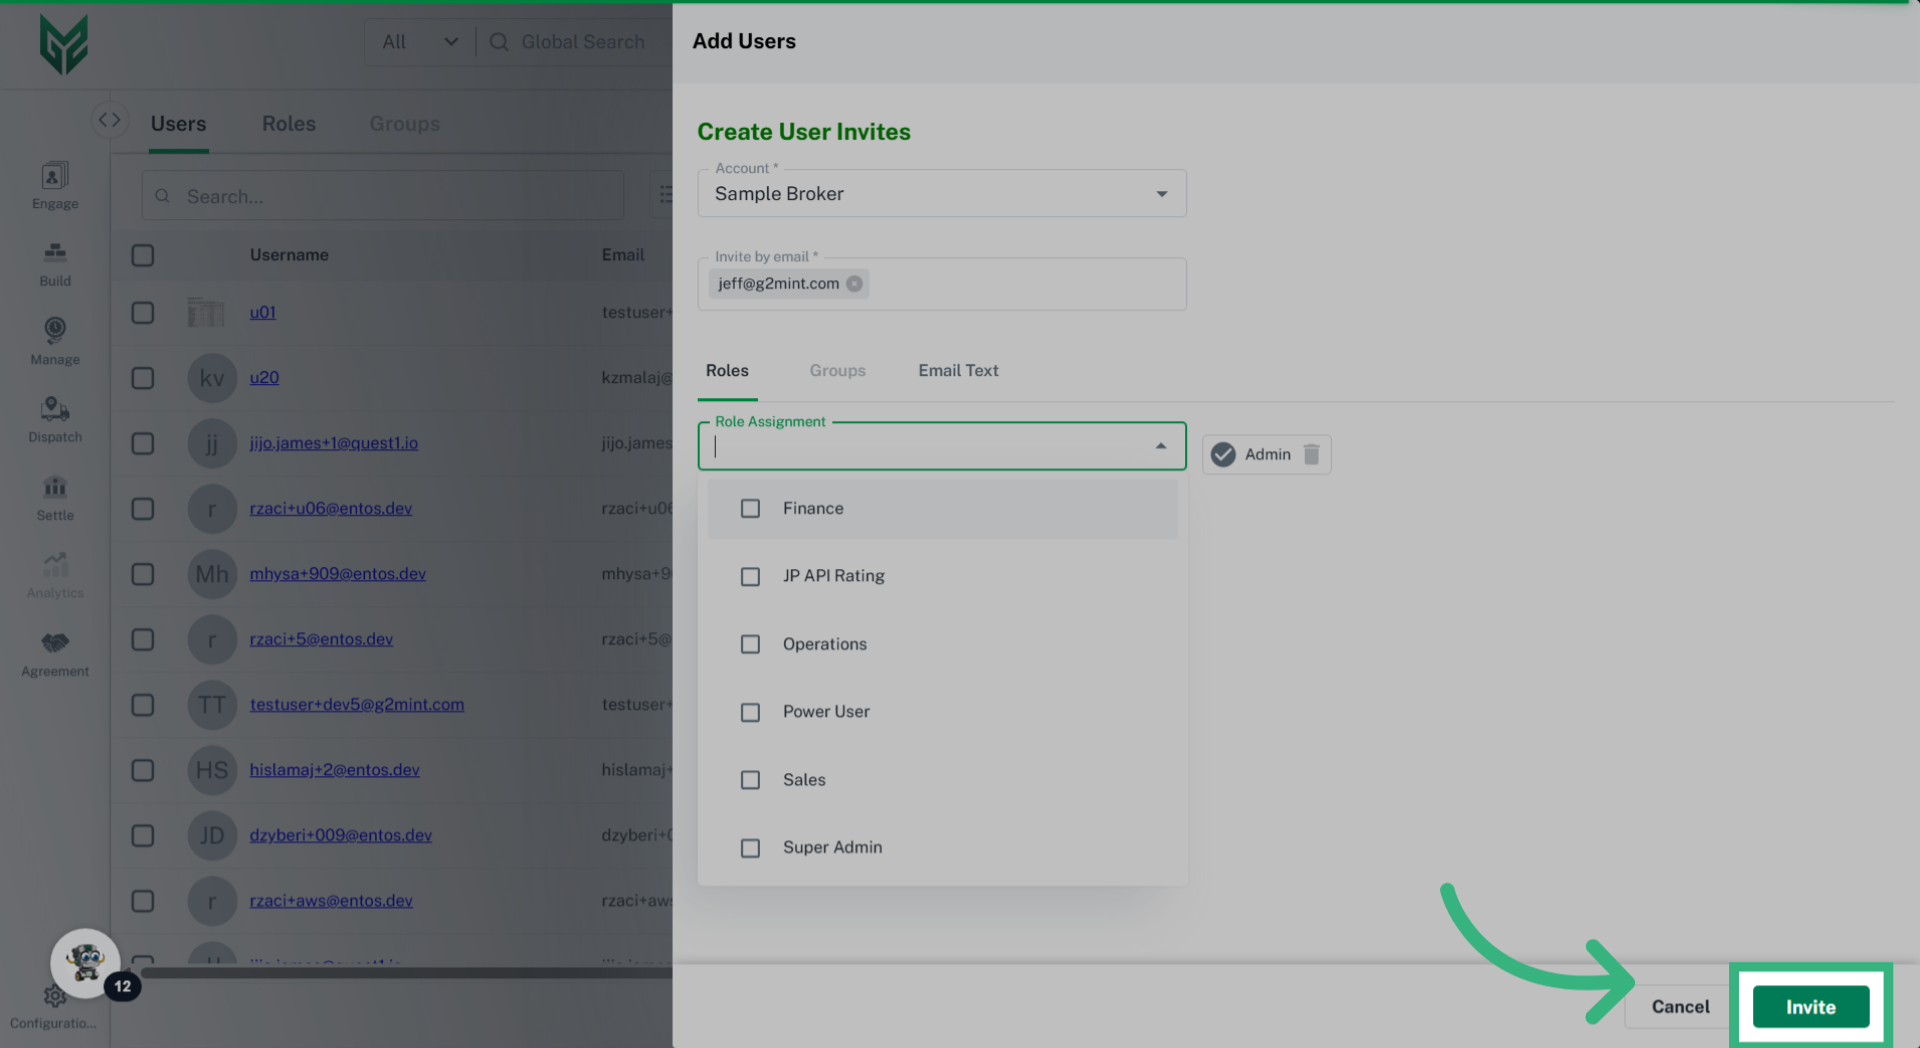
User Management acts as a centralized hub for efficiently managing all Users within your system. This feature allows you to effectively administer users within all accounts, ensuring that each individual is granted the appropriate access level according to their specific roles and responsibilities. From this hub, an administrator can manage User roles, accessibility and security restrictions, provide Portal Access, as well as impersonate the views that your invited guests can see.

Solution Overview:

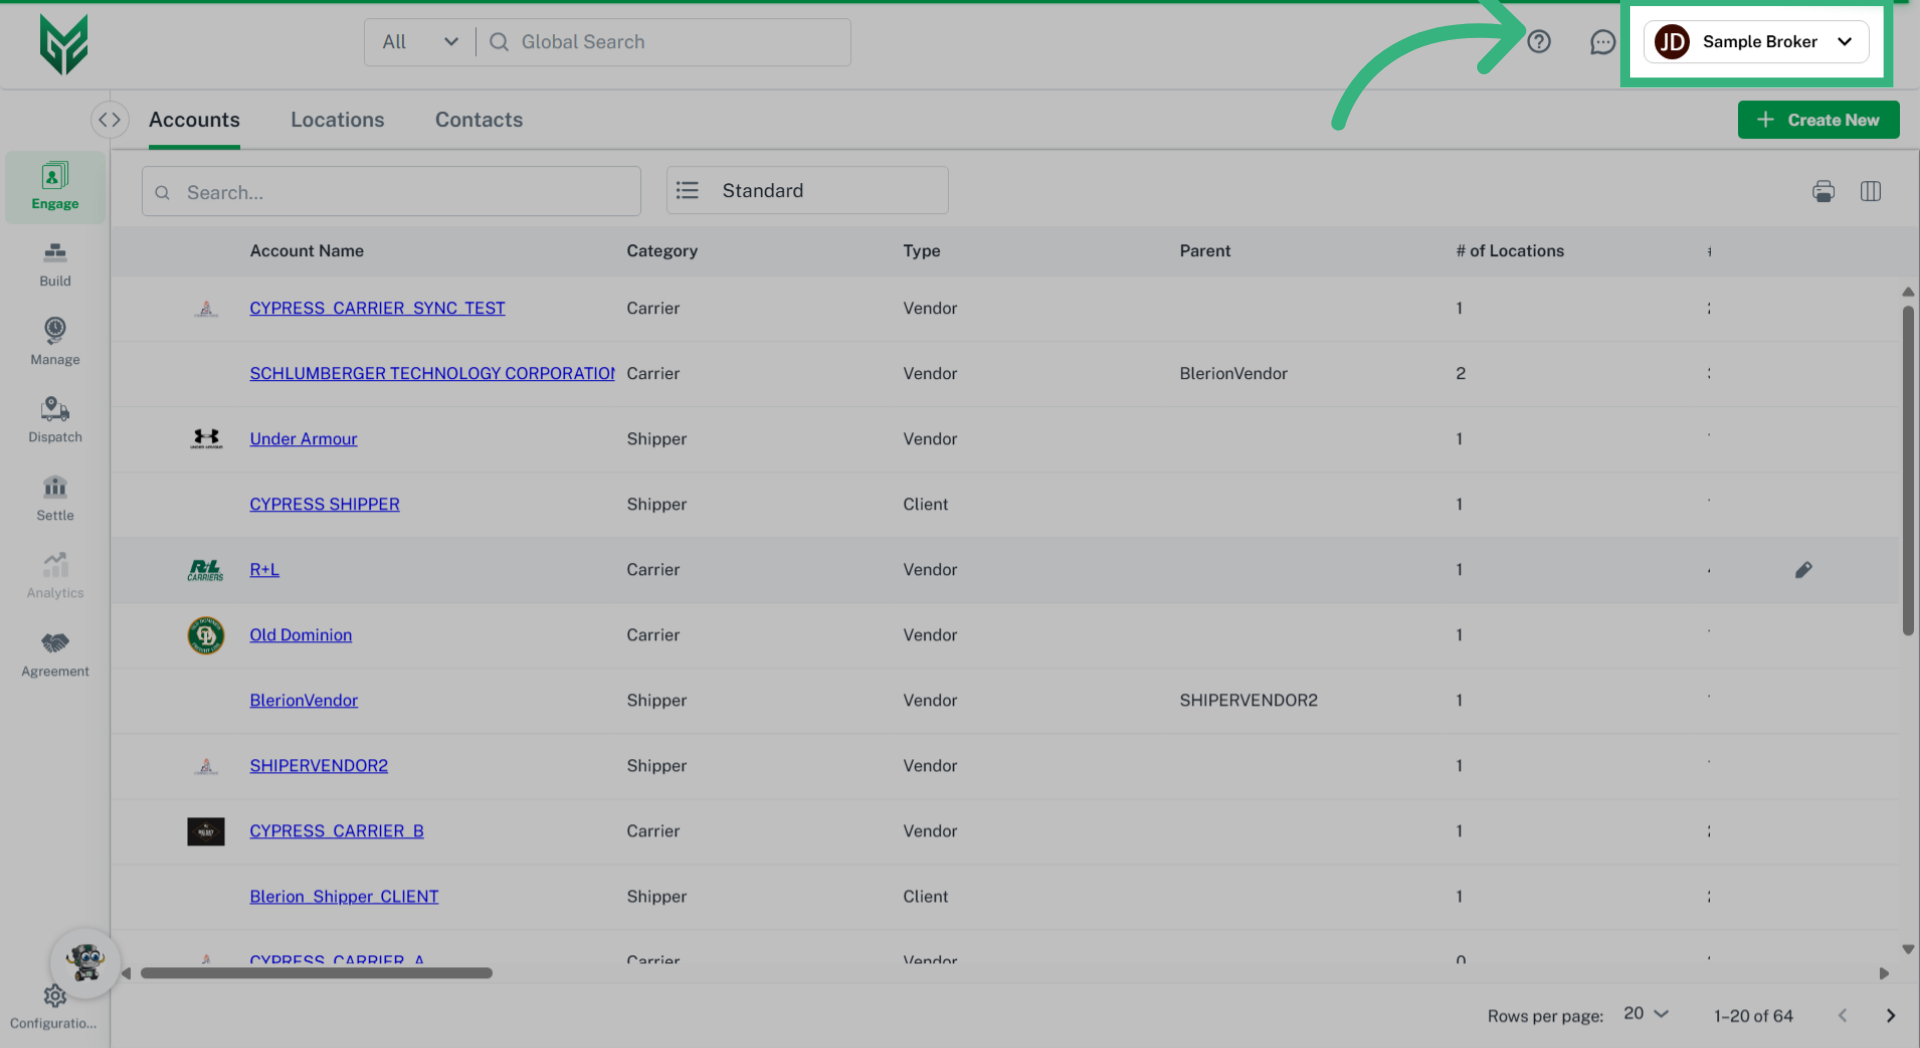
Users are divided into two main types: Internal Users and External Users. Internal Users are employees associated with the Licensed Account, while External Users include clients or vendors who have been invited to access the account. For example, if the primary account is a Broker, and they want to provide “guest access” to a Carrier vendor, there are editable default allowances for that Carrier within the User Management section.

To enhance security, both user types must establish their accounts via an email invitation. This procedure guarantees that each user receives customized access to the system, aligned with their specific roles and information requirements. This user classification not only bolsters security by restricting access to data pertinent to each user's role but also streamlines user management, enabling more efficient processes for adding, modifying, or deactivating user accounts as necessary.


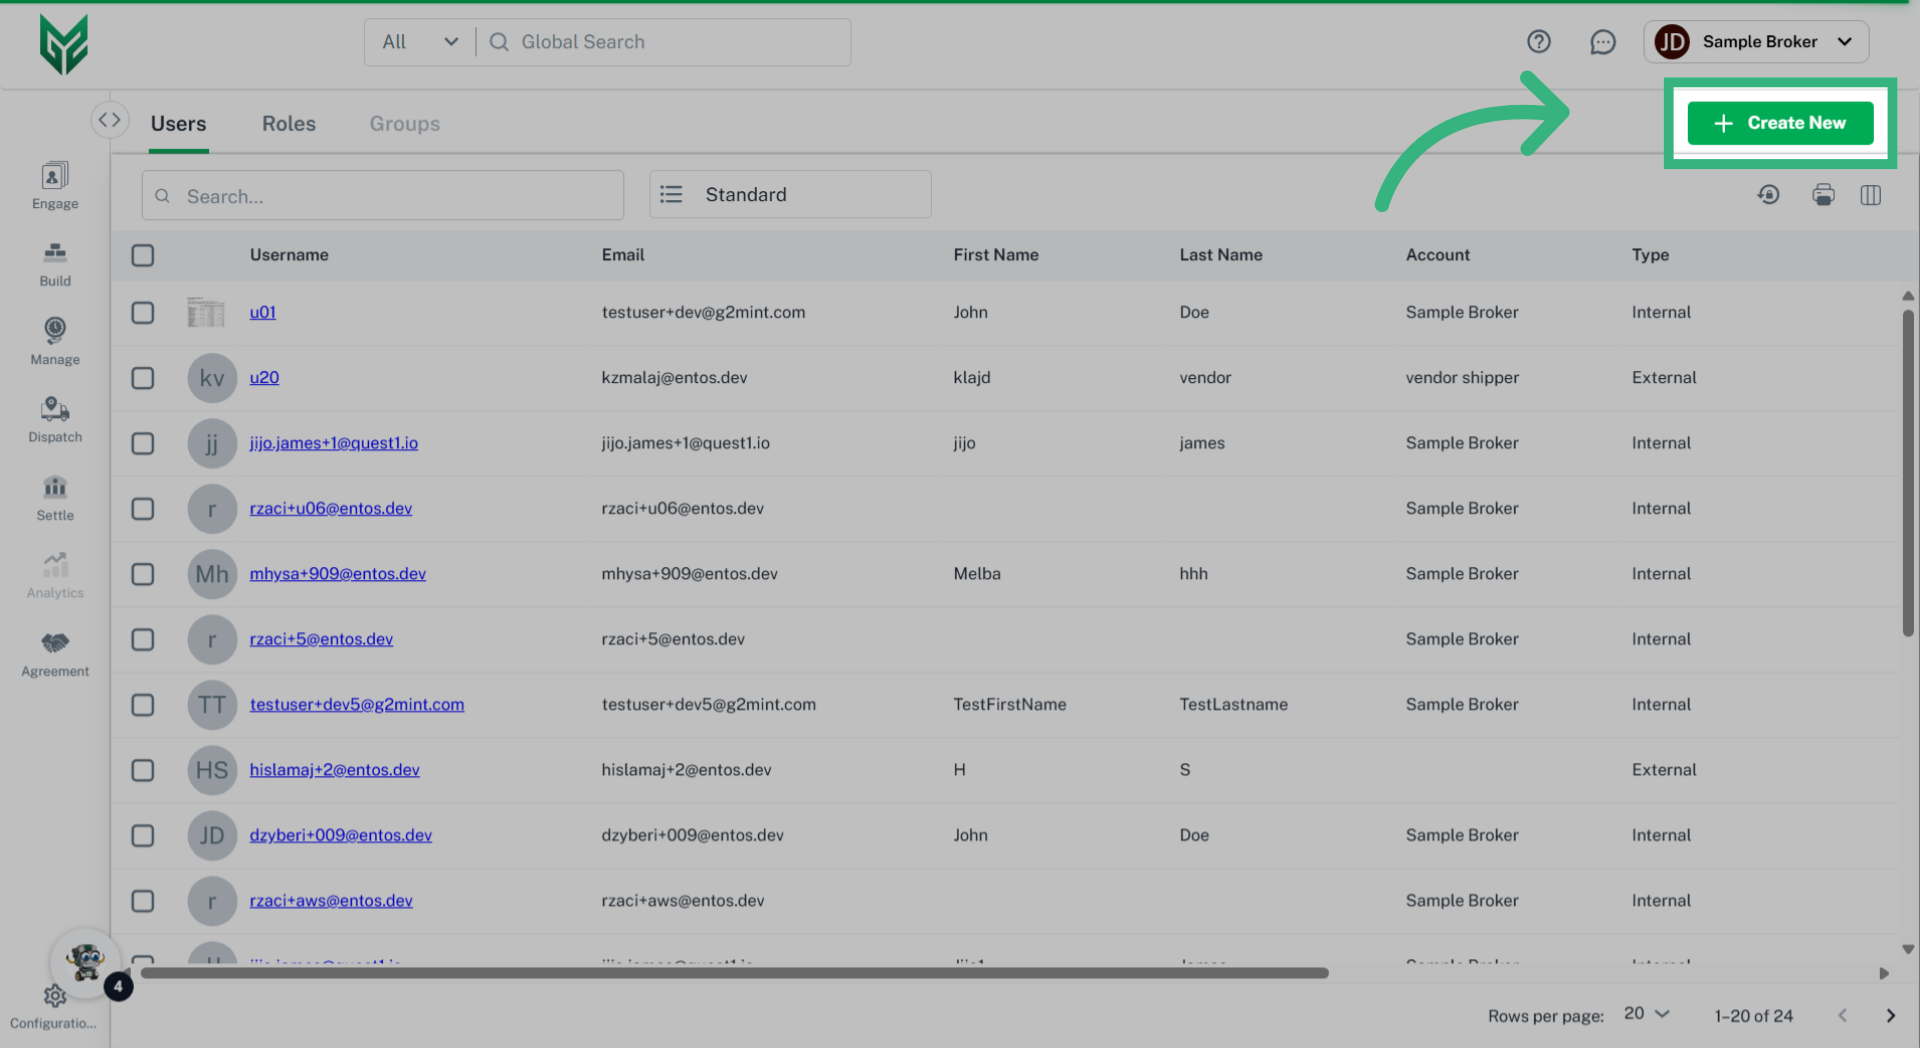
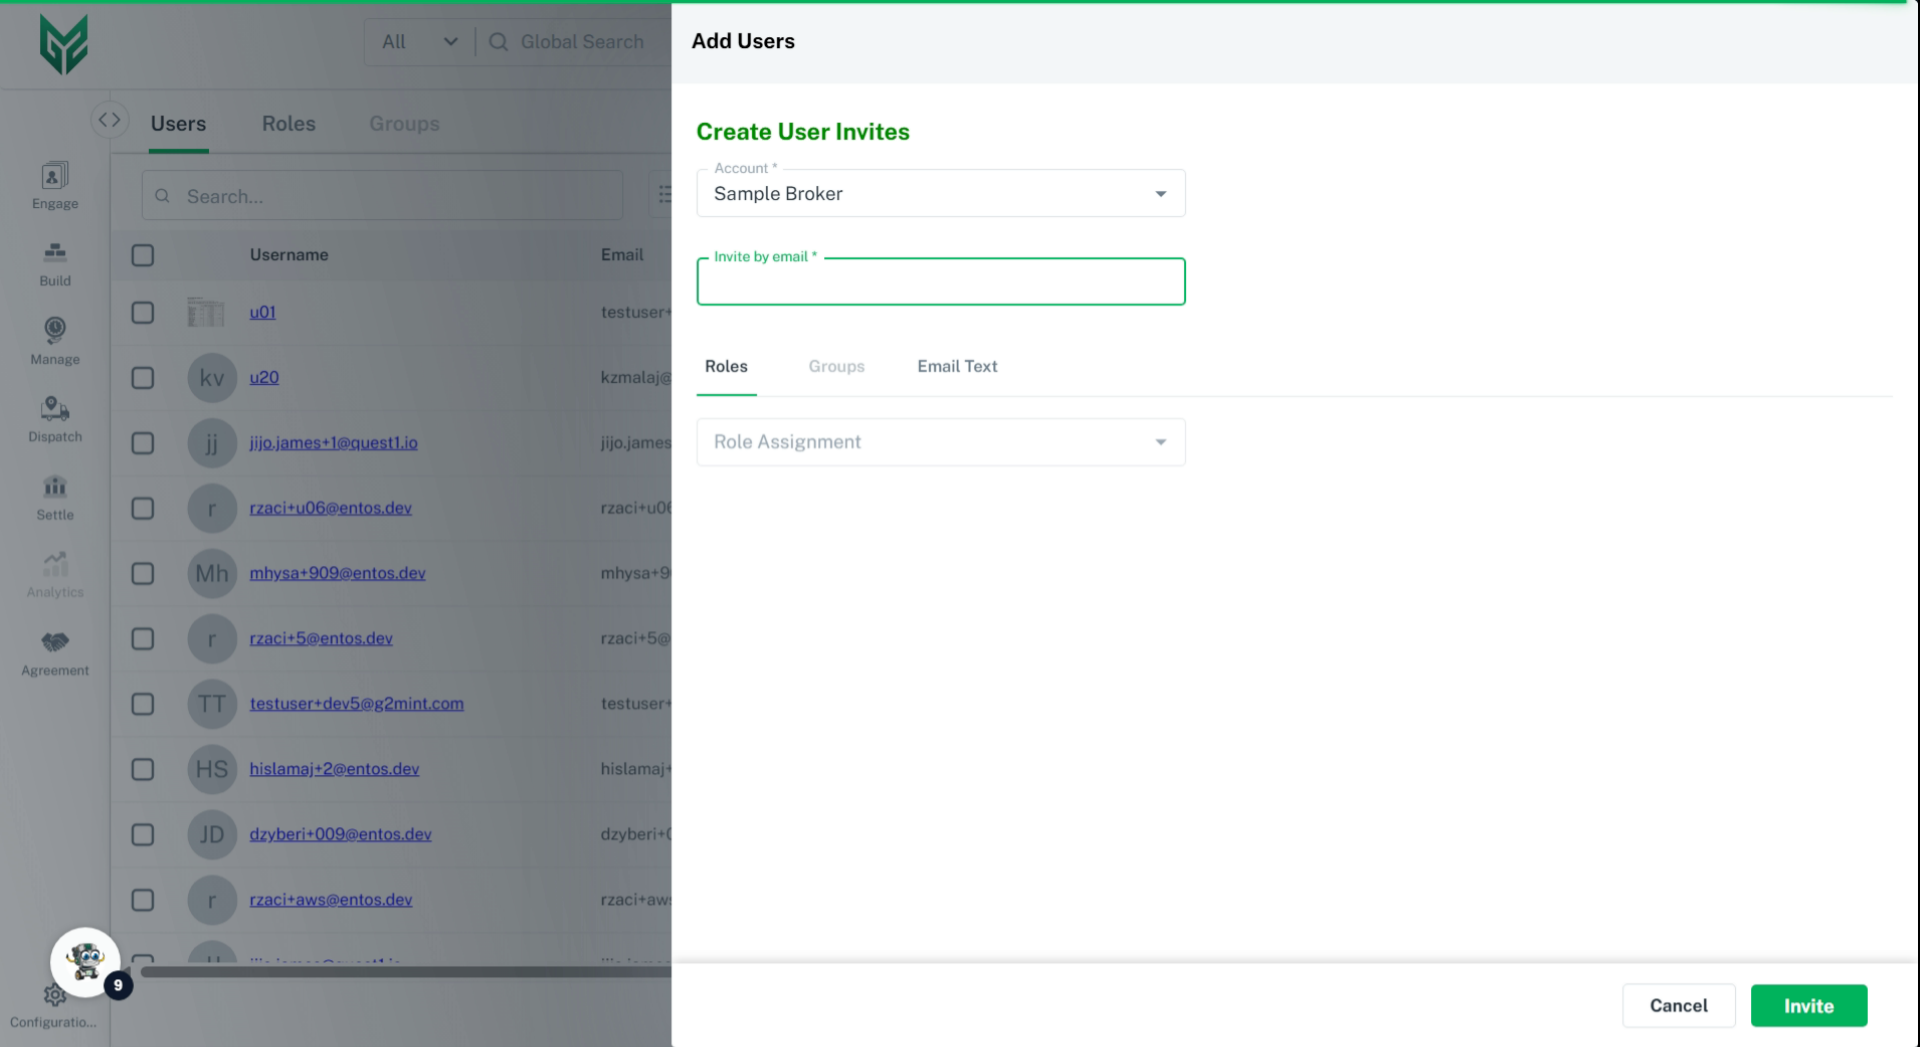
Add (or Edit) Internal or External Users (Note: Only an Admin User can invite New Users):
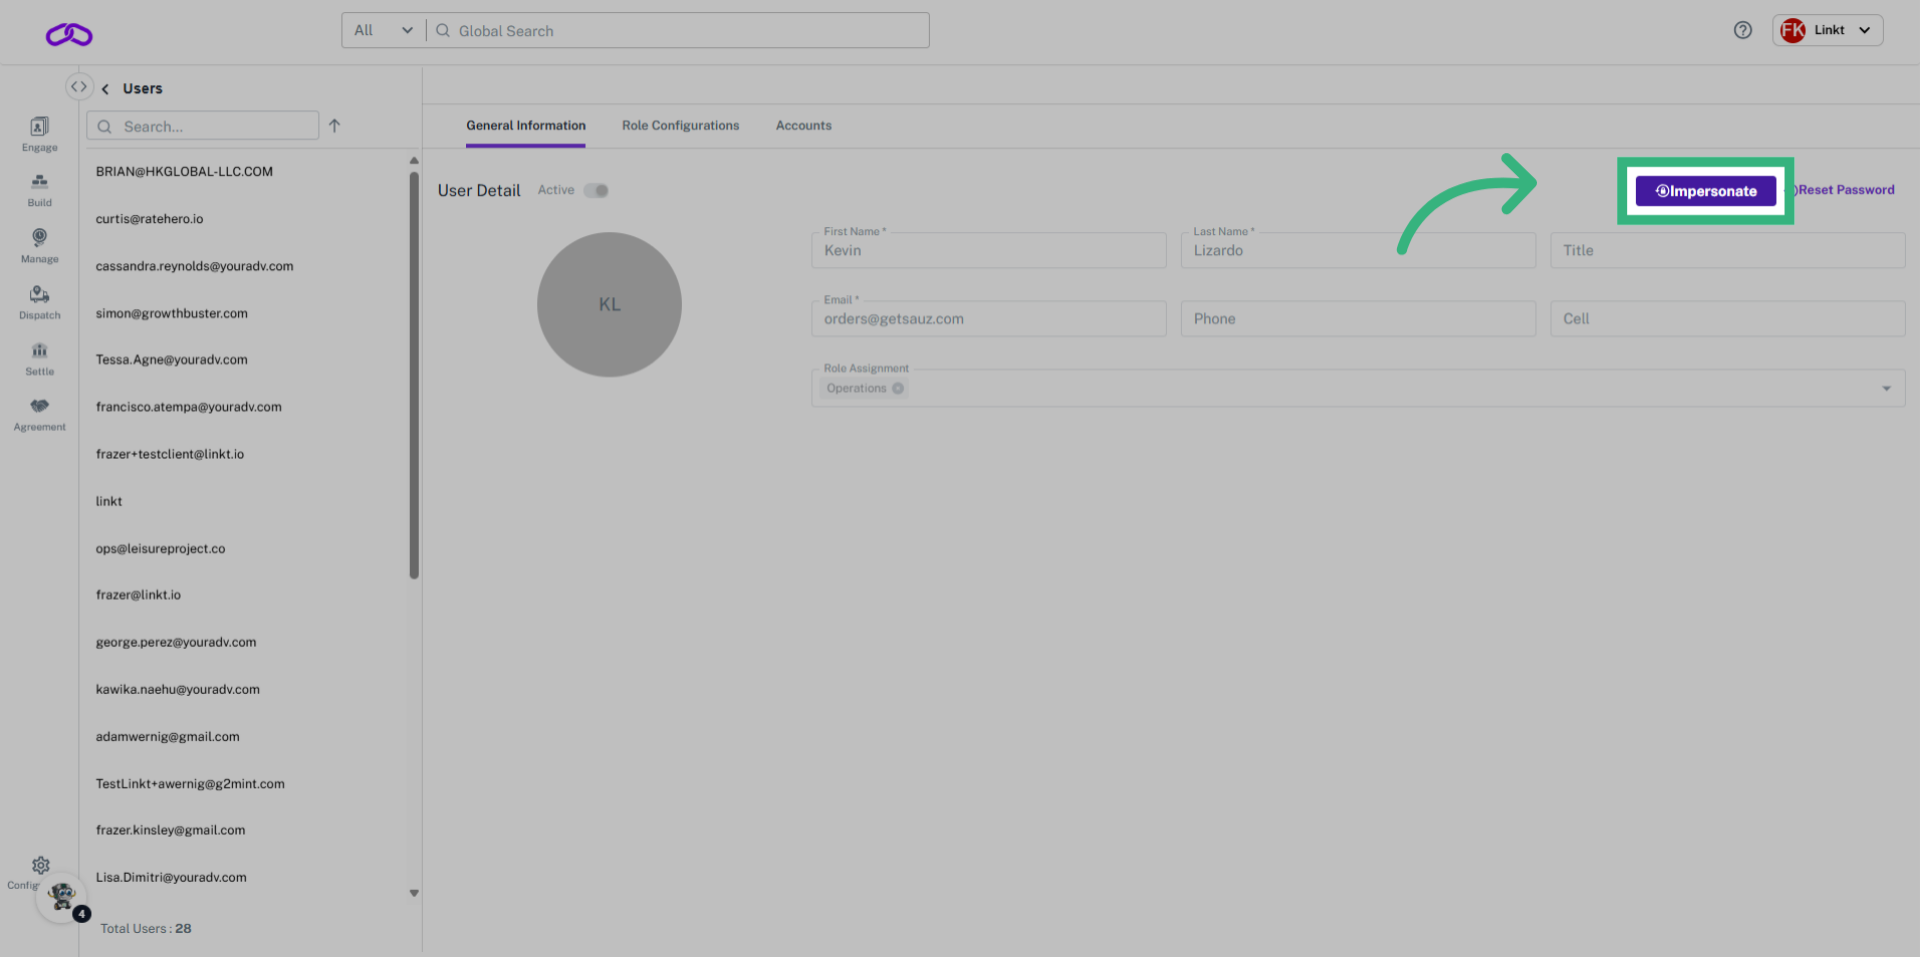
Add a new User, or Edit an existing User in our User Management section to provide them the proper access to your G2Mint account.

1. Click "User Name"

Select your User Name in the upper right hand corner.
Click 'User Name'

2. Click "User Management"

Select "User Management".
Click 'User Management'

3. Click "Create New"

Select "Create New" to initiate the creation of a new User. To edit an existing User, select the "Edit" icon on the right of the screen.
Click 'Create New'

4. Click User Type

Specify whether the user type is internal, meaning within your company, or external, meaning outside of your company.
Click User Type

5. Enter "User" to invite

Select the associated, or parent, account. Enter the new Users email address. Select the desired Roles that the User can access. For further information regarding the permissions of these Roles, visit the Roles tab within User Management.
Enter 'User' to invite

6. Assign a group and edit the email message

Assign the User to an existing Group if applicable. Add personalization the email invite through the "Email Text" tab.
Assign a group and edit the email message

7. Click "Invite"

Select "Invite" to trigger the email notification to the new User. The recipient will be prompted to enter a User Name and Password.
Click 'Invite'
For further information, please reach us at support@g2mint.com.


Reset a Password:

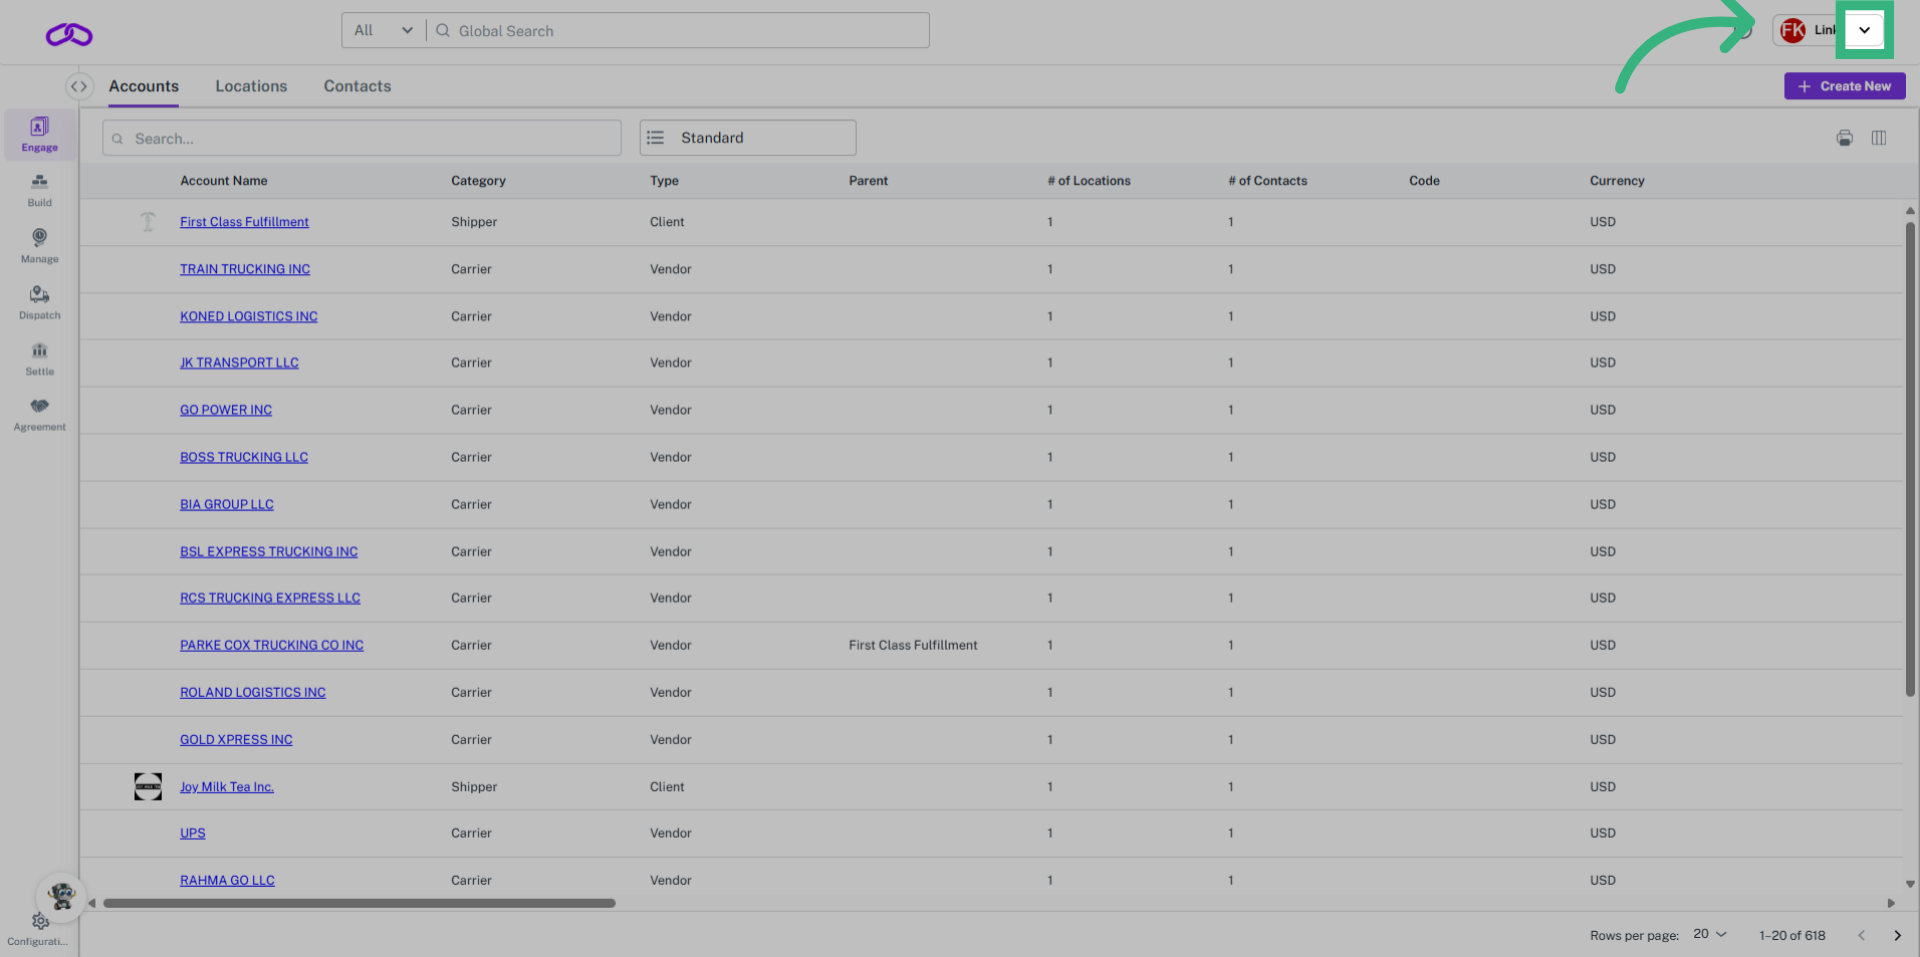
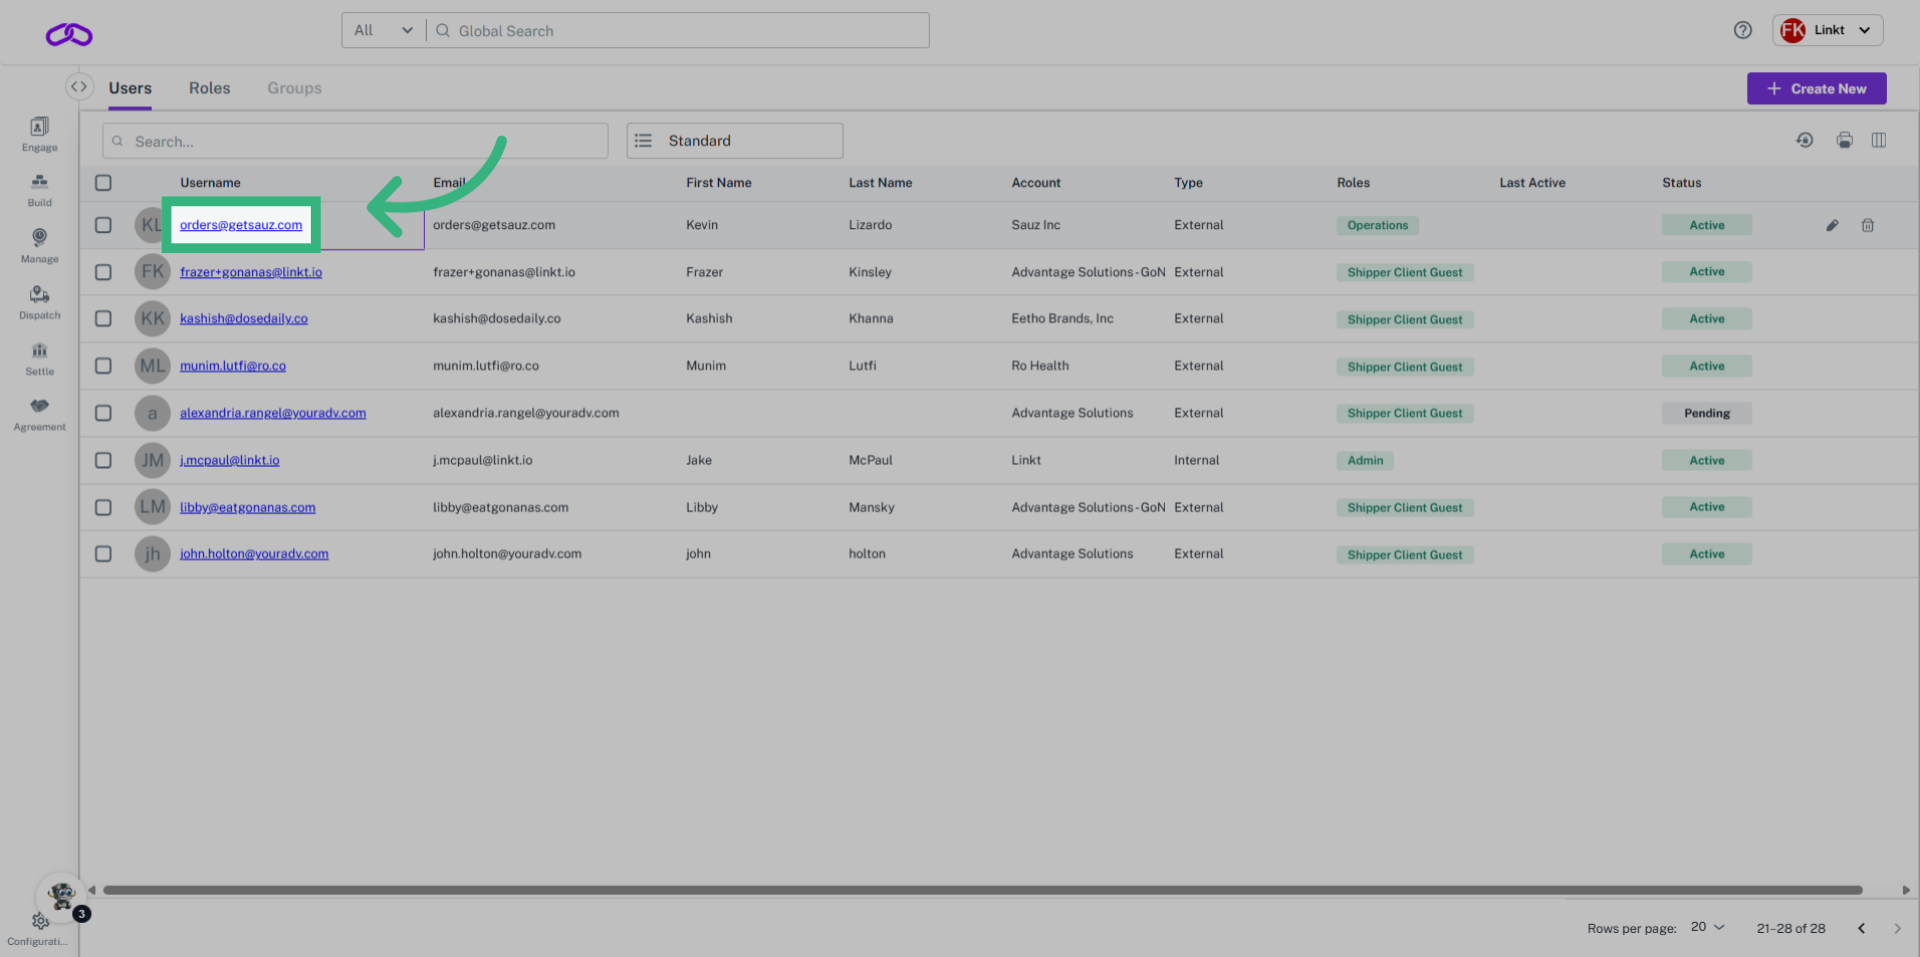
  1. Go to User Management
  2. Select User Name 
  3. Select Reset Password


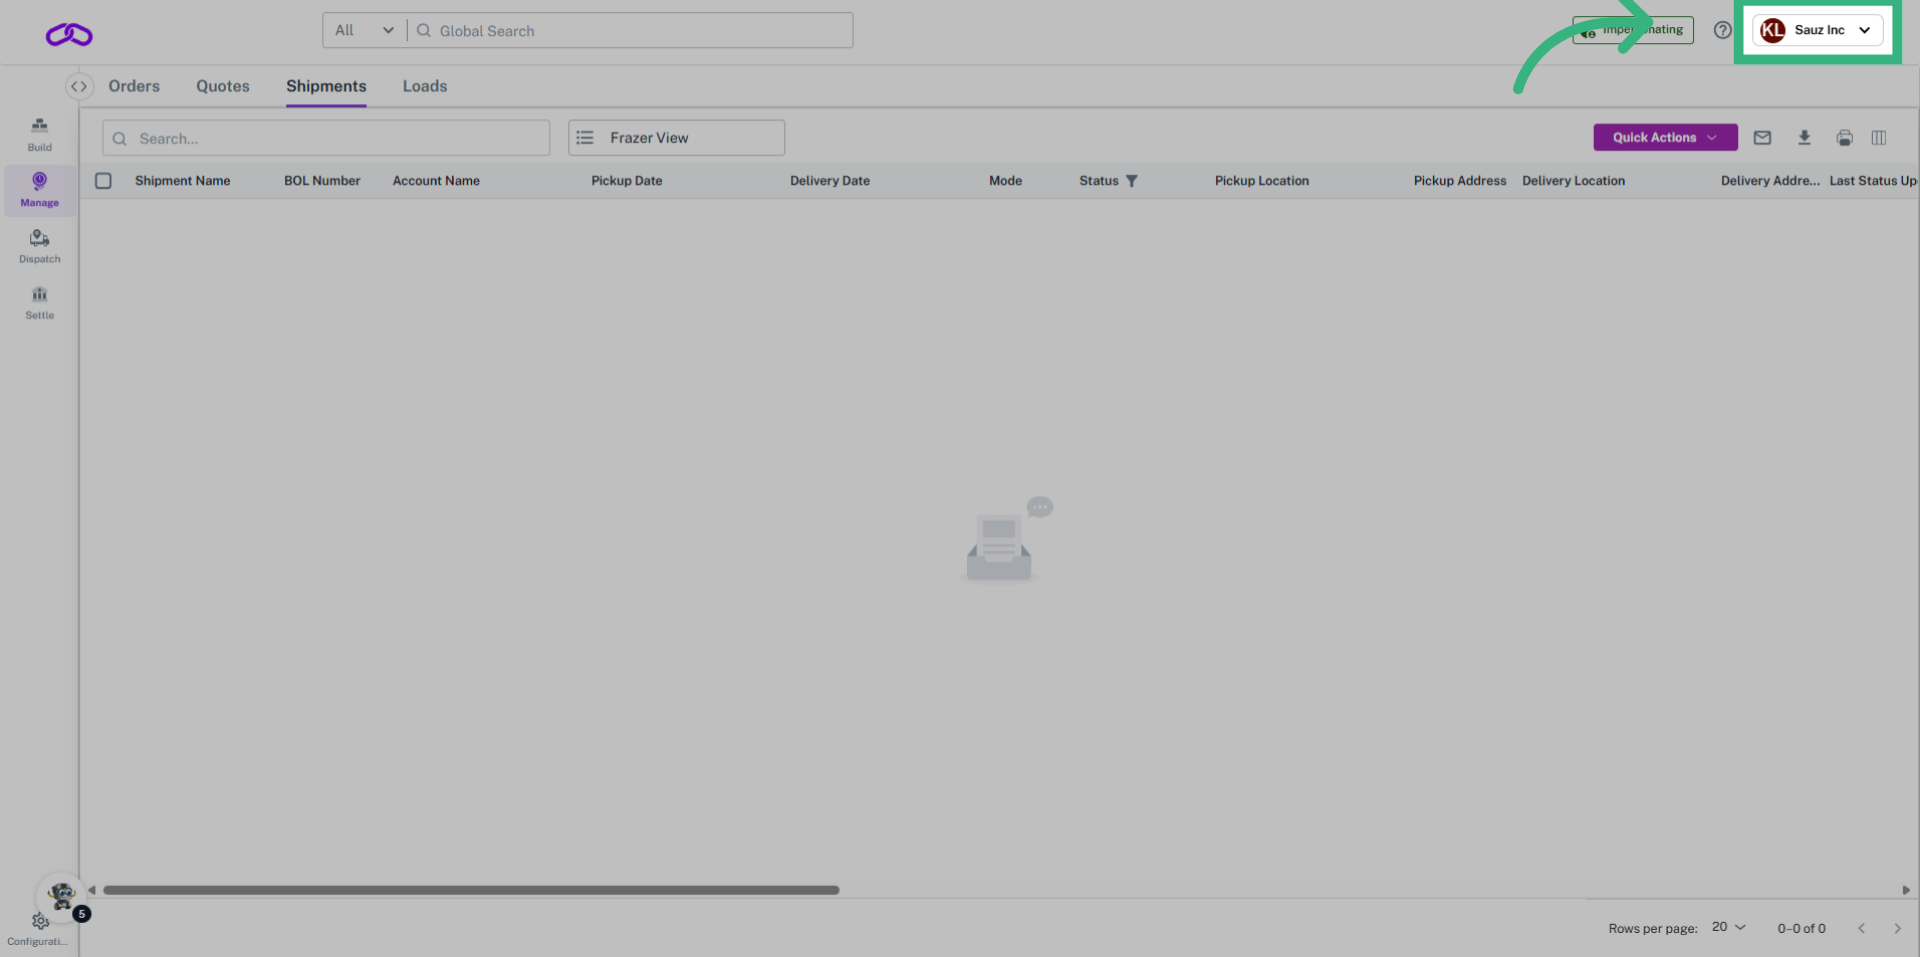
Impersonate a Guest User:

Learn how to impersonate a Guest User within the platform.

1. Click here

Access the main dashboard to begin managing user accounts.

Click here

2. Click "User Management"

Navigate to the 'User Management' section.
Click 'User Management'

3. Click the Account name

Select the desired user by clicking their email address.
Click the Account name

4. Click "Impersonate"

Activate the 'Impersonate' feature.
Click 'Impersonate'

5. Confirm Account

Confirm the impersonation by seeing the appropriate company.
Confirm Account
This video covered how to see your "clients", or "guests", accounts as they would see it. Please reach out to support@g2mint.com with additional questions.