Skip to content
English
  • There are no suggestions because the search field is empty.

Getting Started: For Brokers

This article provides an overview on key steps and links to guides on how to get started with G2Mint as a transportation broker. 

Last Updated: 9/1/2025

Applies to: Brokers 

(Note: If you are a Shipper, please reference this getting started checklist)

Prior to starting the below set up, reference this brief overview on the key areas of the application and common terms

G2Mint Platform Overview

Step by Step:

  1. Add Users within your organization
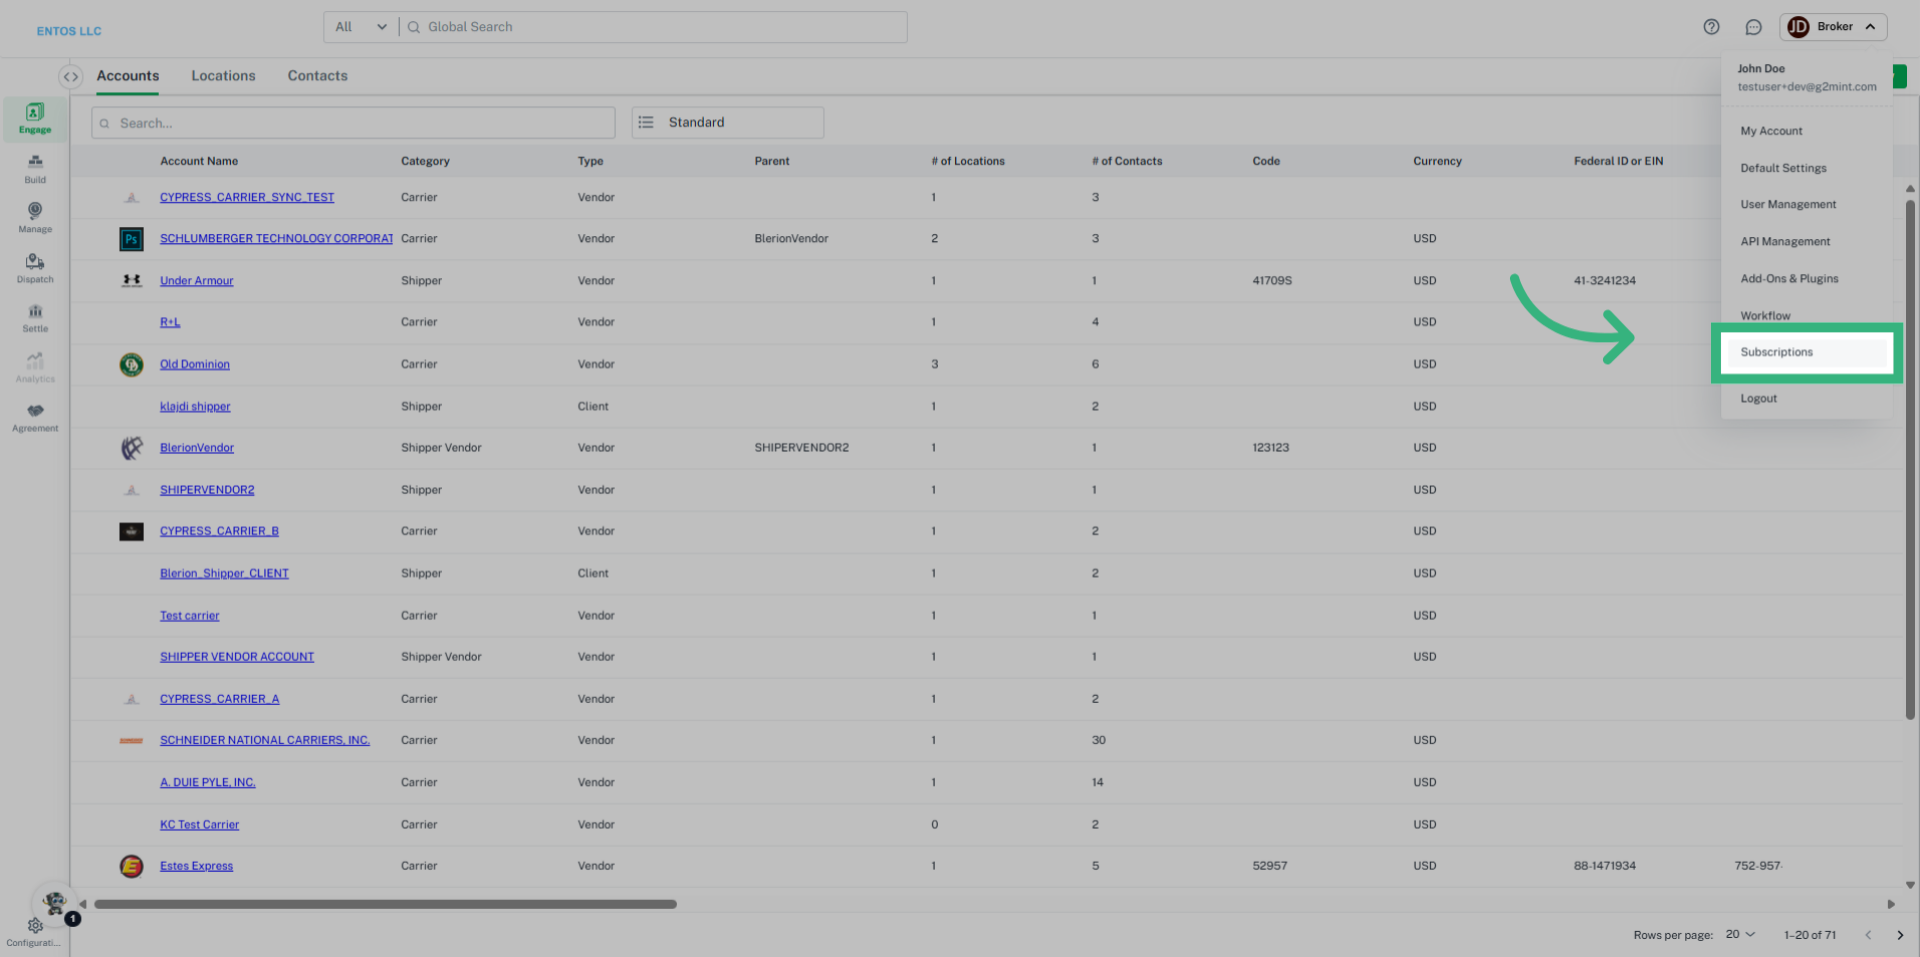
  2. Add your primary Shipper Accounts, by going to the Engage>Accounts section of the application
  3. Enter your most frequently used Carriers:
    1. For web-enabled Carriers with contracted rates, enter in Agreement > Freight > + Create New
    2. For Spot Carriers, enter the Carrier in Engage > Accounts
    3. Enter Carriers with Custom Contract Rates (First create the Carrier account in Engage > Accounts, then create the Agreement in Agreement > Freight > + Create New > Custom)
  4. Add your desired Mark Up Agreements (markup agreements can be customer specific or blanket).
  5. Add specialized configurations (Handling Units, Equipment, Commodities, etc.) to save time and decrease potential errors when building quotes or shipments. 
  6. Build your first Shipment
  7. Send your first Tender/pick up request

Additional functionality that may apply:
  1. Activate required Web Service Plug-ins
  2. Analytics

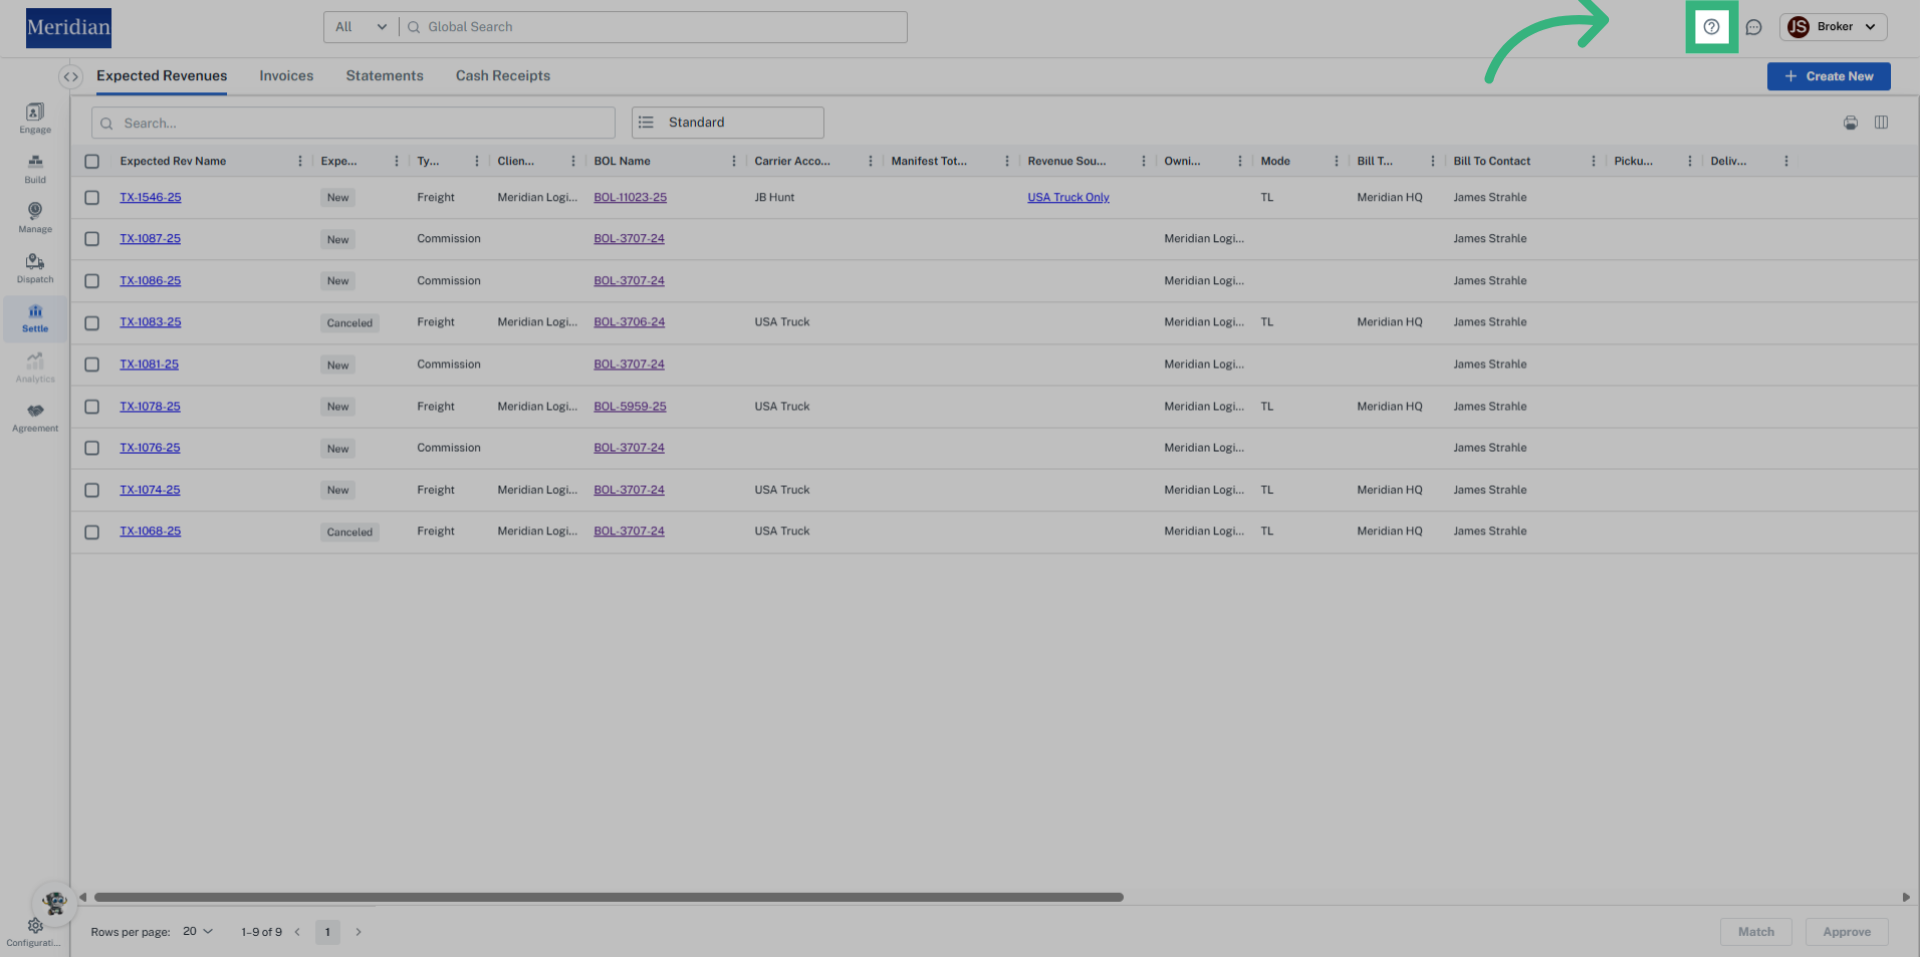
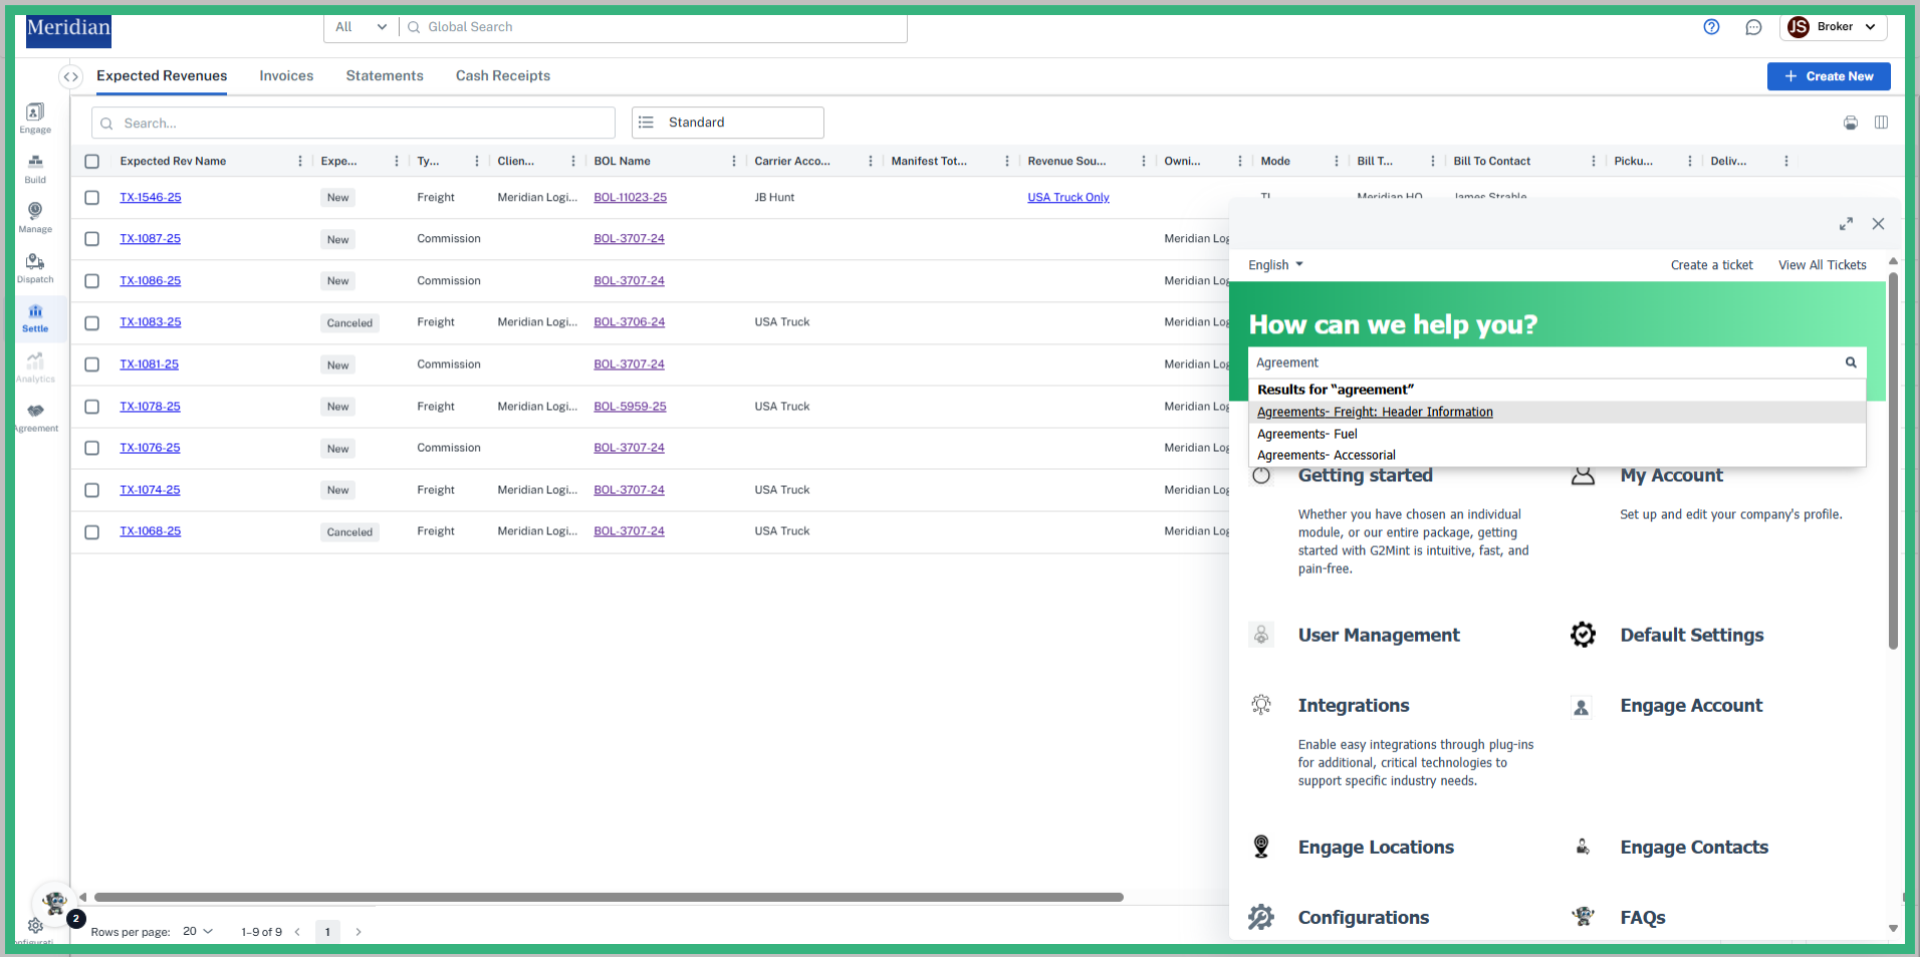
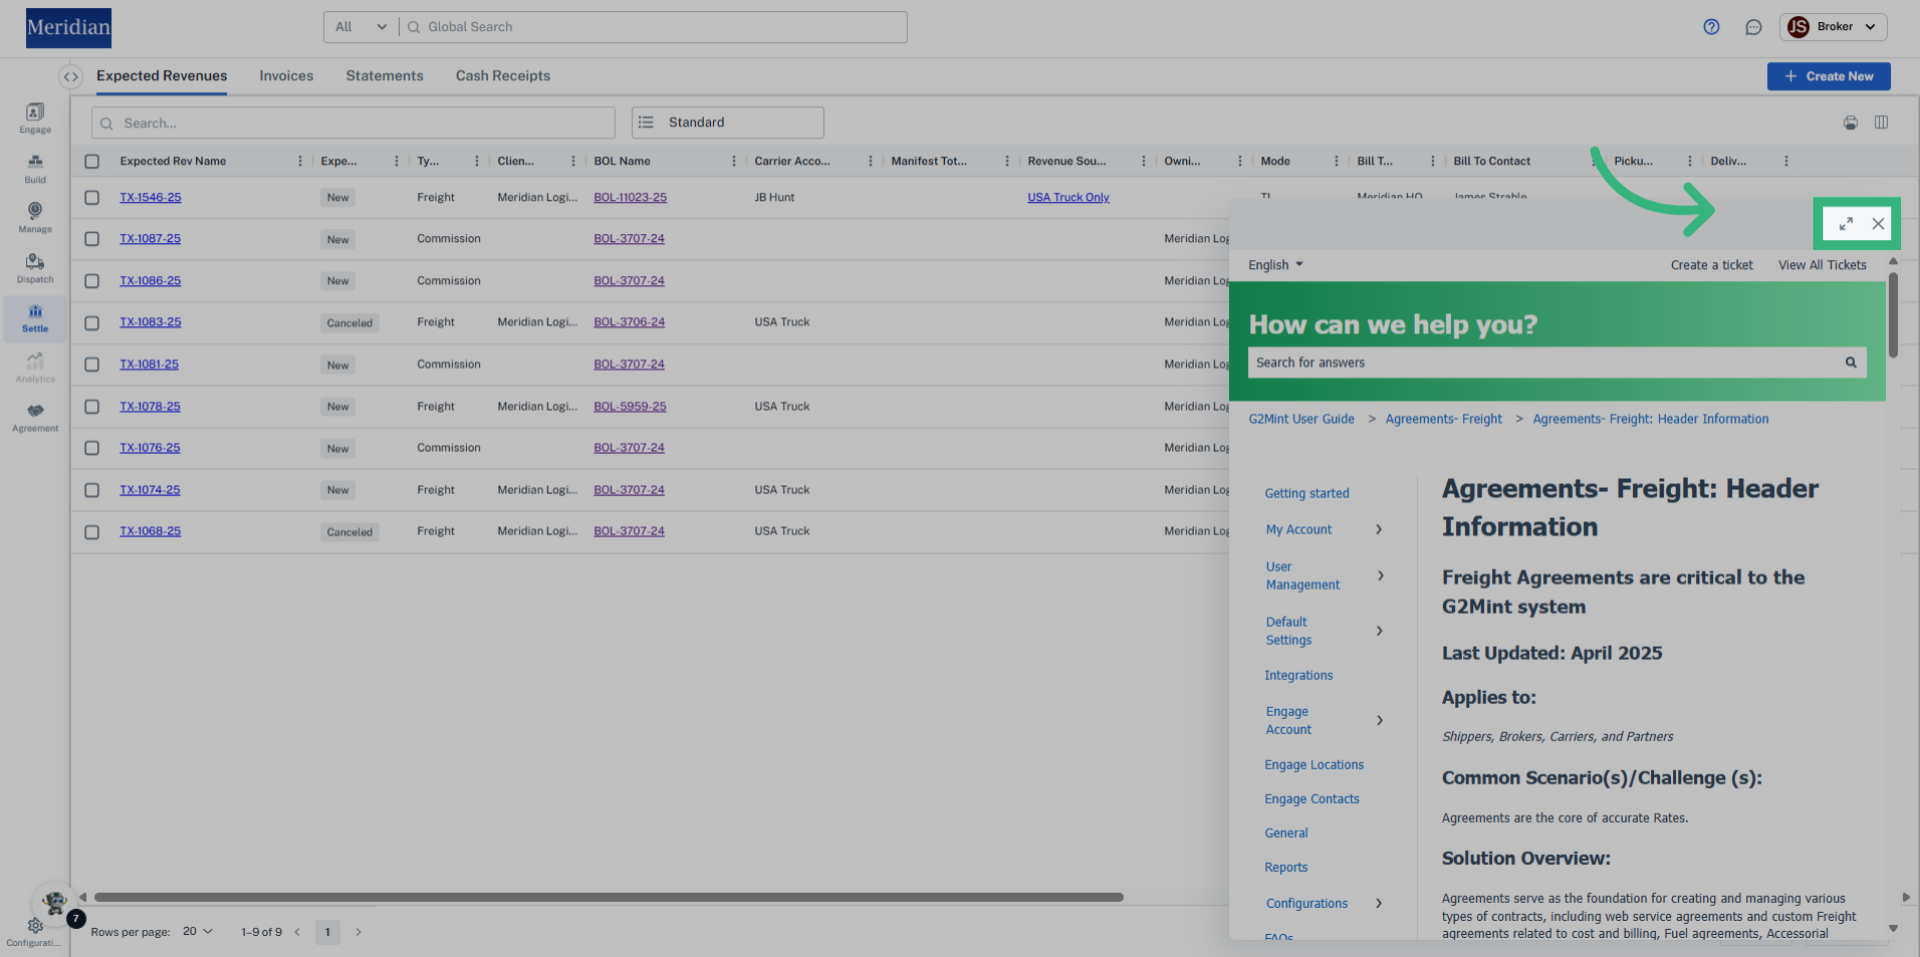
Utilize our Full Knowledge Base for further questions:

Introducing our new Knowledge Base Navigation feature, designed for users seeking swift access to essential information

1. Introduction

This guide will show you how to access the in-app Knowledge Base regardless of where you are in the application.
Introduction

2. Click on the question mark icon

Click on the question mark in the top right hand side of your screen to open the pop out window.
Click on the question mark icon

3. Navigate through the sections or utilize the search bar to find the article you are looking for.

Navigate through the different sections or utilize the search bar to find the specific article you are looking for.
Navigate through the sections or utilize the search bar to find the article you are looking for.

4. Click on the arrows to expend the pop-out, or on the "x" icon to close the Knowledge Base

Click on the arrows to expend the pop-out, or on the "x" icon to close the Knowledge Base.
Click on the arrows to expend the pop-out, or on the 'x' icon to close the Knowledge Base

Ready for increased functionality? Join G2mint by converting your Free Trial into a paid Subscription.

1. Select "My Account"

Select "My Account" to initiate the conversion process from your Free Trial to a paid Subscription.
Select 'My Account'

2. Click "Subscriptions"

Navigate to the Subscriptions menu, where you can manage your plans and view your current trial status.
Click 'Subscriptions'

3. Click "Enter Monthly Shipments"

Begin by entering your projected Monthly Shipments.
Click 'Enter Monthly Shipments'

4. Select TMS if desired

Determine whether or not you want to add the TMS function to the Rate Engine.
Select TMS if desired

5. Click "Next"

Proceed to the next step.
Click 'Next'

6. Select "add-ons"

Select from the list of optional add-ons.
Select 'add-ons'

7. Select Quantity

Select appropriate number for each add-on.
Select Quantity

8. Click "Next"

Continue to the payment section.
Click 'Next'

9. Select Terms

Review your Agreement and Payment terms. These terms will impact the discount amount.
Select Terms

10. Review Selections

Finalize your subscription process and prepare for payment.
Review Selections

11. Click "Next"

Advance to the final step to confirm your payment details.
Click 'Next'

12. Click "Pay Now"

Select "Pay Now" to complete the transaction to officially convert your Free Trial into a paid Subscription.
Click 'Pay Now'